
 23.03.2015
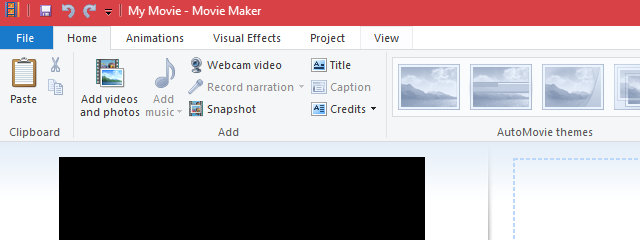
Windows Movie Maker is all about ease of use and when it comes to adding background music to your videos and photo slideshows, that theme remains the same. Windows Movie Maker's audio editing features are very basic and mostly limited to fading in and fading out, changing the start and end points for the audio and adjusting the volume for the entire clip. But if all you want is a little mood music for your home movie, then Windows Movie Maker lets you add a soundtrack from your own music collection. In this tutorial, we'll show you how to add music to your Windows Movie Maker project and how to edit audio clips.
How To Add Music To A Windows Movie Maker Project
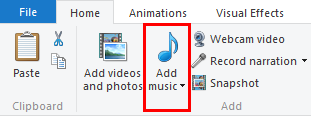
Once you have photos or video clips added to your Windows Movie Maker timeline, you can begin adding music to play behind it. The easiest way to do this is to click or tap the Add music button in the Home tab on ribbon.This button is found in the Add section.
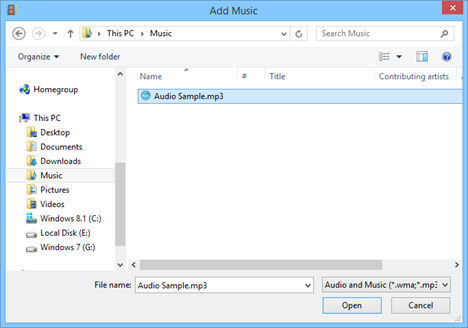
From there you can browse to any compatible audio file and import it into your timeline. Supported file types include:.WMA,.MP3,.WAV,.M4A,.AIFF and.AIF.
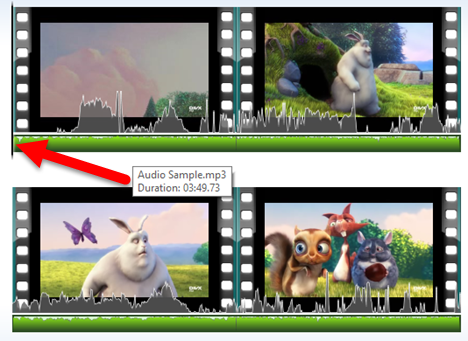
By default, when you add a song, it will be placed at the beginning of the timeline.
How To Move Sounds On The Timeline
If you'd like to add music elsewhere in the timeline, you can click the text of the Add Music button rather than the icon. Now select the Add music at the current point option.
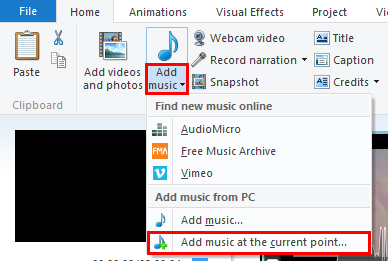
The audio clip will be placed from the current playhead position.

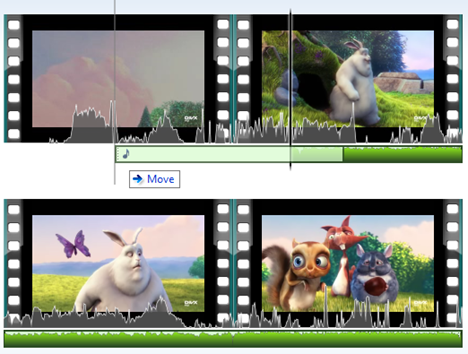
Alternately, you can click and drag the audio clip to reposition it along the timeline.
How To Edit Sounds In Windows Movie Maker
The Options tab on the ribbon, under Music Tools, gives you access to a limited range of audio editing tools. In order to reveal the Music Tools Options, you must have a music clip selected or have the playhead positioned at a point along the timeline that has music.
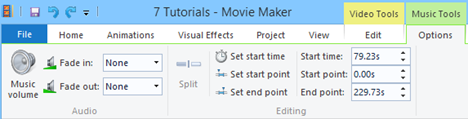
In the Music Tools Options tab on the ribbon, you have the following tools:
- Music Volume: Adjust the volume of the entire clip, using the available slider.

Windows, Movie Maker, add, music, videos - Fade In/Fade out: Allows you to fade in or fade out at the beginning or end of the clip at three speeds: slow, medium or fast.

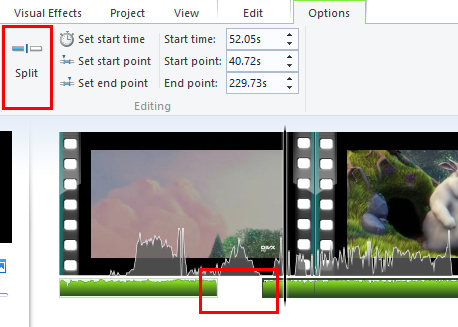
Windows, Movie Maker, add, music, videos - Split: Splits the selected audio clip into two clips at the current position of the playhead.
Windows, Movie Maker, add, music, videos - Set start time: Moves the beginning of the audio clip to the position of the playhead on the timeline, or at the time entered into the field on the right. Does not alter the clip itself.

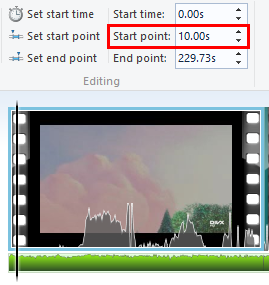
Windows, Movie Maker, add, music, videos - Set start point: This changes the point within the song at which the clip begins playing. For example, if you want to skip through a 30-second intro or a few seconds of silence in a song, you could change the start point. You can either pause playback at the point in the audio where you want the clip to begin or type in the start point manually. Unlike Set start time, this does not change the position of the clip. In the example from the picture below, the sound begins from the 10th second, but occurs at the same time in the timeline.
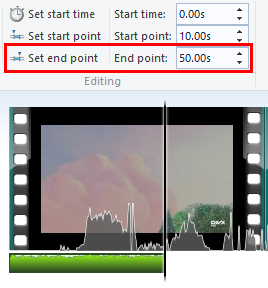
Windows, Movie Maker, add, music, videos - Set end point: This sets the endpoint of the clip. If you've selected a fade out, this is the point where the clip will be completely faded out.
Windows, Movie Maker, add, music, videos
Limitations
Unfortunately, this is the full extent of Windows Movie Maker's audio editing features. While you can have music clips and audio playing back (i.e. audio that is included in the video file itself), you can not include two audio tracks on top of each other.
Also, there's no ability to record narration in Windows Movie Maker - you'll have to record your voice over in another program and then import it, just like you would music. However, given the limitation of one audio track at a time, this means that you won't be able to put music behind your narration, unless you first export a completely "mixed down" version of your Windows Movie Maker project with only video and music and then create a new Windows Movie Maker project using your produced and saved clip.
Furthermore, you don't get a volume pan for smooth fading in and out at arbitrary points in the audio clip. Instead, you have to split clips and have them fade out or fade in completely, if you want to carve out a space for narration.
Conclusion
Overall, there's a lot to be desired in Windows Movie Maker - including some features that were not included from the previous versions of Windows Movie Maker. But again, Windows Movie Maker is all about ease of use. It's about getting your photos and videos into professional looking slide shows or home movies within minutes. If you have any questions or problems about this tool, do not hesitate to use the comments form below.


