You probably know that you can use special symbols and characters from fonts installed on your Windows computer or device. Character Map is the best tool for finding and selecting those. But what about making your own special characters in Windows instead of using symbols created by others? Yes, you can do that. In this guide, we will show you how to create and save your unique symbols using Private Character Editor. They can be inserted into any document, whenever you need, as long as you intend to use them for your own use only. If you are curious to see how it works, read this tutorial:
NOTE: You can run Private Character Editor only if you are an administrator.
Step 1. Start the Private Character Editor
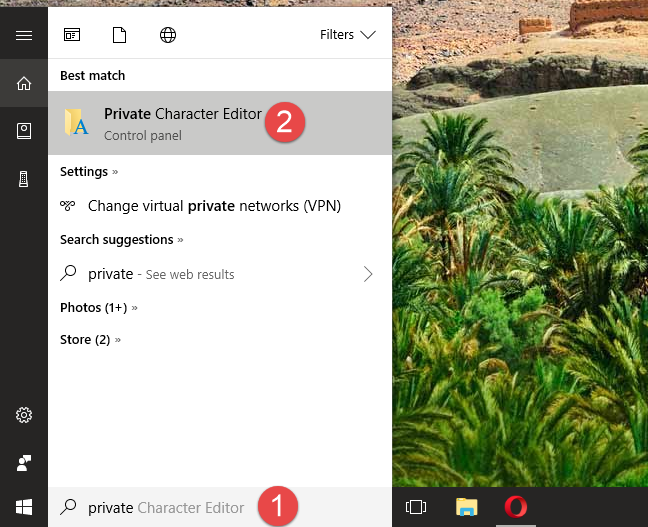
If you use Windows 10, the easiest way for you to open the Private Character Editor is to use Cortana's search feature. Enter the word "private" in her search box from the taskbar, and then click or tap on the Private Character Editor shortcut.
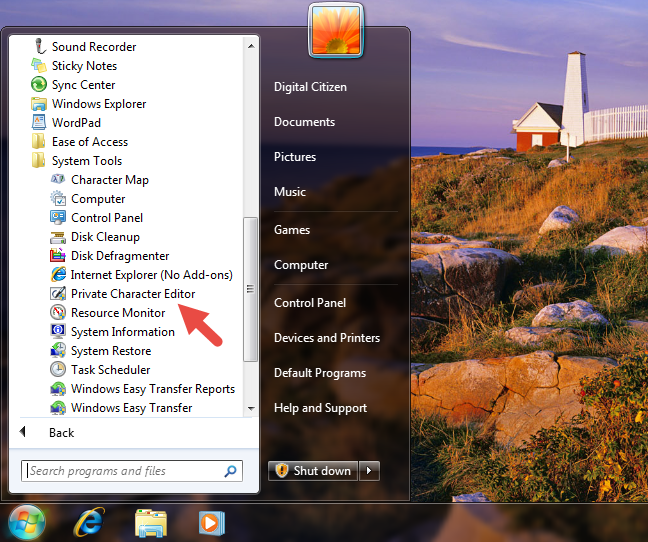
In Windows 7, you can write the word "private" in the Start Menu search box and then click on Private Character Editor.
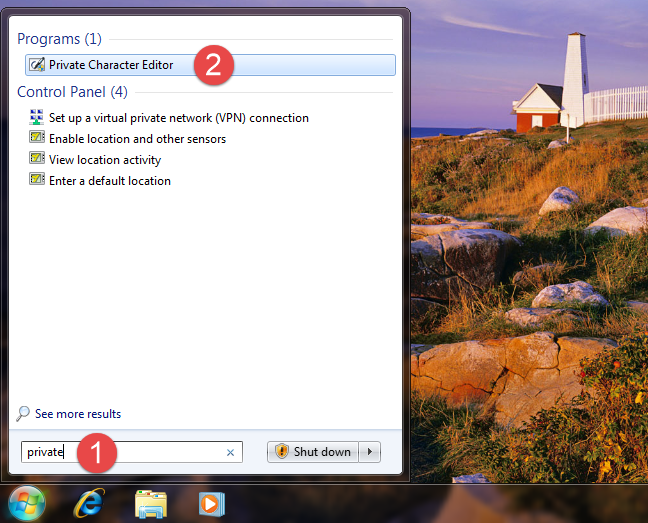
Alternatively, in Windows 7, you can also find a shortcut for Private Character Editor in the Start Menu. If you prefer this method, open the Start Menu, go to All Programs -> Accessories -> System Tools and then click on the Private Character Editor shortcut.
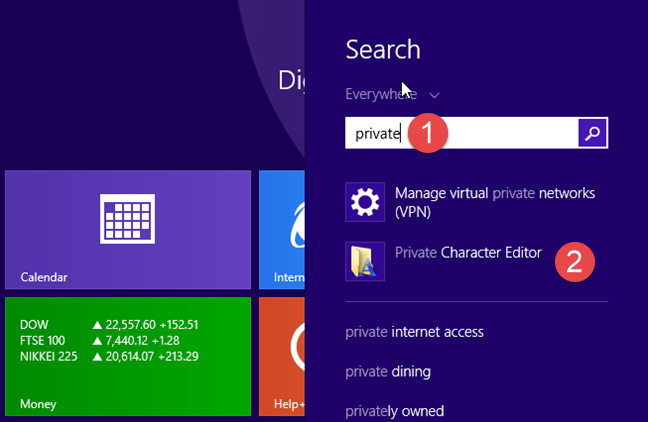
In Windows 8.1, there is no Private Character Editor shortcut in the All Apps list on the Start screen. However, you can use search to find it. While on the Start screen, type the word "private" and then click or tap on the Private Character Editor search result.
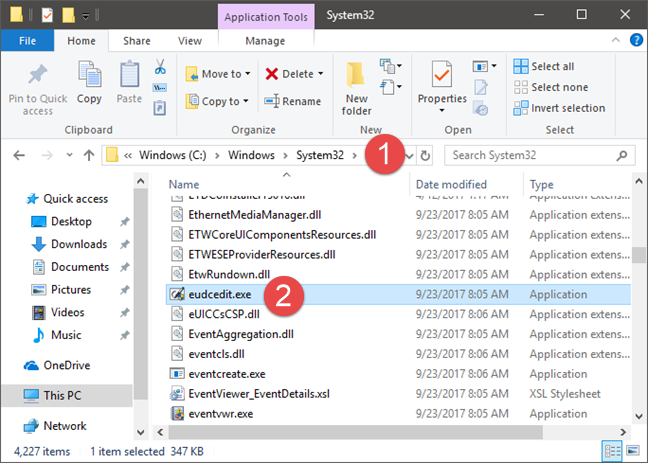
In all modern Windows versions - Windows 10, Windows 7 and Windows 8.1 - you can also use File/Windows Explorer to launch Private Character Editor. Start by opening the partition where the operating system is installed (in most cases it is the "C:" drive). Then, navigate to "C:WindowsSystem32" and look for a file named eudcedit.exe. Double-click or double-tap on it and the Private Character Editor opens.
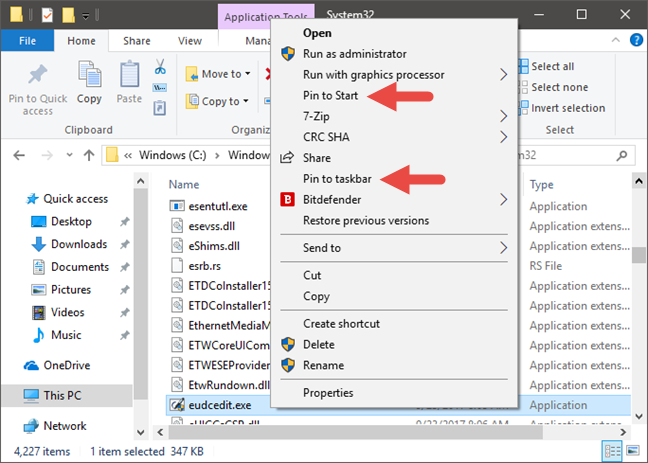
Note that, if you want to, you can even create a shortcut for the eudcedit.exe file on your desktop or taskbar (in all Windows versions). You could also pin the eudcedit.exe file to the Start Menu in Windows 10 or to the Start screen in Windows 8.1, or even pin it to the taskbar for faster access.
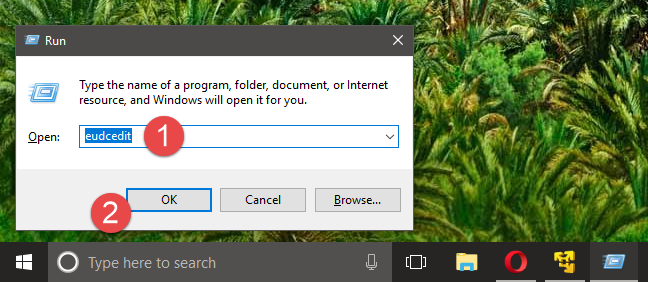
Finally, another method to open Private Character Editor that works in all Windows versions is to open the Run window, enter the command eudcedit and then press Enter or OK.
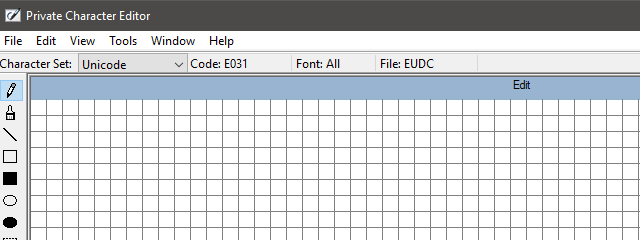
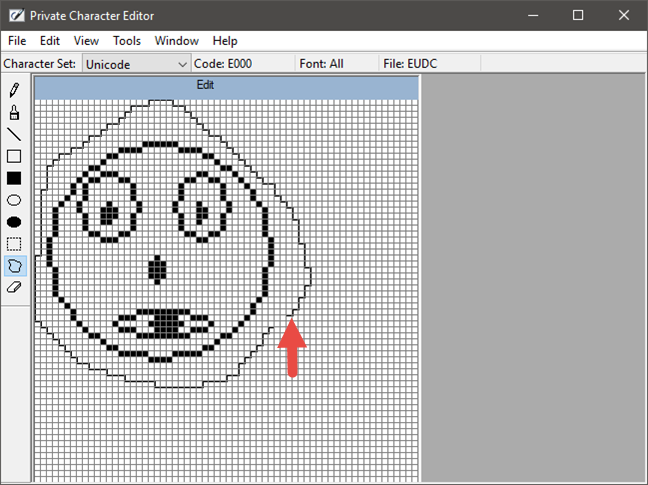
Regardless of the operating system that you have and the method that you use to launch Private Character Editor, once it opens you should see a window similar to the one in the screenshot below.
The Private Character Editor looks and works the same in all versions of Windows, so to keep things simple, from now on we will only use screenshots taken in Windows 10.
Step 2. Select the code for your new character
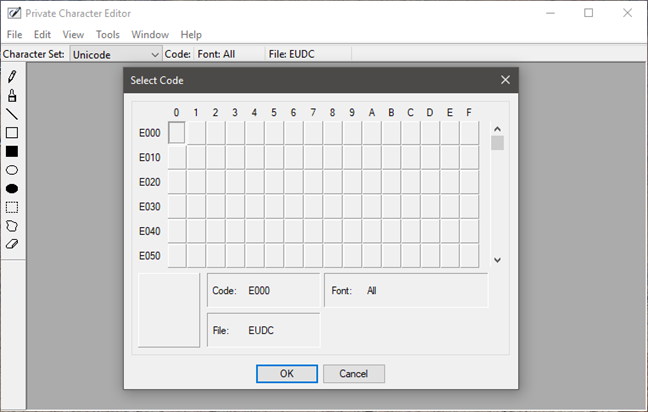
The first thing that you are requested is to choose a hexadecimal code that will be assigned to the new symbol that you are about to create. You have to do this because each character in a font has a hexadecimal code that is used to identify it uniquely.
Therefore, the new character that you are about to create must also be identified by a code. If you choose the first box, the code will be E000, if you choose the box from the second column and the first row, the code will be E001 and so on. It is up to you what code you choose for your new character.
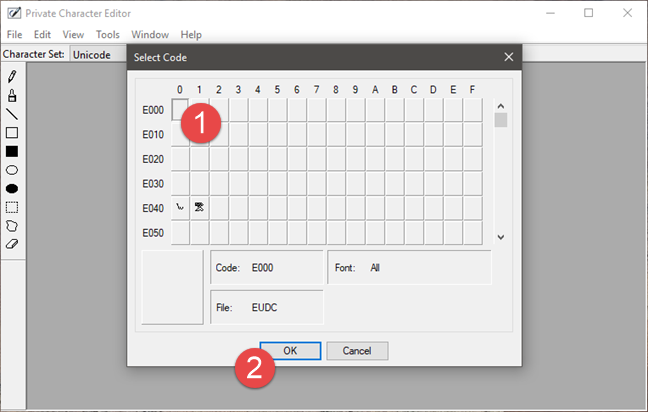
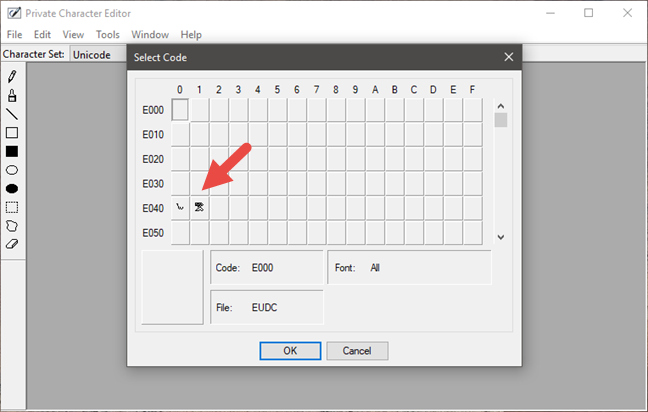
When you open the Private Character Editor for the first time, the whole grid is empty. However, after you create a character, you will see it in the corresponding box. For example, we have previously created 2 symbols: one with the code E040 and the other one with E041. Now each box shows the associated character.
Once you have chosen the hexadecimal code, you are free to create your own character.
Step 3. Use the available tools to draw a new character
Your canvas is a 50x50 grid in which you can draw anything you like, just like you do in Paint. Private Character Editor gives you ten different tools that you can use to create characters. The tools can all be found on the left side of the window, or by opening the Tools -> Item menu.
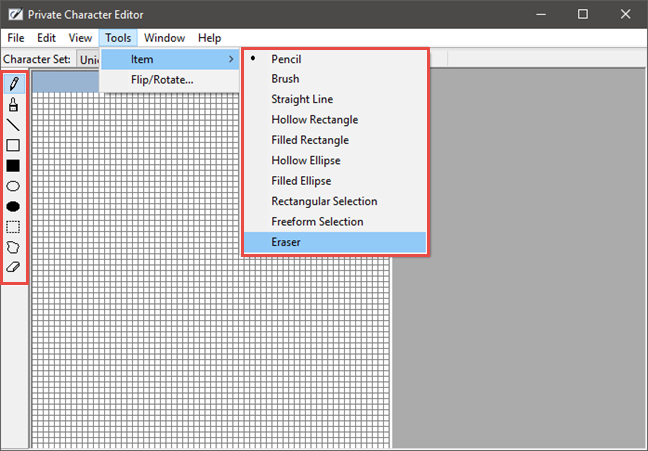
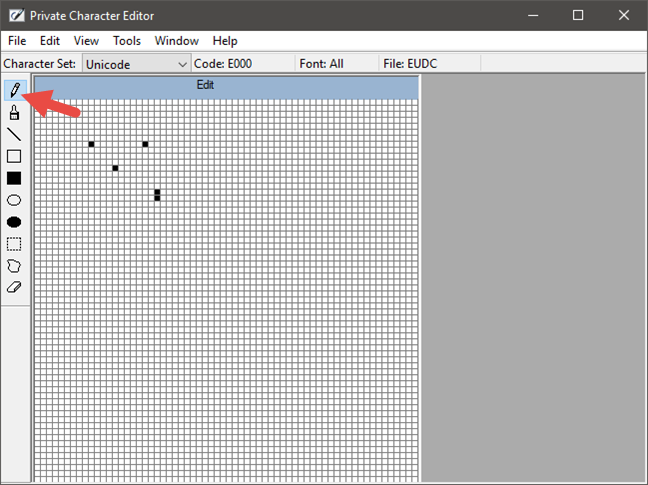
The default tool is the Pencil. Using it, you can only draw on one square at a time.
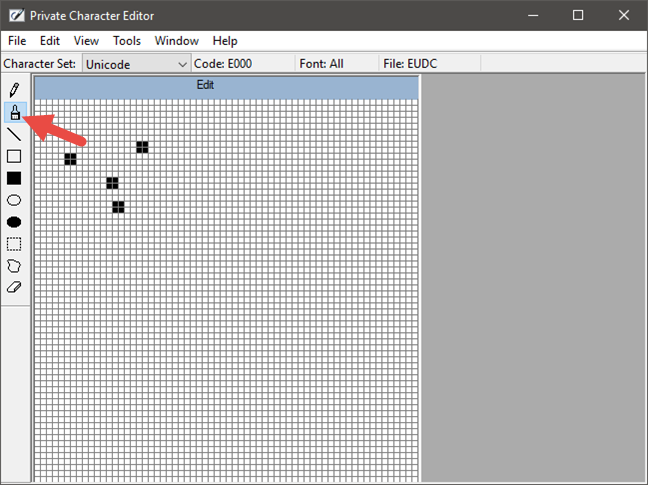
If you want to draw 2 x 2 squares, use the second tool, which is named Brush.
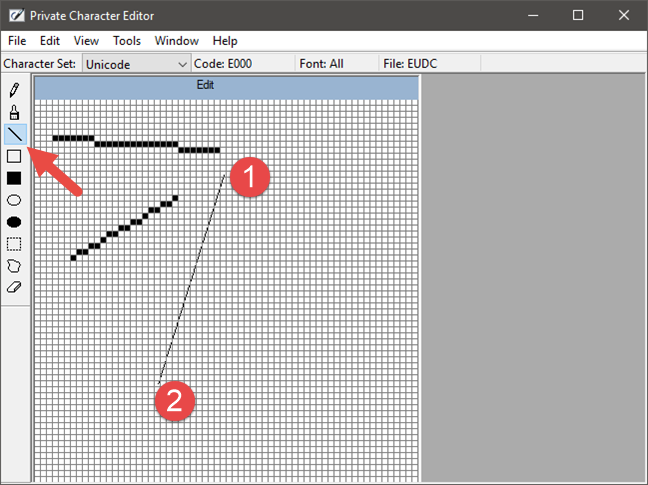
For lines, just like those in Paint, use the Straight Line tool. Hold down the left mouse button to the point where you want the line to start and release it at the line's end. If you have a touchscreen, you can simply drag your finger on the canvas.
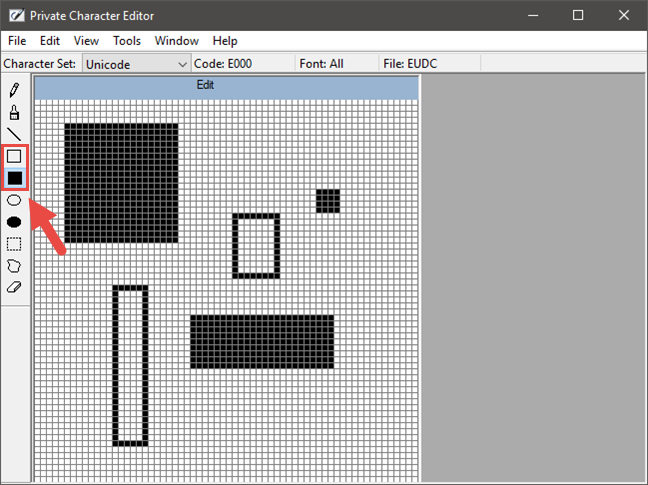
To draw rectangles of any type and size, use the Hollow Rectangle or the Filled Rectangle tool. Obviously, the Hollow Rectangle draws empty rectangles, while the Filled Rectangle draws filled rectangles.
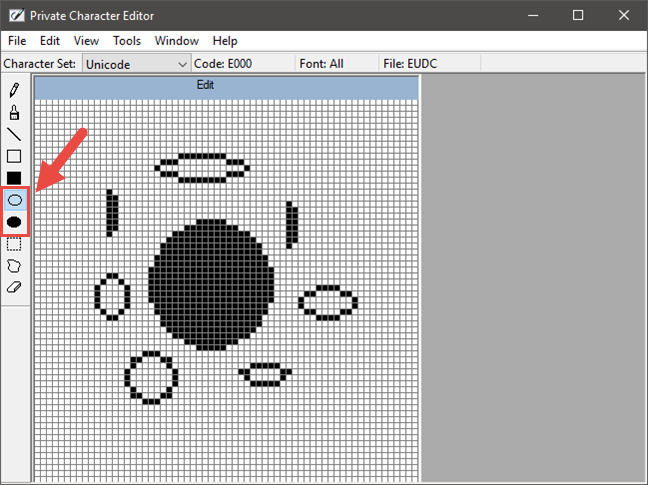
The Hollow Ellipse and the Filled Ellipse are the tools you need when you want to draw circles or any other rounded shape figures.
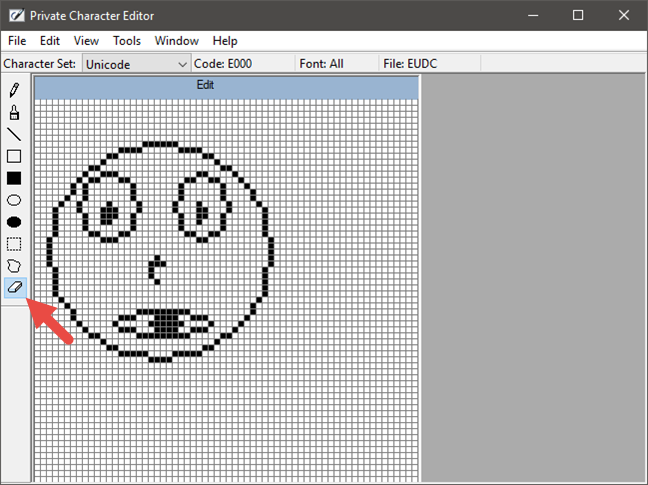
The Eraser tool, which you can find at the end of the tools list, simply removes 2 x 2 blocks from the drawing, no questions asked.
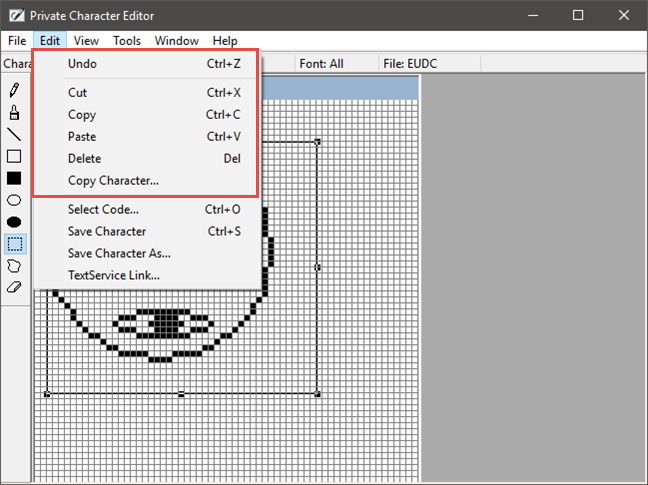
Step 4. Edit your new character
Sometimes you might also need to edit the character. For example, you might want to move a selection from one place to another, or you might want to delete entire parts of the character that do not look as you want them to. For that, use the next tools:
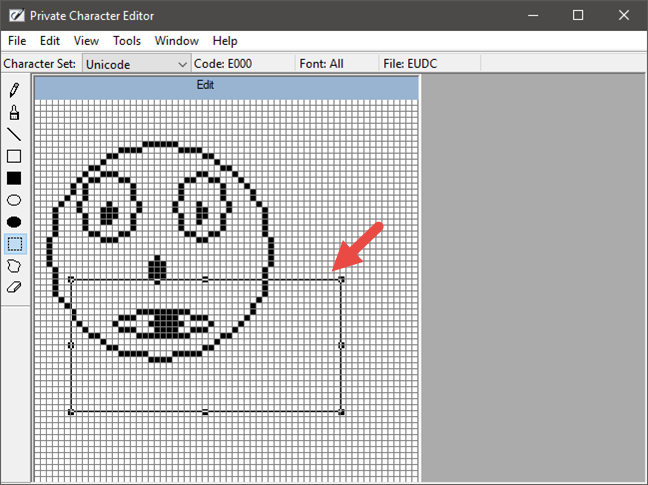
The Rectangular Selection tool from the left side of the window allows you to select a rectangle shaped area. Click or tap in the middle of the selected area to move it or drag its corners and sides to change its shape.
The Free Form Selection works similarly to the Rectangular Selection tool, but you can choose any shape you want to be selected.
As you would expect, you can also cut, copy, paste or delete any selection from the character. To do so, open the Edit menu at the top of the window and choose the option you want to use.
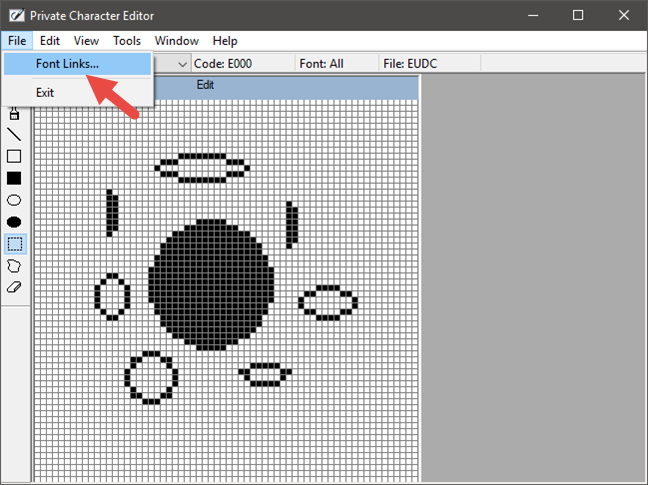
Step 5. Link the character with one or more fonts
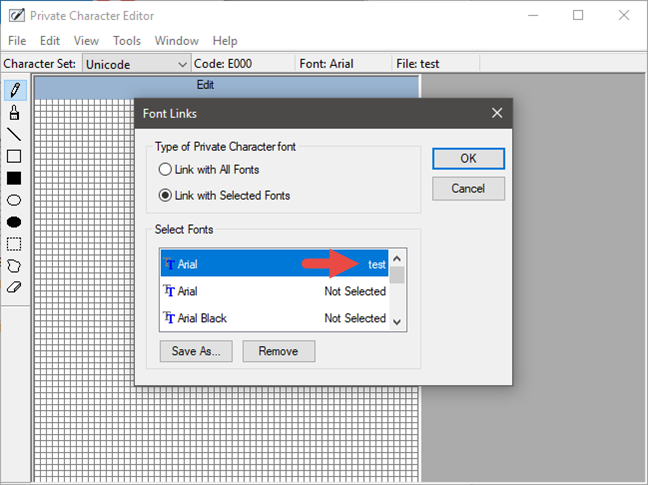
Private Character Editor allows you to link your character to either all fonts or a specific font. By doing this, the character is added to the selected font(s). To do this, open the File menu and click or tap on Font Links.
You are first asked if you want to save your character. Click or tap on Yes.

If you want to link the character with all fonts, select the "Link with All Fonts" option and press OK.
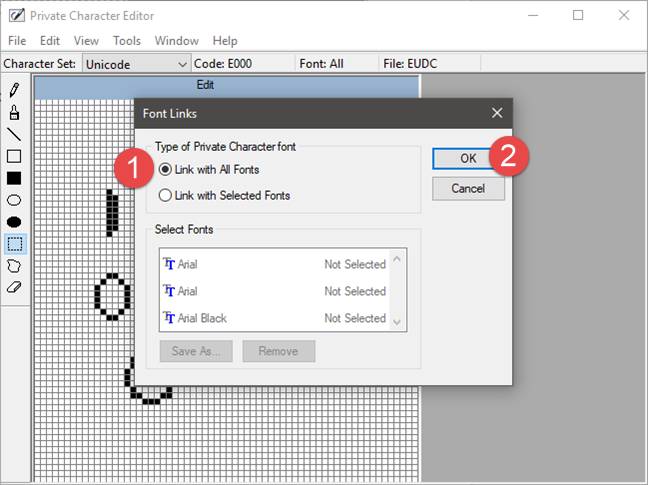
If you want to link your character to only one or more specific fonts, choose "Link with Selected Fonts," in the Font Links window. Select the fonts one by one and then click or tap "Save as" and choose a name for your custom character.

After you have chosen the name, it will be displayed as a character available with the font(s) you have selected. Press OK, and you are done.
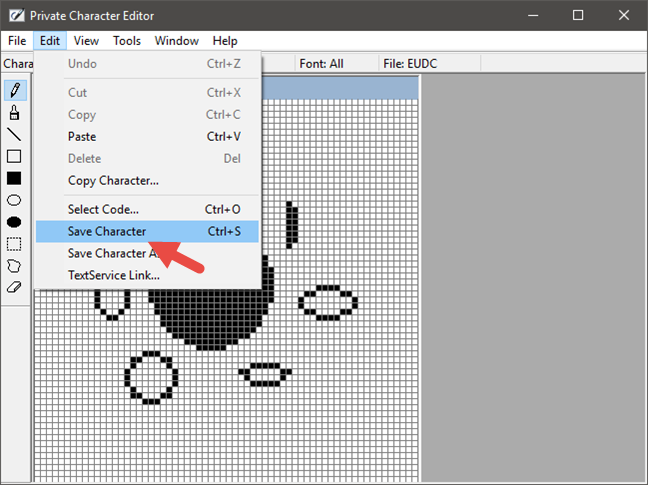
Step 6. Save your character
Now that you linked your character to a font, it is time to save it. Open the Edit menu and click or tap on "Save Character." Alternatively, you can also simultaneously press the Ctrl + S keys on your keyboard.
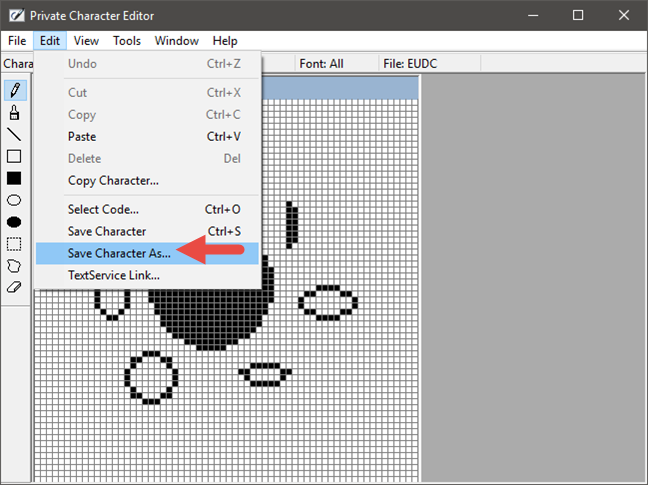
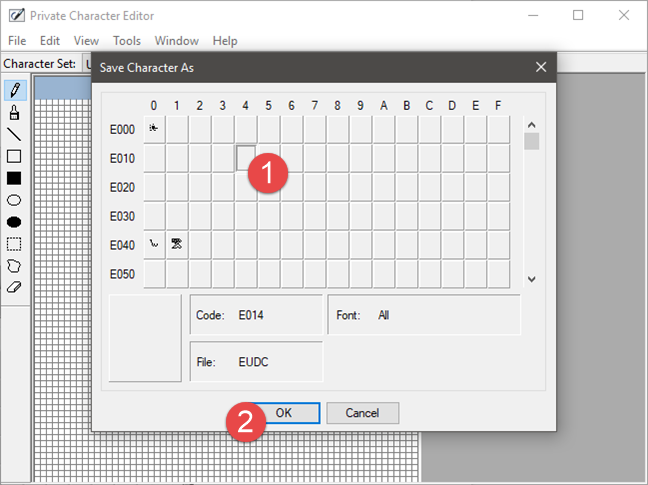
If you want to save it using a different hex code, go to Edit -> "Save Character As."
Choose the new hexadecimal code as its identifier and click or tap on OK.
Step 7. View and use your custom character
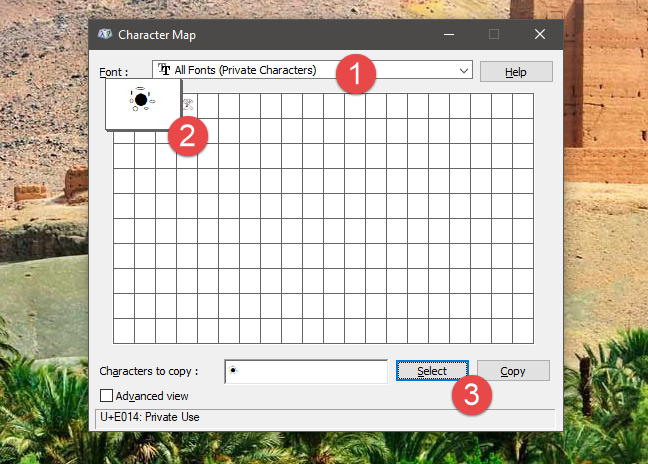
To see and then copy the new character you created into a document, open Character Map.
However, before you do that, make sure that you close Private Character Editor before searching for your symbol in Character Map. Otherwise, the search will not work. In Character Map, open the Fonts drop-down list and select "All Fonts (Private Characters)."
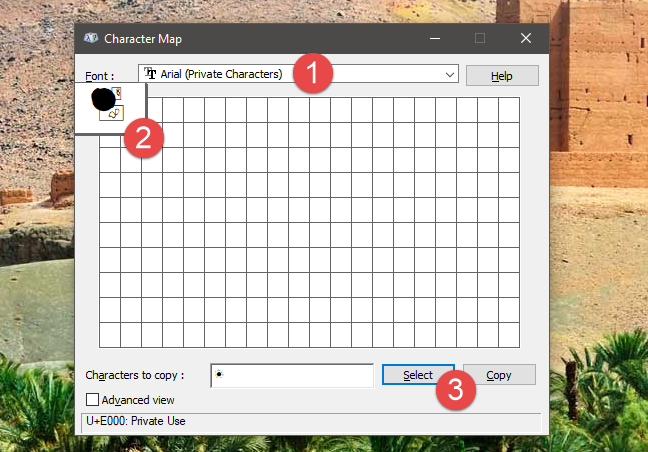
To find your new symbol in the Character Map, you can also select the Private Characters associated with the font to which it is linked. For example, we have saved the character from the next screenshot in the Arial font so that we will find it under Arial (Private Characters).
Now you can copy and paste it to any document, as shown in our Character Map guide.
Turn the page to learn how to use existing characters to create your own characters and how to also how to edit previously created private characters.