I recently searched for good and free screensavers. What I found was pretty distressing. Free screensavers appear to be a favorite delivery system for malware more than anything else. However, all is not lost. If you want a really good, free screensaver, you need look no farther than the contents of your own hard drive. Most of us have great photos and graphics that will work perfectly, and Windows Photo Gallery makes it easy to turn them into the best screensaver ever. Let's see how it is done.
How to Open the Screen Saver Settings
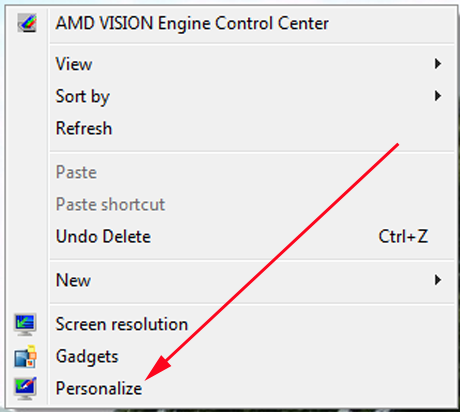
First of all, you'll need to open up Windows' screen saver settings. Right-click or long-press on the Desktop and choose Personalize. I'm using Windows 7 screenshots here; Windows 8 looks nearly identical.
From the Personalization window, click or tap on the Screen Saver icon on the lower right.
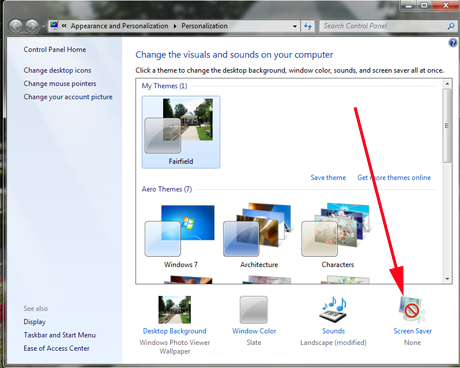
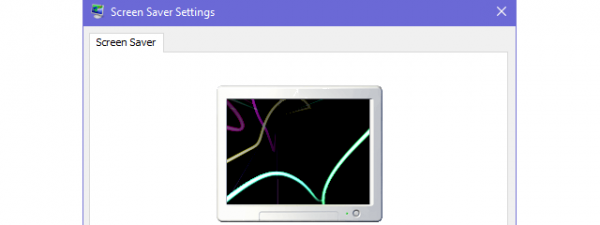
This opens up the Screen Saver Settings window, as you might expect. Another way of opening it, is to follow this path: "Control Panel -> Appearance and Personalization -> Change screen saver".
It will show if you have already chosen a screensaver, or show None if you haven't.
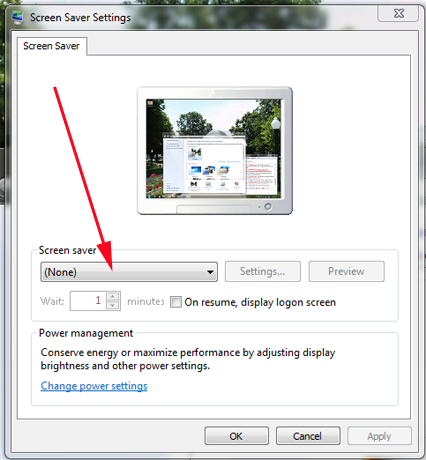
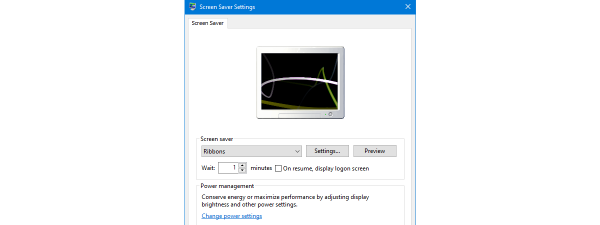
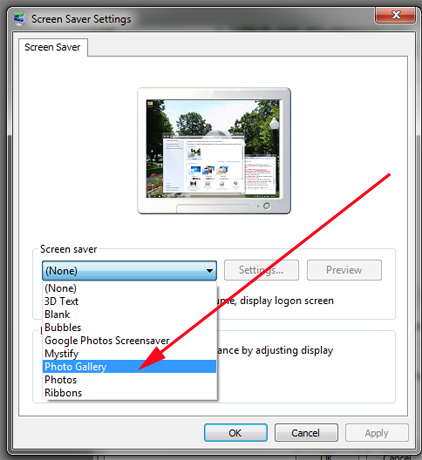
Click or tap on the down-arrow next to the screen saver name and you'll see a list of options.
How to Create Your Own Screen Saver
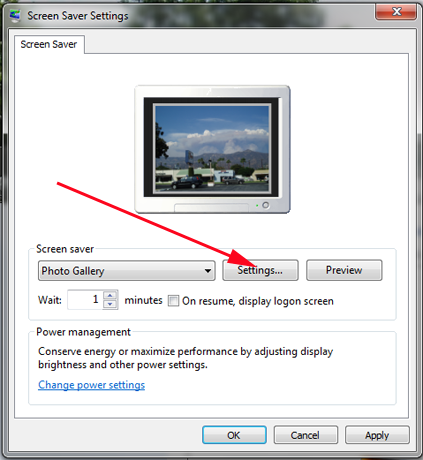
In the Screen Saver Settings window, choose Photo Gallery.
After a second or two, Windows accepts that choice. Click or tap on Settings.
The next window will let you choose what photos you want to use from Photo Gallery. You can choose to show all your photos, or pick one album to show. Since most of us have huge collections of images, not all of which would make good screen savers, it's a good idea to use some small subset of what you've got. You can filter your images by their tags, or by their ratings (if you've chosen to rate your images) and you can tell Photo Gallery not to show images with a particular set of tags. I'll get to that in a moment. For now, take the simple approach and pick one of your Photo Gallery albums. Here I have chosen an album full of pictures from our trip to the Grand Canyon.
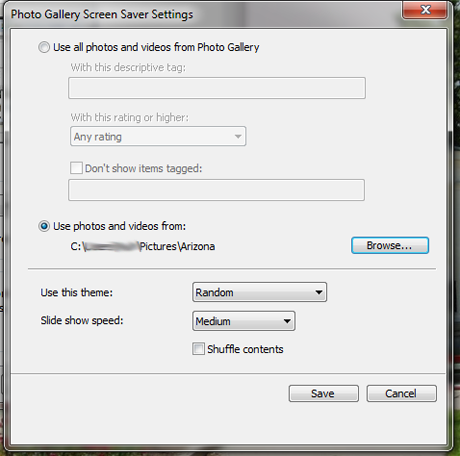
Now, click or tap on Use this theme. That will let you decide how the images will be displayed on your screen when they're acting as a screen saver. This is the standard set of display controls for Windows screen savers.

The best thing to do with this is to click or tap on each one in turn so you can see what they look like in action. After you Save the settings you've made, you can either watch a preview of the screen saver in the small screen in the window, or click or tap Preview if you want to see it full screen.
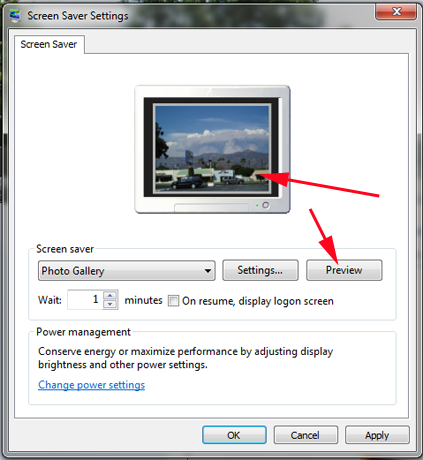
Preview may take a steady hand, because if you move your mouse even slightly after you click, it will cancel the preview.
How to Use Tags to Personalize your Screen Saver
If you have added tags in Windows Photo Gallery, you can set up your screen saver to use only the photos that carry the tags you specify. Here's our recent tutorial that explains how to tag people in Photo Gallery: How to Tag People in Photos with Windows Photo Gallery. Adding Geotags or Descriptive tags works exactly the same way.
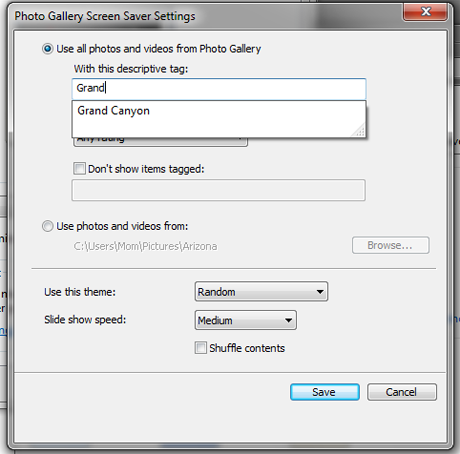
I found that when Screen Saver says Use descriptive tags, that's exactly what it means. You have to use the Descriptive tags feature in Photo Gallery to put a descriptive tag on your photos, or the Screen Saver can't find them.
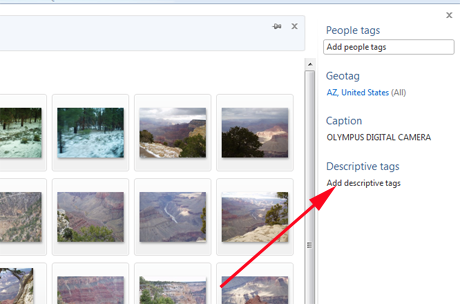
Fortunately, it is very easy to select all the photos in an album: click or tap on any image, then press Ctrl + A to select all the images. Then, click or tap Add descriptive tags and put in whatever you like. I have tagged all these photos as Grand Canyon.
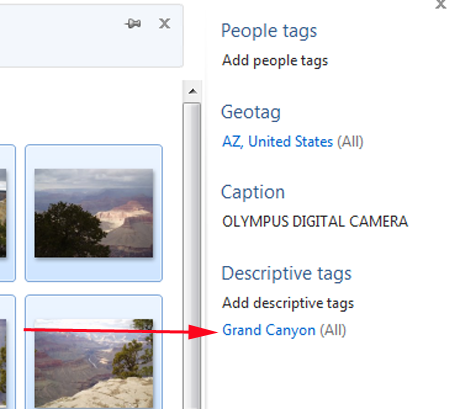
And now I can tell the screensaver to use my Photo Gallery images of the Grand Canyon.
NOTE: If you have a really old and/or really marginal video card you might get a message saying that your video card can't play themes. If this happens, you can check this article for a solution: "This Computer's Video Card Can't Play Themes" Message in WLPG Screensaver Settings Dialog.
Conclusion
If you like screensavers and don't want to spend money buying a commercial one, and don't want to put your system at risk with a "screensaver" that's nothing but a delivery system for malware, creating your own is the way to go. We have a lot of great reviews of security software, but it would still be better not to push your luck. 🙂
Windows Photo Gallery connects seamlessly with Windows' own Screen Saver application (except for the one small quirk about the descriptive tags) and you should be able to create your own customized screen saver in only a few minutes. Definitely better than someone else's notion of outer space or cartoon superheroes or animated graphics just waiting to eat your hard drive for lunch.
Have you created your own screensaver? Which of the variations did you like best? Please let us know in the comments.