A picture's worth a thousand words - but sometimes, your home movie or photo slideshows can benefit from just a bit more. That's where titles, captions and credits come in. Windows Movie Maker allows you to add these textual elements in a snap. You can even give them a professional look and feel by tweaking the font and style and by adding cinematic effects. In this tutorial, we'll teach you the differences between titles, captions and credits and when to use each of these.
What Are Titles, Credits And Captions?
Here are the definitions for each in a nutshell:
- Titles are standalone clips meant to precede a movie;
- Credits are standalone clips meant to follow your movie;
- Captions are text that are superimposed on top clips or photos.
Windows Movie Maker provides buttons for each of these but, in practice, titles and credits clips behave exactly the same, once you move them around on the timeline. You'll see what we mean once we dive into the details.
How To Add Titles Clips In Windows Movie Maker
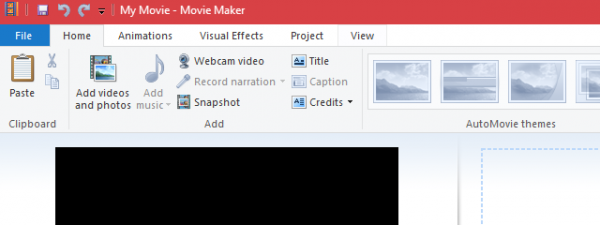
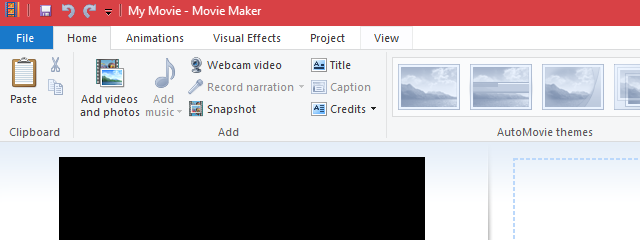
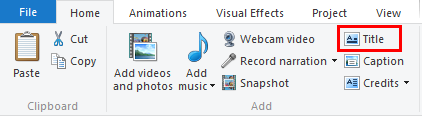
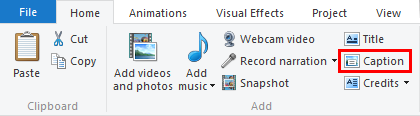
All the text clip buttons are tucked away in the Home tab on the ribbon. The first one is the add Title button, found in the Add section. Click or tap it and Windows Movie Maker will insert a new Title clip at the very beginning of your movie.
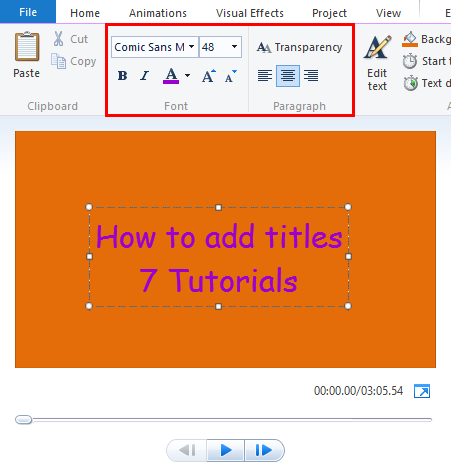
As soon as you add a Title clip, you'll be taken to the Format tab on the ribbon.
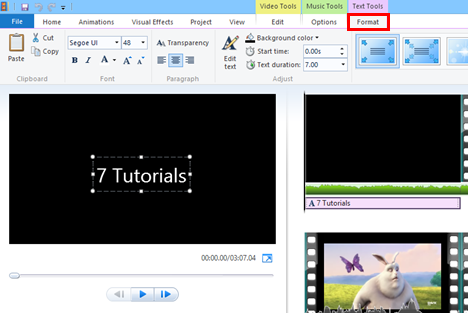
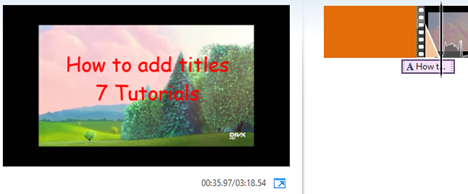
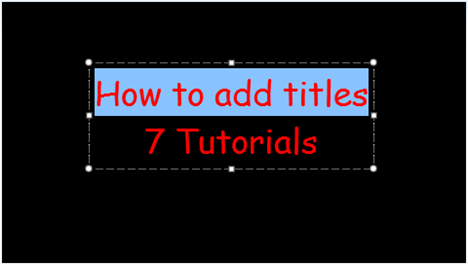
The first thing you'll want to do here is change the default text from to something more meaningful to you. If the text isn't already selected, click it in the Preview window.

In the Format tab, you can format the text as you see fit. If you've ever used Microsoft Word, this should be familiar to you. You can see your changes in the preview window below.
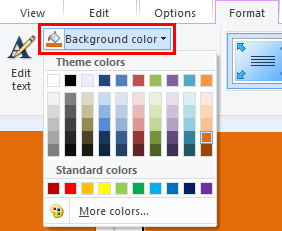
As you'll notice from the screenshot, I've also changed the background color. In order to do this, press the Background color and choose a color. This can only be done with Title and Credit clips.
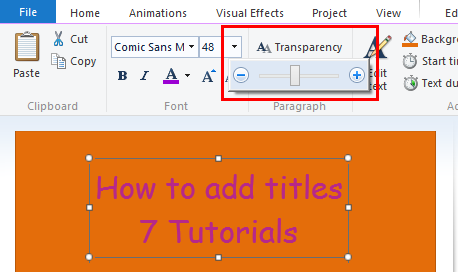
You can also change the Transparency by moving the slider. This will be more useful for Captions, which we'll talk about next.
But before we move on, let's take a look at changing the duration of the Title clip. This can be a little bit confusing, because there are two durations to deal with: the Video duration and the Text duration.
The Video duration refers to the time that the entire clip is displayed. If you want to change this, you have to click first the Edit tab beneath Video tools. Here, you can specify how long the entire Title clip will be.
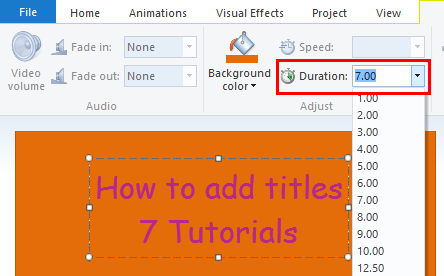
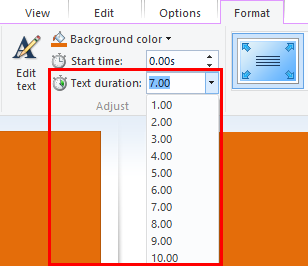
The Text duration and start time changes how long the text will appear on the title clip. Normally, the Text duration is equal to or less than the Title/Video clip. If the duration is shorter than the video duration, then the text will fade away before the Title clip disappears and transitions to the next clip in your timeline.
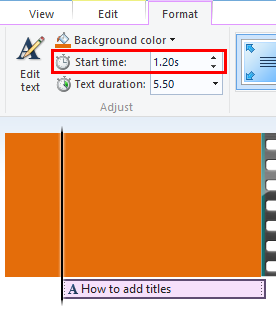
You can also bump the start time forward, so that the text appears shortly after the Title clip is displayed.
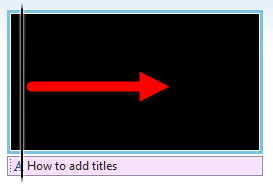
An easier way to alter the start time is to simply drag and drop the text element on the timeline.
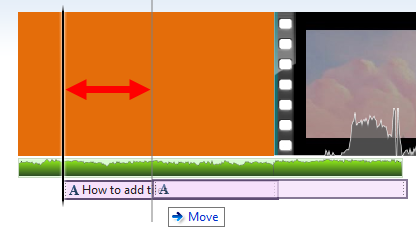
Note that the text item is independent of the Title clip - you can move it to another clip, or have it overlap and spill over to another clip.
How To Add Captions In Windows Movie Maker
Captions are text elements without a dedicated clip or colored background. Instead, they are applied to existing photos or video clips. The add Caption button is on the Home tab on the ribbon, just below the Title button, in the Add section.
When you press the Caption button, Movie Maker will insert a text element wherever the playhead is.
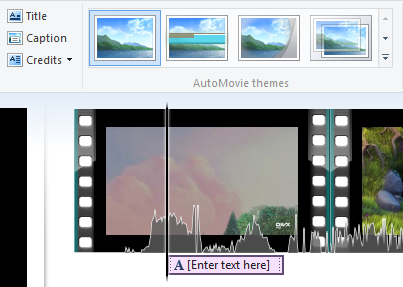
You can edit, format and position your caption just like you did with the text element that was associated with the Title clip.

You can't, however, set a background color for Captions. That's because the background of the caption will always be the photo or video clip beneath it.
How To Add Credits In Windows Movie Maker
The last button in our set is the add Credits button.
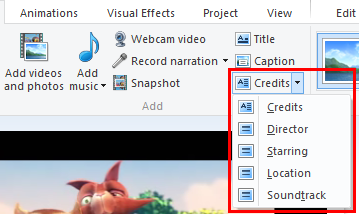
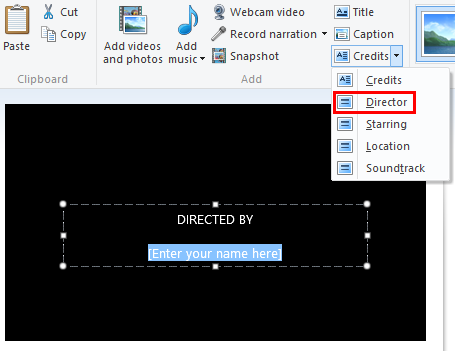
Once your Credits clip is on the timeline, it functions exactly the same as a Title clip. The Credits button, however, differs from the Title clip button in that it adds the Credits clip at the very end of your movie and automatically adds preceding text for "Credits", "Director", "Starring" or "Location" based on which option you choose after you click the arrow next to the button.
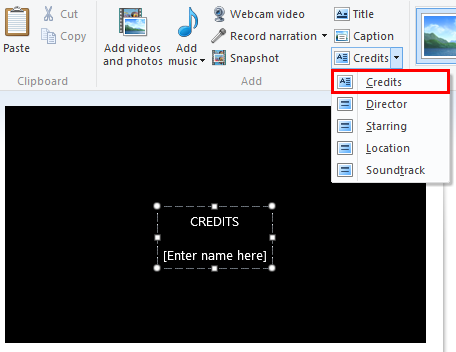
For example, when you choose Credits, it creates a text element with the word "CREDITS" and a space for you to enter names.
If you choose Director, it inserts "DIRECTED BY" and leaves an area for you to enter your own name.
This text behaves no differently than it would if you would have simply typed it yourself.
How To Work With Text Effects
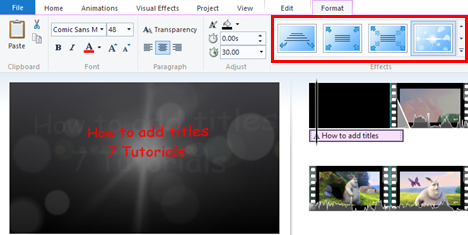
The text effects can be applied to Titles, Captions and Credits. If you want to add such an effect, simply select the text element on your timeline and choose an Effect from the gallery in the right-hand section of the Format tab under Text Tools.
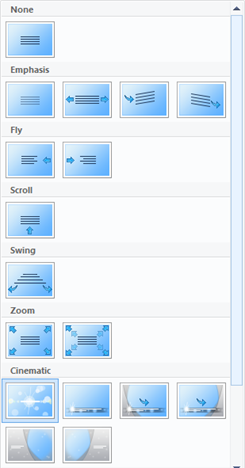
There are 24 different text effects, from the classic Emphasis or Scroll to the more ornate Cinematic or Contemporary style.
Note that if you choose a text effect where the text fades in, flies in or is otherwise not visible at the very beginning of the animation, you won't be able to see it when your playhead is right at the beginning of the text element. This isn't a bug - simply advance your playhead to see the text, just as it will appear in that point of time in your movie.
You can still edit the text at any point in the timeline, however, and the changes will apply to the entire text element.
Tips & Limitations
While adding Captions, Credits and Titles in Movie Maker is incredibly easy, the feature is somewhat limited. For one, you cannot have more than one text element at any given point in the timeline. This means that you can't have two or more different text styles in any clip. For example, if you wanted the word "Credits" to appear in bold, but the rest of the text to be in italics or normal font weight, this simply isn't possible. Also, if you wanted a caption on top of a Credit or Title screen, this is likewise not possible.
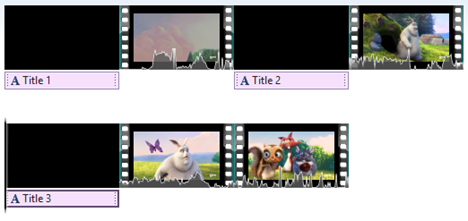
On the other hand, you can add as many Title or Credits clips as you want. You can also move them around to anywhere you want in the timeline, including in the middle of your movie. In this way, you can use them to divide sections in your movie.
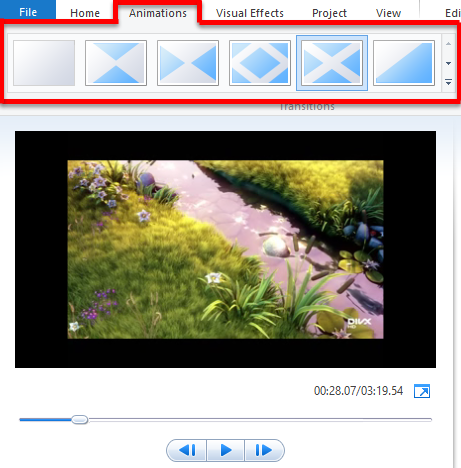
Also note that you can add transitions from the Animations tab to Title clips, just like you would with normal video clips.
Conclusion
As you can see, adding a bit of explanatory text to any point in your movie is incredibly easy with Windows Movie Maker. While you won't be able to create advanced call-outs - such as speech bubbles, drawings or text boxes - nor can you include multiple text elements on the same clip, you can add text effects and transitions to them to give them a more professional look and feel. For more information on Windows Movie Maker, check out some of our related articles and if you have any questions or problems about this tool, do not hesitate to use the comments form below.