What desktop app do you use to burn your data to DVDs, CDs or Blu-Ray discs? If you are thinking Nero, Roxio, Power2Go or any other third party application for Windows, you might be interested to know that you also have a free option built right into your operating system. Both File Explorer and Windows Explorer have the ability to burn data to CD, DVD or Blu-ray discs. Stop downloading, installing or (shudder) paying for third-party software; instead, read on to learn how to use the built-in tools that are made available by Windows:
NOTE: This guide is for all modern versions of Windows: Windows 10, Windows 7 and Windows 8.1. Because Windows 10 is the newest version and because the process of burning discs is mostly the same in all Windows versions, throughout this guide we use screenshots taken mainly in Windows 10. However, when needed, we also include screenshots from Windows 7 and Windows 8.1.
How to start the disc burning process
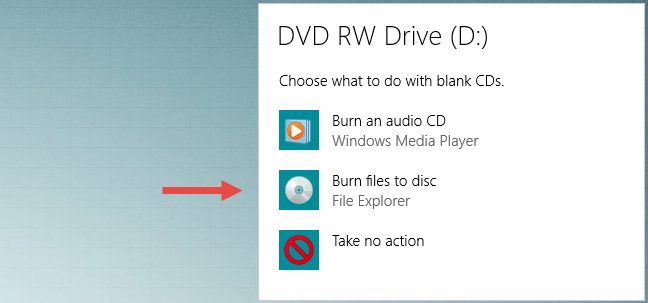
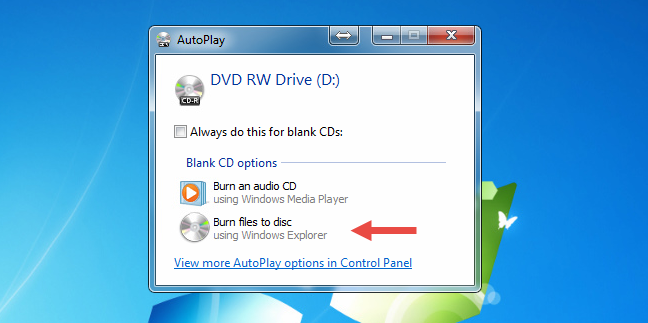
To get the burning started, you need to insert a blank or rewritable disc into your disc drive. Once the disc spins up, Windows recognizes it and ask what you want to do. The AutoPlay prompt looks different in different versions of Windows, but the options provided are similar.
This is what it looks like in Windows 10:
Here's how it looks in Windows 7:
Moreover, here's how it looks in Windows 8.1:
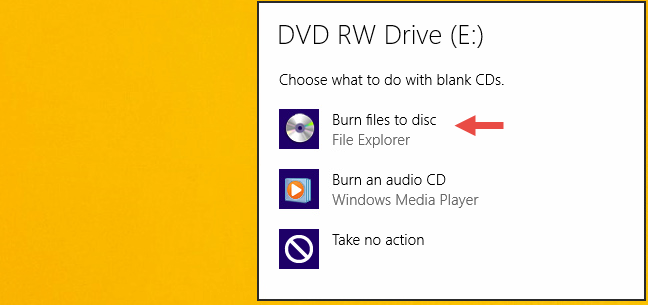
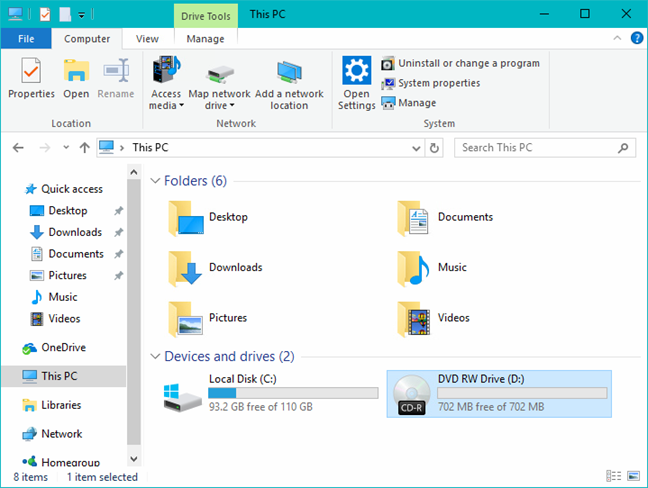
Click or tap "Burn files to disc." If you have AutoPlay disabled, you will not see the pop-ups shown above. Instead, you have to open File/Windows Explorer and double-click (or tap) your disc drive in the "This PC" section from Windows 10, or in the Computer section from Windows 7 or Windows 8.1.
You are greeted by a dialog that gives you two options for burning your disc.
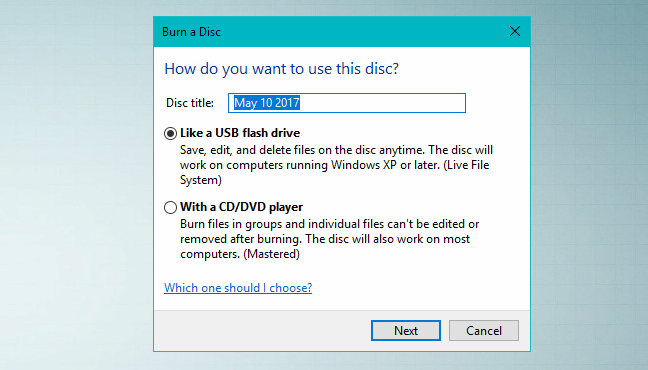
Make your selection depending on how you intend to use the finished product:
-
Like a USB Flash Drive - This burns the disc using the Live File System, which allows you to add or remove files at will like you would on a flash drive. Discs burned in this manner are only usable on computers running Windows.
-
With a CD/DVD Player - This options burns your files and closes the disc allowing it to be played in a CD/DVD player or on any other computer. Files can still be added after the disc is closed, but you will not be able to remove the files that are already burned.
How to burn discs for use like a USB flash drive
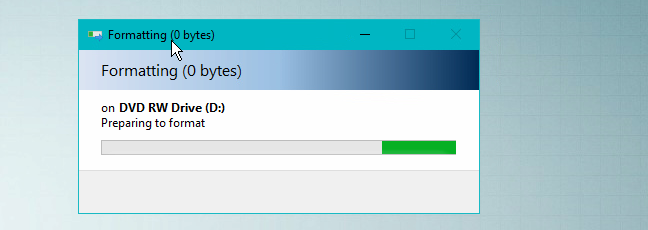
If you opt to burn a disc on which files can be added to or removed from at will, select "Like a USB flash drive" and click or tap Next. Windows will take some time to format the drive. Depending on the type of disc you want to burn, this process can take a while. This will work on both normal discs and rewritable discs.
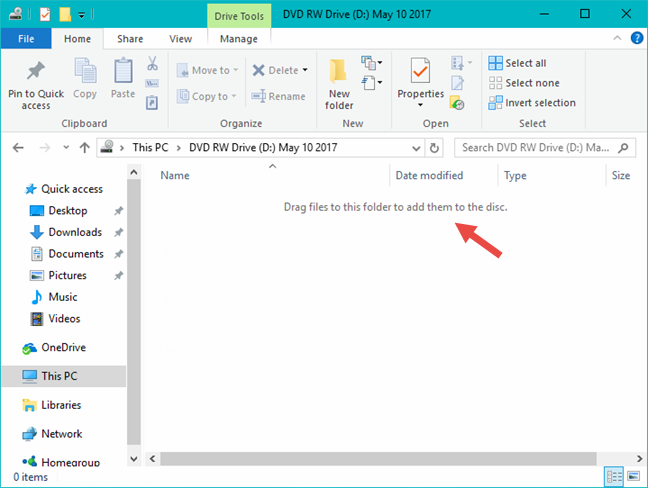
Once the disc is formatted properly, you can use File/Windows Explorer to open the disc. When you look at its root location, you see a message that says: "Drag files to this folder to add them to the disc."
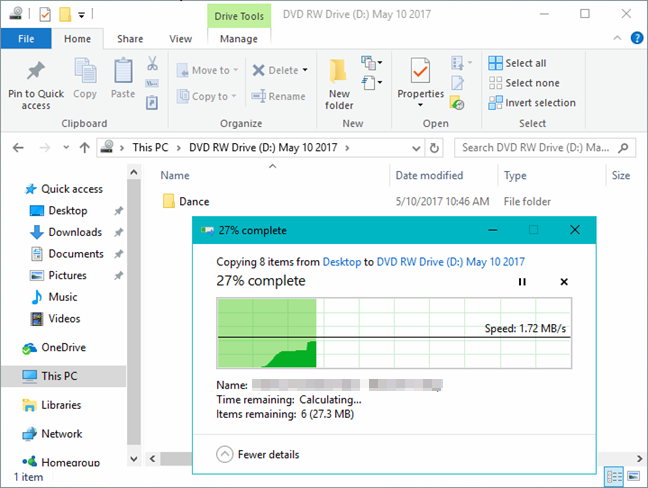
Find the files or folders you want to burn and either drag and drop them to the disc or copy and paste them. When you add files, they are automatically burned to the disc.
The file copying dialogue shows the status of the disc burning operation.
Once files are burned to the disc, you can go ahead and remove them if needed. Just select a file, right-click (or press and hold) and hit Delete.
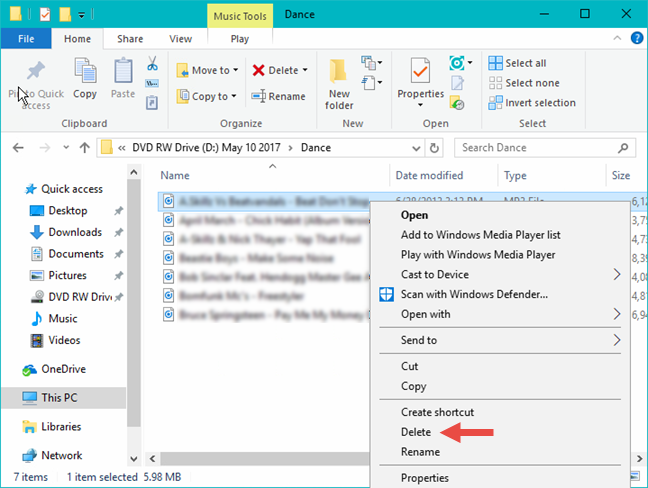
In Windows 10 and Windows 8.1, you can also use the Delete button found on the ribbon, on the Home tab. When asked if you are certain that you want to permanently remove the file, click or tap Yes.
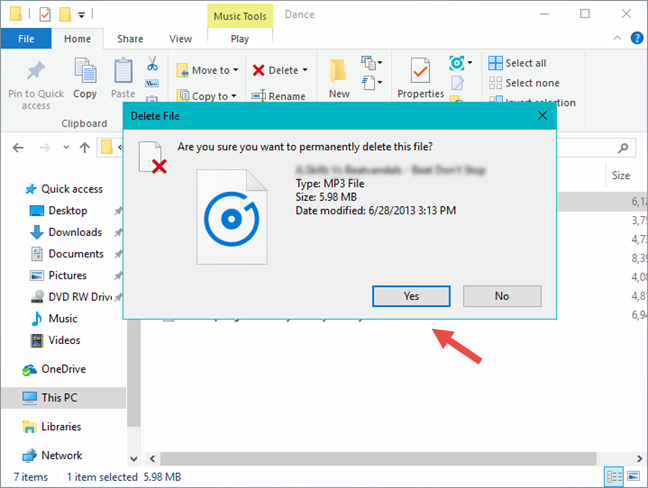
The files deleted from a disc are not sent to your Recycle Bin. They are truly gone after the deletion. When you have finished adding or removing files from your disc, you should close your session. This allows you to remove the disc and continue using it like a flash drive on another computer. Read on to learn how it is done.
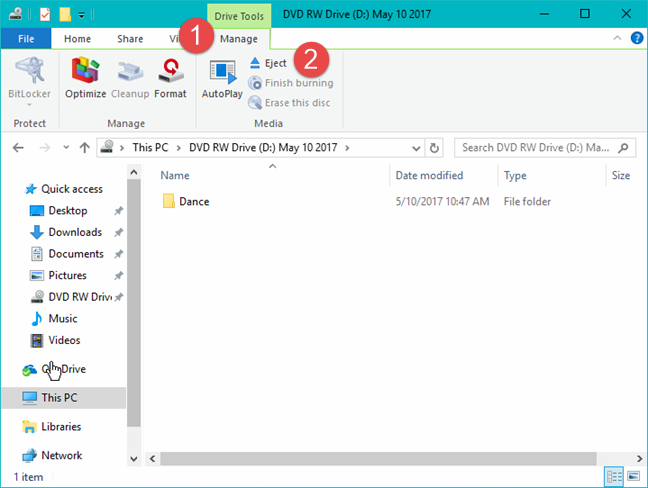
How to close a disc burning session in Windows 10 and Windows 8.1
In the File Explorer window, go to the root of the disc you just burned and deselect any files or folders you may have highlighted. Next, click or tap the Manage tab on the ribbon and then click or tap Eject, in the Media group.
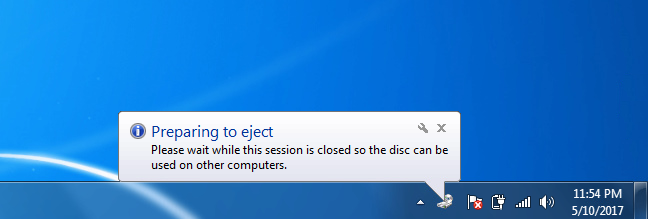
A notification is shown, that Windows is preparing to eject the disc. Wait for the session to be closed.

Each time you close a session, approximately 20 MB of data is used from your disc. Also, neither Windows 10 nor Windows 8.1 provides the option to close the session without ejecting the disc.
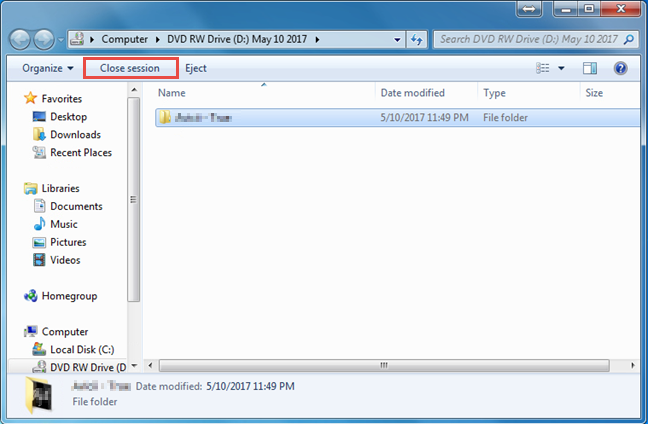
How to close a disc burning session in Windows 7
You have two options to close a burning session in Windows 7. If you want to keep the disc in the drive after closing the session, click "Close session," on the top of the Windows Explorer window.
If you intend to remove the disc after completion, click Eject.
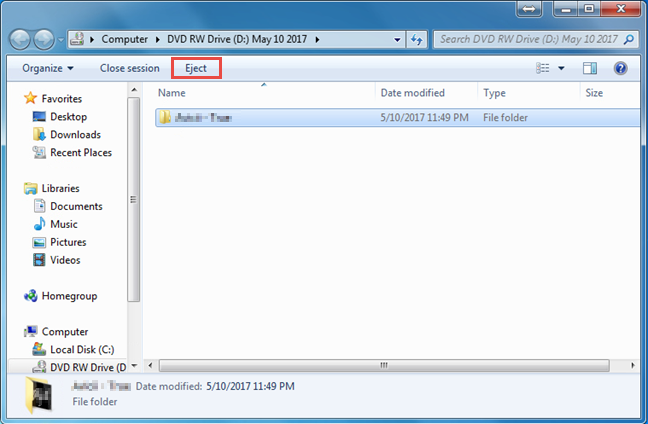
Even when you click Eject, Windows 7 will close your session before releasing the disc
Read the next page of this guide to see how to burn a disc for use in a CD or DVD player, how to add files and folders to completed discs, how to delete temporary files waiting to be burned on a disc and how to erase re-writable CD/DVD discs.