While not everyone takes the time to personalize the look of their laptop or desktop PC, some are obsessed with this aspect. Luckily, Windows 10 is versatile when it comes to customization, and changing its theme lets you modify several visual elements and sound effects simultaneously. You can change the background, the color, the sound, and the mouse cursor whenever you choose a new theme. Here’s how to change the theme on your Windows 10 computer or device:
What is a Windows 10 theme?
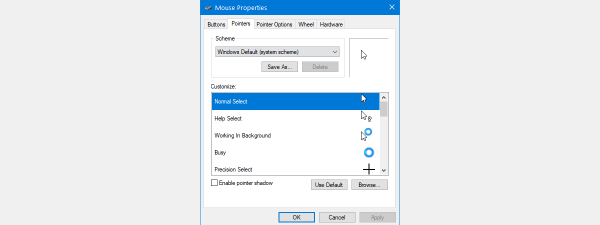
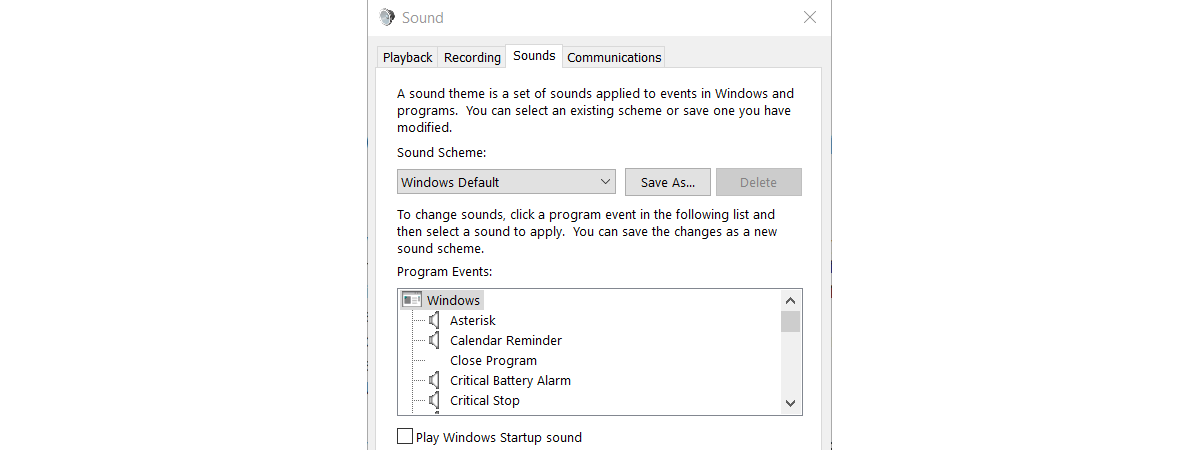
The theme is not just the wallpaper you see on your Windows 10 desktop but a collection of settings that change the operating system’s visual appearance and sounds. While most themes only alter the color scheme and wallpapers used by Windows 10, some can also change the sound scheme, the mouse cursor’s appearance, and even the standard desktop icons.
A theme is a collection of settings
You can customize individual items like sounds or the mouse cursor without changing the active theme. However, Windows 10 will consider that you’re using a custom theme the moment you alter any of your theme’s default settings.
How to change the theme in Windows 10
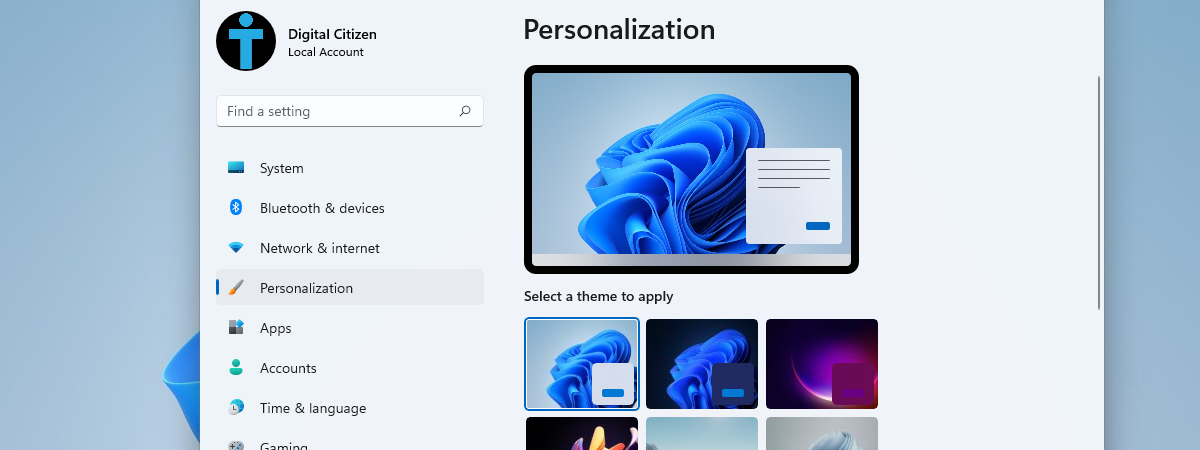
Changing the theme in Windows 10 is done from the Settings app. Therefore, you either open Settings (Windows + I) and access Personalization, or right-click (or tap and hold) on a free area on the desktop and choose Personalize.
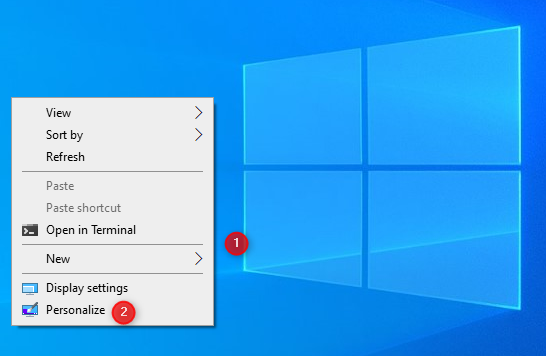
Right-click the desktop and choose Personalize
This takes you to the Background settings. Here, you can change the desktop wallpaper in Windows 10. To change the theme, skip this section and select Themes in the column on the left.
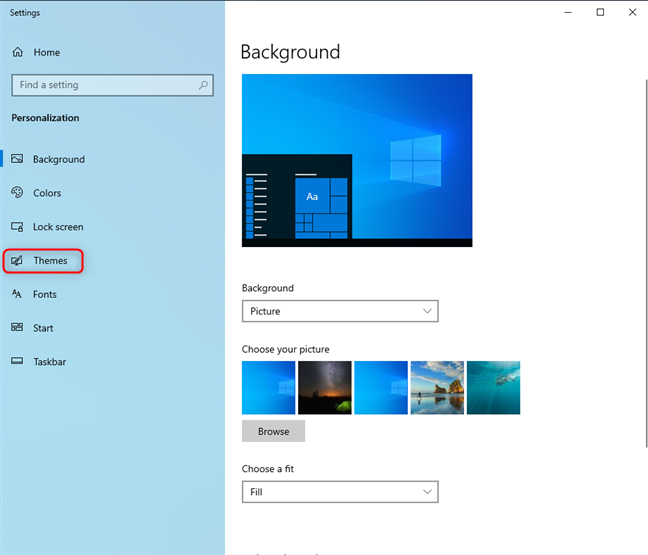
Go to Themes
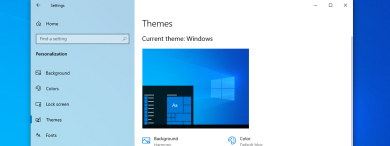
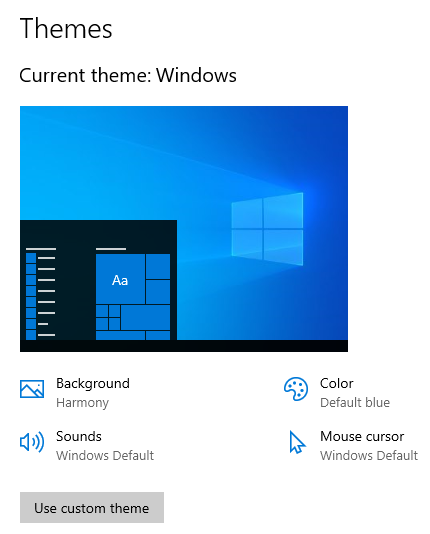
At the top of the Themes section on the right, you see the elements that make up your Current theme: its background, color, sounds, and mouse cursor. Scroll down to the Change theme section to discover all the themes installed on your Windows 10 computer or device.
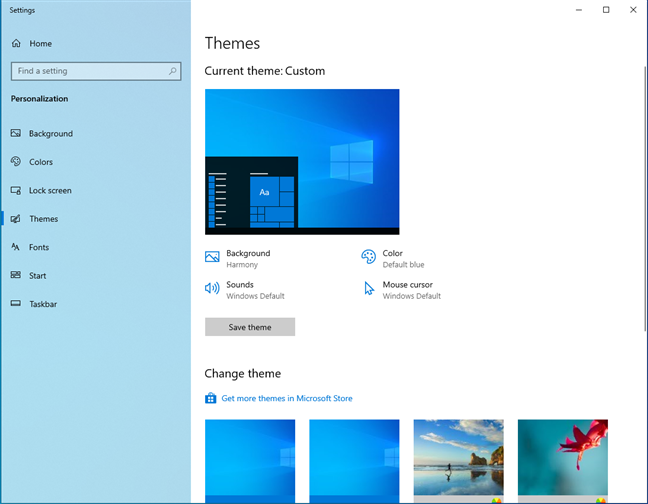
The Themes section in all its glory
Unfortunately, Windows 10 comes only with a few built-in themes:
- Windows - the default theme with one wallpaper featuring the iconic Windows 10 logo.
- Windows (light) - a variation of the default theme that also enables Light mode in Windows 10.
- Windows 10 - a theme that contains a slideshow of five beautiful wallpapers.
- Flowers - another theme featuring six wallpapers with flowers.
The list is short, isn’t it? Oh, and there’s no Dark Mode theme. Instead, Windows 10 has a Dark Mode that you can apply on top of the active theme. To switch between the available themes, click or tap their name.
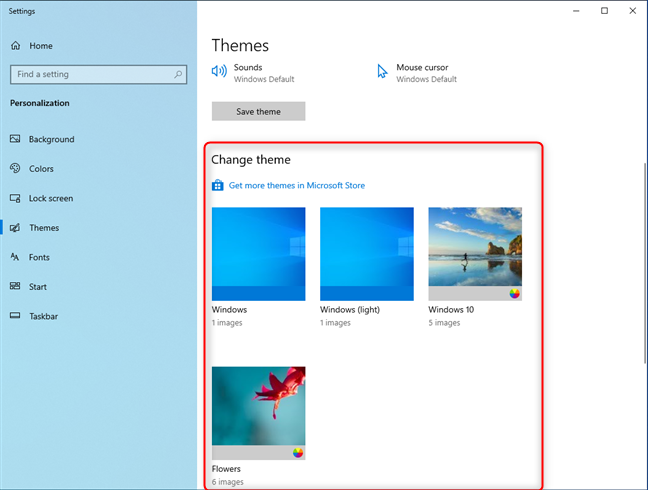
Change the Windows 10 theme
Windows 10 immediately changes the active theme with the one you selected. The new current theme and all its elements are displayed at the top of the Themes section.
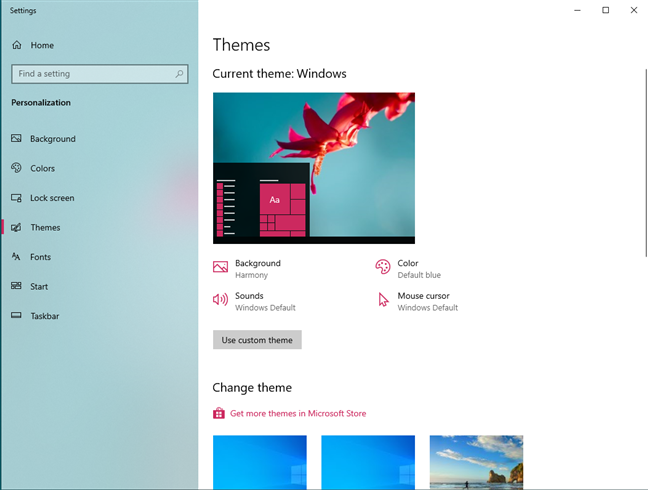
The new theme is applied
If you’re satisfied with your new theme, close Settings, and you’re done.
How to download Windows 10 themes for free
While you can search on Bing or Google for free Windows 10 themes, Microsoft also offers you some, which can be downloaded easily. In the Themes section from the Settings app, scroll down to Change theme. Click or tap on the “Get more themes in Microsoft Store” link.
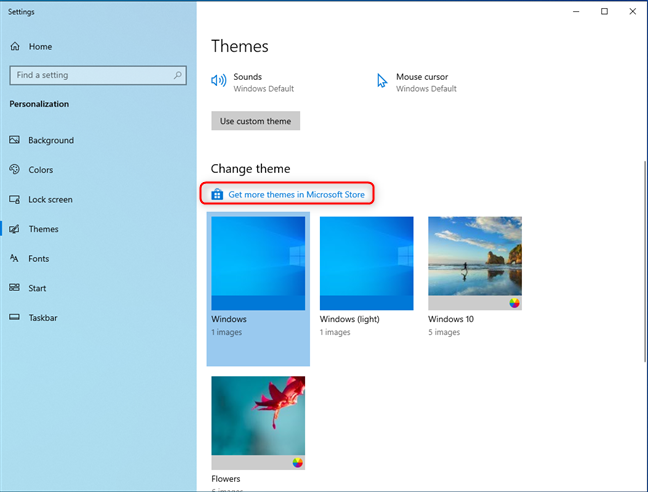
Click or tap Get more themes in Microsoft Store
This action opens the Microsoft Store to the Windows themes section, where you find dozens of options. Browse through the ones available. The one I like best is the first on the list: Pantone Color of the Year 2022. To install a theme, first, click or tap on its name.
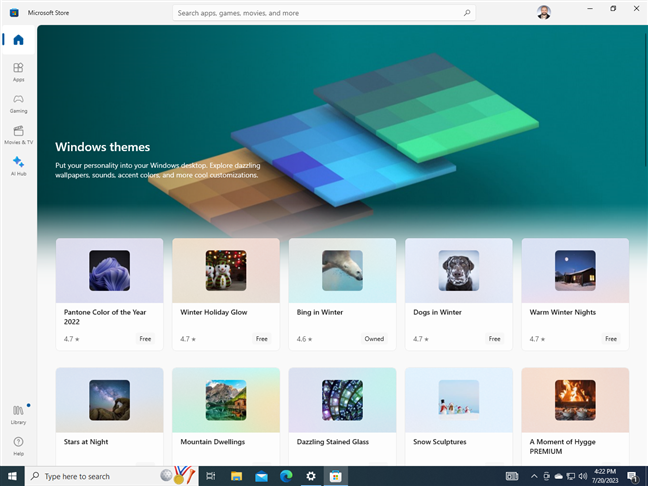
Browse the Microsoft Store for themes
You see a Microsoft Store page with details about the theme, screenshots, etc. To install the theme, press Get.

Get the Pantone Color of the Year 2022
Wait for the Windows 10 theme to be downloaded and installed on your computer or device. Then, click or tap Open.
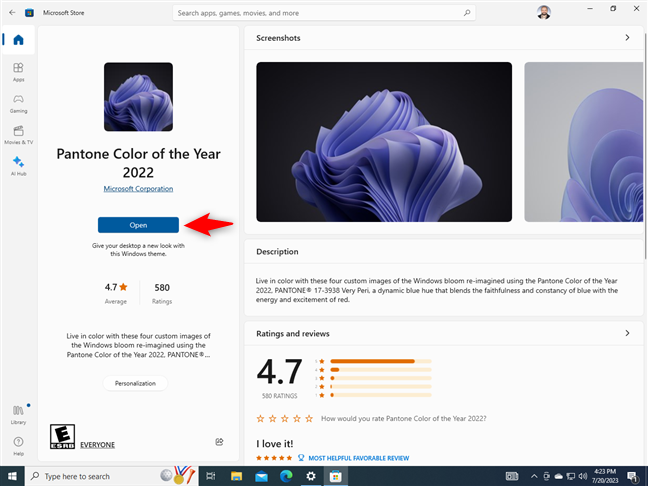
Open the Pantone Color of the Year 2022 theme
You’re taken back to the Themes section from the Settings app. You can see the newly installed theme on the right, under Change theme. Click or tap on its name to apply it.

Click or tap Pantone Color of the Year 2022
The Pantone Color of the Year 2022 theme is even cooler than the Dark Mode many people love. You should also try it.
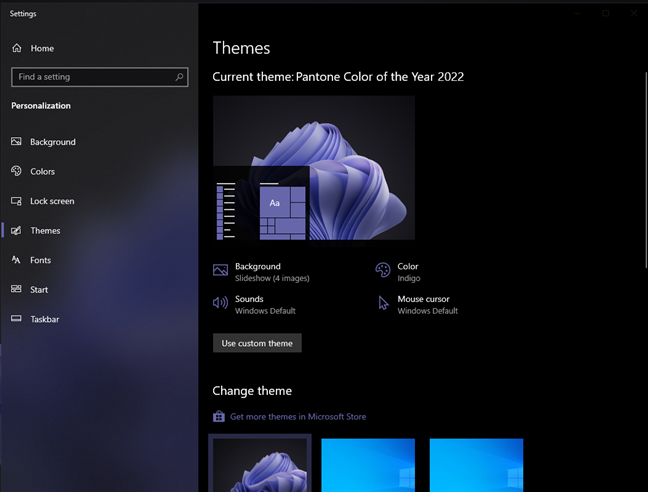
Pantone Color of the Year 2022 in all its beauty
The process for downloading Windows 10 themes from the Microsoft Store works the same for all the themes available there.
BONUS: The best Windows 10 themes from Microsoft
Microsoft has also constructed a website with free themes you can download for Windows 10 and other versions of Windows. Go to this page: Desktop Themes. The themes are split into categories: Animals, Art, Automotive, etc.
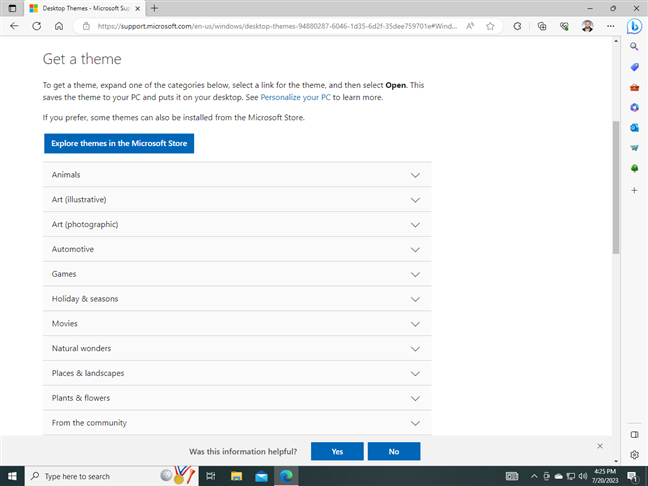
The Desktop Themes website created by Microsoft
Expand the categories that interest you and download the themes that seem appealing. Then, open File Explorer, go to your Downloads folder, and you can find the themes there. They’re saved as files with the file extension “.themepack.” Double-click on a downloaded theme, and it is automatically applied.
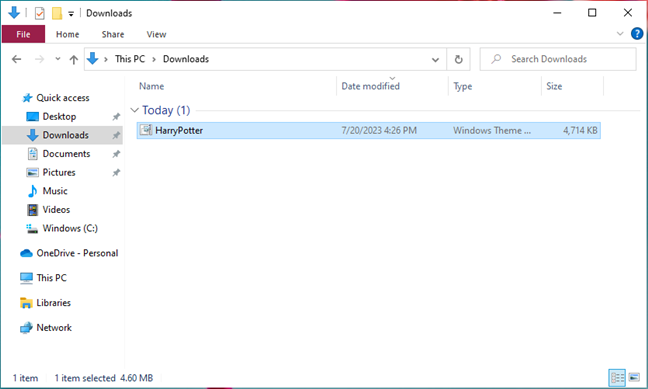
Double-click on the theme you've downloaded
Here’s a Harry Potter theme I’ve downloaded. It looks cool, doesn’t it?

Do you like my Harry Potter theme?
Which theme from Microsoft’s collection do you like?
How to delete a Windows 10 theme
If you download and install many themes and later figure out that you don’t like some of them, you can delete them. Go to the Themes section in the Settings app, as shown in the first section of this tutorial. Scroll down to Change theme and first click or tap on a theme you want to use as the current one. Then, right-click (or press and hold) the theme you want to remove and choose Delete.
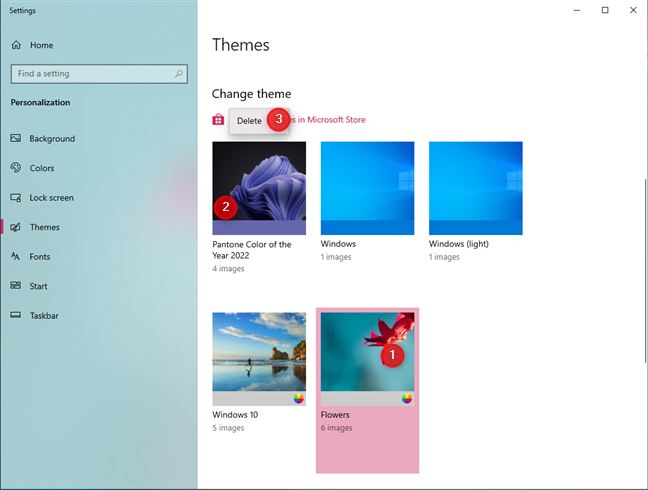
Right-click and choose Delete
Keep in mind that you can’t delete an active theme. You must first change the active theme with another one, then delete the theme you no longer want. If you’ve downloaded the theme to your Downloads folder, don’t forget to delete its “.themepack” file from there too.
Did you find any great-looking Windows 10 themes?
Themes are a great way to try out different looks for the user interface displayed by Windows 10. I highly recommend browsing the Microsoft Store or Microsoft’s dedicated website and trying themes out. I personally love the Street Views Premium and Fibonacci Sequence in Nature. What about you? What Windows 10 themes did you find interesting? Share your findings in the comments below.