Do you have a brand new computer on which you need to install and configure everything: starting from the operating system to drivers, applications, plugins and so on? Do you need to delete everything from an "old" computer and reinstall all from scratch? If the answer is yes to either of these questions, then you are in luck! After setting up many computers (both old and brand new), we created a checklist of steps you must go through, in order to have the best experience possible: without (too many) crashes, in the least possible time and in a secure way. This article shares the optimized list of steps you need to go through, in order to have everything working correctly.
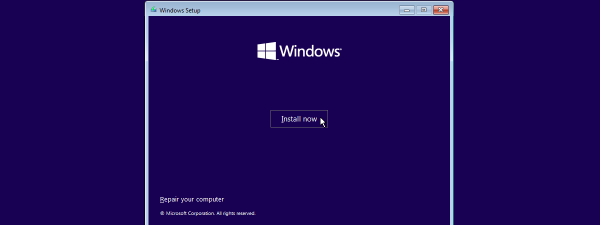
Step 1. Install the operating system (Windows 10, Windows 8.1, Windows 7, and/or others) - Mandatory
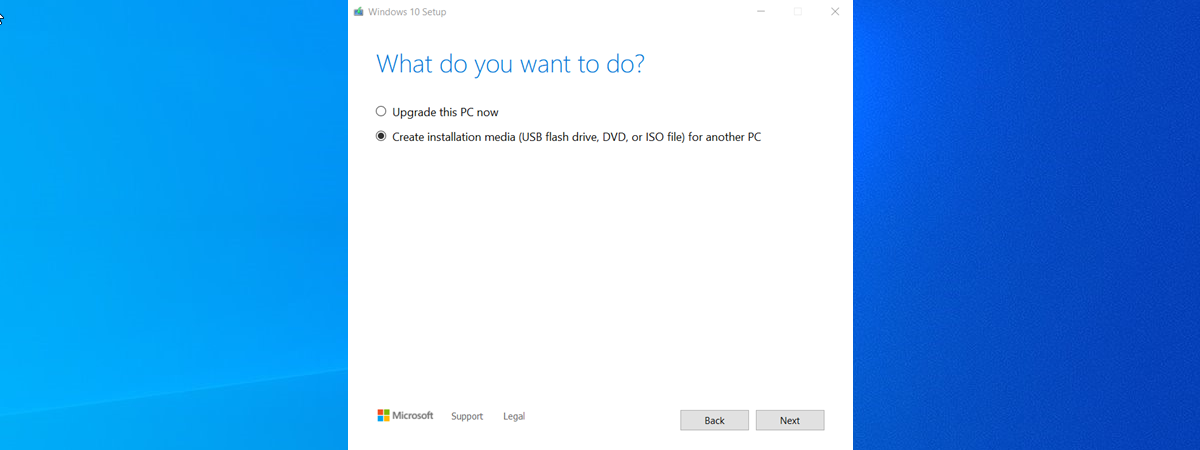
First things first: you need to install the main operating system. If you have any secondary ones, those can be left until you finish everything you need to set up on your main one, to make things easier. Since you are reading us, you probably use a version of Windows 10, Windows 8.1 or Windows 7. To help you out, we published several installation guides which cover many of the possible installation scenarios:
- How To Install Windows 10 Using Retail Media Or An ISO Image
- How to Install Windows 8.1 RTM On Your Computer
- How To Upgrade Your Windows 8.1 Or Windows 7 PC To Windows 10 Right Now!
- How to Install Any Version of Windows from Other Network Computers
If you have a brand-name computer, the installation of the operating system is very likely to have been already done for you by the manufacturer of that computer. Lucky you! 😉
If your internet connection works during the installation of the operating system of your choice, don't hesitate to configure things like your network connection (assign the right network location profile to it) or your Homegroup.
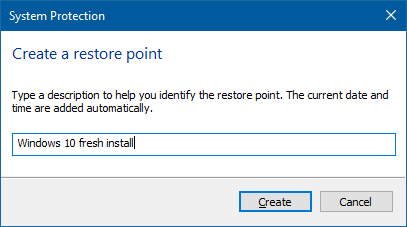
Step 2. Check if System Restore is enabled and create a restore point - Recommended
This step might seem surprising to many people but it doesn't make it less important. If there's a time when things are likely to fail, it's when you setup your computer for the first time and install everything you need to use. To be on the safe side, it is important to:
- double check that System Restore is enabled and
- create a restore point manually.
The default behavior of Windows 10, Windows 8.1 and Windows 7 is to create restore points before you install updates, drivers, and applications - if System Restore is enabled. If during the setup process, something manages to mess up your computer, you do not have to start all over again. You simply restore the system to a point when it worked and double check the steps which followed after that point.
What can mess up your computer very fast? Good question with lots of possible answers, depending on your computer, your operating system, your knowledge and attention span. However, the most likely candidates are: installing incorrect or old drivers, security solutions (especially old and/or incompatible ones, multiple security solutions installed and used in parallel) and, sometimes, Windows Updates. To given you an example, Windows 10 may automatically install a buggy update or a bad driver for one of your hardware components, or Windows 7 incorrectly decides you need to install an update for some hardware component you don't actually have - it happened to us more than once, on different computers.
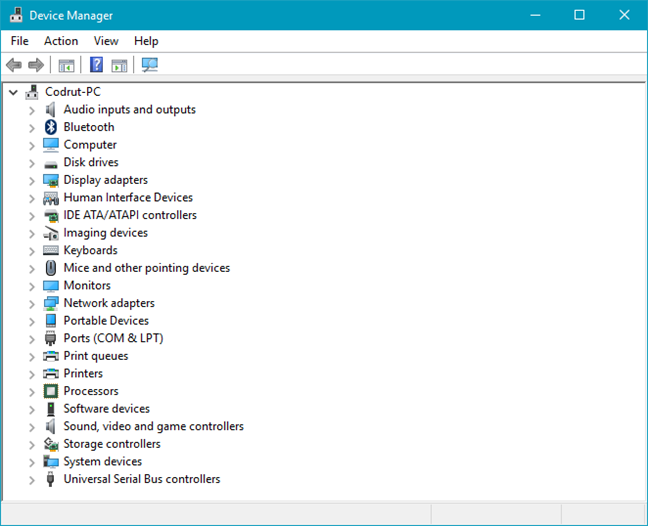
Step 3. Install missing drivers for the computer's hardware components - Mandatory
It is OK to have Windows Update recommend and install drivers for most of your computer's hardware components, but not for all. When it comes to video card drivers (especially ones designed for gaming) you should go for the latest version found on the website of your card's manufacturer (it will be either AMD/ATI or NVIDIA). Some other hardware components for which you will want to look for newer drivers on the manufacturer's website include: network cards (if you had trouble connecting to the internet), printers, scanners, keyboards and mice (this is especially true if you are using brands for gamers, which tend to require additional software installed).
Both Windows 7 and Windows 8.1, but especially Windows 10, will do a good job at finding and installing the latest drivers for most of your other components: mouse, touchpad, keyboard, the network card (wireless or Ethernet), sound card, webcam, printer, scanner, motherboard-related drivers. To make sure you have not missed any component, check Device Manager and this tutorial: Find missing drivers & hidden devices in Windows, with Device Manager.
Why do this step now rather than later? Here are some reasons:
- You will be able to use all your system's hardware capabilities sooner rather than later;
- You don't yet have a security solution which might interfere with the installation of the driver or annoy you with requesting lots of approvals in order for the installation to be executed successfully.
The downside to doing this before the next steps? Unless you like Microsoft Edge or Internet Explorer and use one of them as your main web browser, you don't yet have your favorite browser installed.
NOTE: If you have a brand-name computer, this step is probably already done for you by the manufacturer. However, it is worth double-checking that all latest drivers are indeed installed. Also, you might want to search for newer driver versions, especially for your video card.
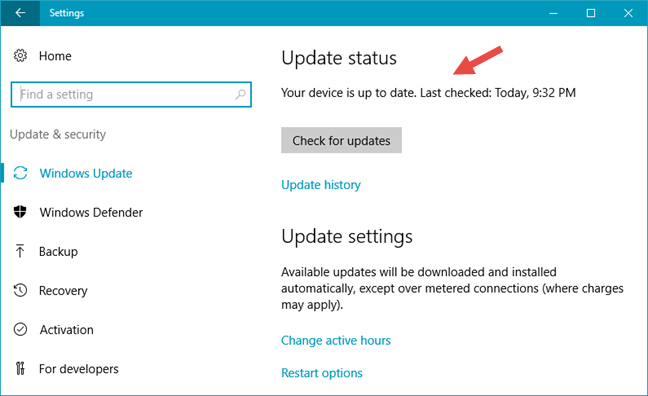
Step 4. Install ALL the important Windows Updates - Mandatory
What updates must you install? The answer to this question is easy: all service packs (e.g. the Windows 8.1 update and the Windows 7 Service Pack 1), all updates marked as important and, from the list of optional updates, check the drivers Windows recommends for your hardware components. If you are using Windows 10, you should install all the major updates like the Anniversary Update or the Creators Update (coming in the spring of 2017).
Why do this now rather than later? For a couple of very good reasons:
- It secures your system immediately and you are less likely to encounter security problems when working on the next steps;
- It eliminates the likelihood of having issues with installing and/or using software installed later. Some applications work properly only if a "compatibility update" is installed, while others work only on the latest version of Windows.
Step 5. Install your preferred/main web browser - Mandatory
You may not be using Microsoft Edge (or Internet Explorer) as your main web browser. By this point, you are surely anxious to get your hands on your favorite browser and start using it. So... what are you waiting for? Go get your main browser and install it on your Windows computer.
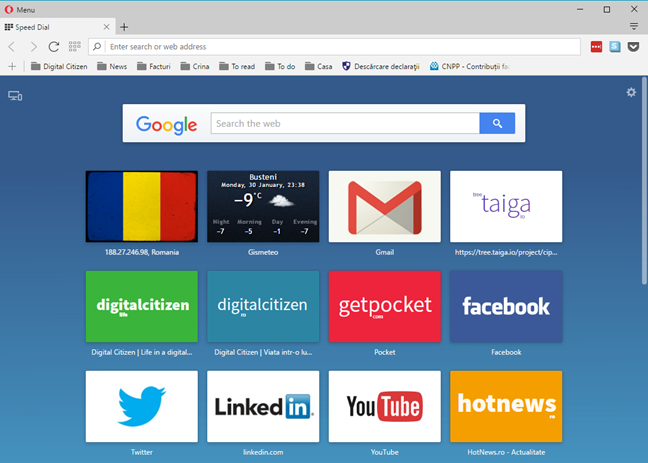
Why do this now and not later? You have to install your main browser before installing any browser plugins and you will also be able to use it to download the stuff you need in the next steps.
Step 6. Make BIOS and firmware updates for important hardware components - Optional (Geeks Only)
This step is for those with more advanced technical skills and confidence. One of the best ways to make sure you get the maximum performance from your system is to update the BIOS and/or firmware of the hardware components that matter most. We recommend that you look for BIOS updates for the motherboard and the video card. Installing them can help you fix bugs, squeeze more performance or improve their compatibility with other devices and hardware features.
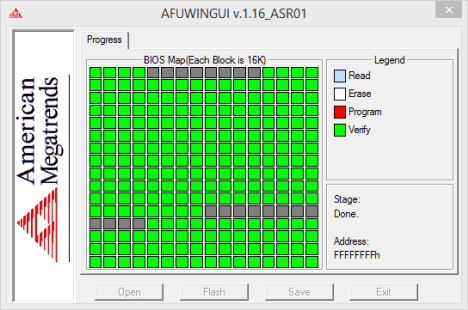
As it says in the section header - this step is optional and recommended to those who know what a BIOS upgrade entails.
Why now and not later? It is good to make BIOS updates without having any security solution installed and enabled because it eliminates the possibility of any conflict, no matter how minor.
Step 7. Install a good security solution - Mandatory
You might wonder - why recommend installing a security solution so late? If you have installed all the important Windows Updates, you already have a pretty secure system. So, unless you visit shady websites before you get to this point, you are safe. Also, waiting a bit more to install a security solution saves you the trouble of making additional clicks when installing and setting up the other stuff - depending on the solution you go for and its habit of asking you to confirm everything (or nothing). 🙂
Don't know what to install in terms of security solutions? Don't hesitate to read this guide: What is the best antivirus software for Windows devices?. We covered all important security vendors.
Why do this now and not later? It is good to install your security solution before you start searching the internet for all the software you need. This helps you stay secure in case you end up on some shady website, offering you amazing deals or "free" apps for download.
Step 8. Install plugins, players and runtime environments - Optional
In the old days, you needed to install quite a handful of plugins, players and runtime environments, in order to be able to browse and use everything you wanted, without problems. However, in today's internet, new operating systems like Windows 10 or Windows 8.1, and new web browsers like Google Chrome, Mozilla Firefox, Opera, or Microsoft Edge, already have the plugins they need in order to let you browse the web freely. Furthermore, software with many security flaws, like the infamous Flash Player or Java Runtime, are not so commonly used anymore.
That's why this step is no longer mandatory to perform. However, if you really need a special plugin like Adobe Flash Player, you should install it now and make sure it is always up-to-date so that you get the latest security updates for it. Also, make sure that, at this point, you have an antivirus installed and that it scans everything you download from the internet. You don't want to get ransomware disguised as Adobe's Flash Player.
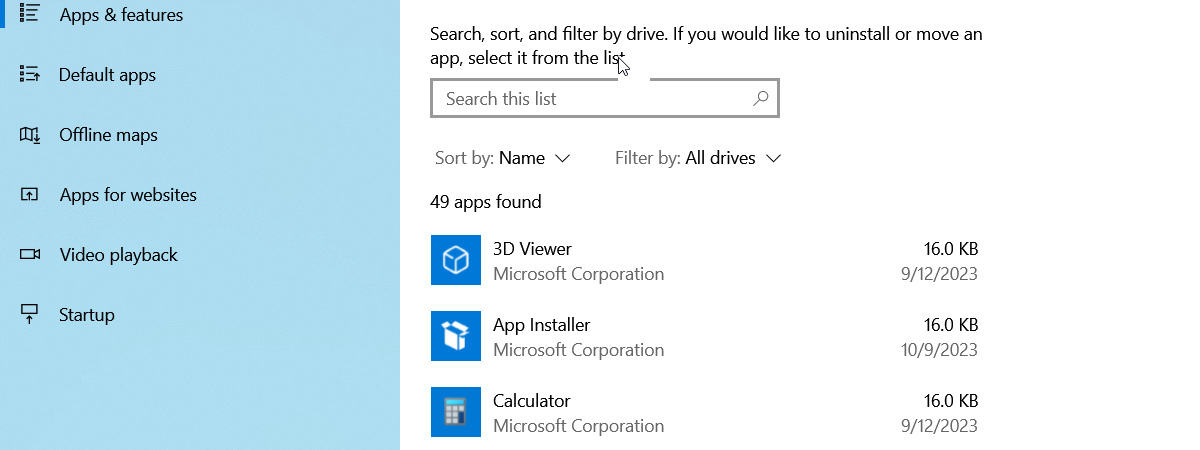
Step 9. Crapware removal - Mandatory for brand-name systems
If you purchased a branded system from manufacturers like HP, Dell, Acer, Lenovo and so on, you won't have to go through steps number 1 and 3, as they have already been done for you by the manufacturer of your computer. However, this comes at a price: the manufacturer has also installed some software/bloatware you will never need or use. Often, this software makes your system annoying to use and less secure than it could be. Also, it is occupying precious storage space that you can use for other apps. Take the time to remove everything you do not need or you don't want to use. We have some guides that you will find useful at this step:
- 8 Ways to remove desktop programs and modern apps in Windows
- How To Remove Default Windows 10 Apps With PowerShell In 3 Steps
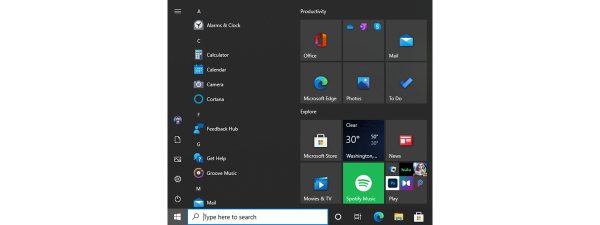
Step 10. Install the applications and games you need - Mandatory
At this point, you have an up-to-date and secure system. It is OK to start browsing the web to download and install all the applications you need. Also, open the Windows Store and install the modern apps that you want to use. From now on, make sure that your security solution is active and protecting you in real time.
Step 11. Configure your operating system, drivers, and applications - Mandatory
This step doesn't have to be last. Configuring things can be done in parallel with all the other steps. To help you want, here's a checklist of what you should not forget to configure:
- On your operating system: user accounts, your libraries, the Network and Sharing settings and the Homegroup, etc.
- The drivers for the hardware components you will use most often: video card, printer, scanner, webcam, keyboard, mouse and so on.
- The applications you will use most often.
And… you are done!
Wow... we finally managed to get to the finish line. This is a long list, isn't it? Fortunately, you need to go through these steps only once. Dedicate a few hours, pay attention to what you are doing and everything will be fine. Before you go, tell us what do you think. Is this the optimal order of things? Is this the best approach? We're looking forward to your input.