Microsoft's OneDrive service has become ubiquitous in a world dominated by Windows 10. However, it is not the same for Windows 7, which is an old operating system that was not designed with such tight OneDrive integration in mind. However, that does not mean that you cannot use OneDrive for Windows 7 to sync your files and folders across different devices and computers. Microsoft offers an excellent OneDrive app for Windows 7 and, in this tutorial, we show you how to get it and how it works. Let's get started:
How to get OneDrive for Windows 7
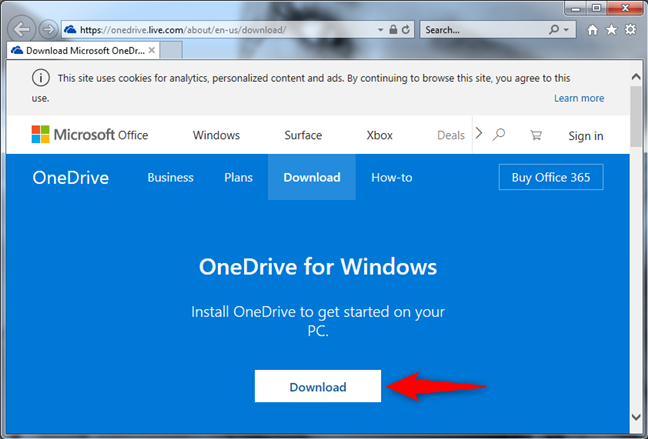
If you want to use OneDrive for Windows 7, you must download the OneDrive app from Microsoft's website and then install it on your PC. To do that, open your web browser, go to the OneDrive download page, and click the Download button_._
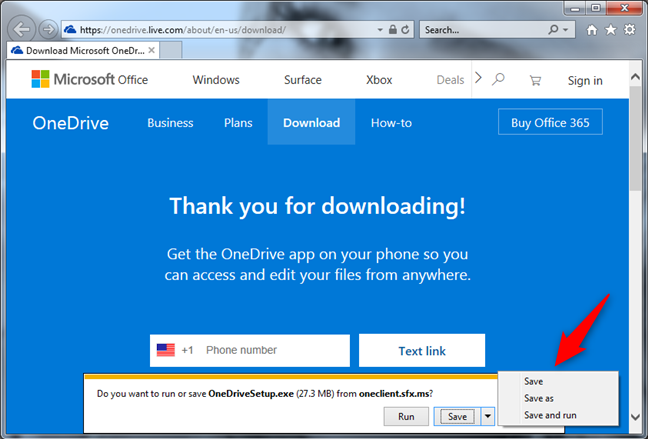
When your browser asks, choose to Run the OneDriveSetup.exe file. Alternatively, you can choose to save it somewhere on your PC and then run it.
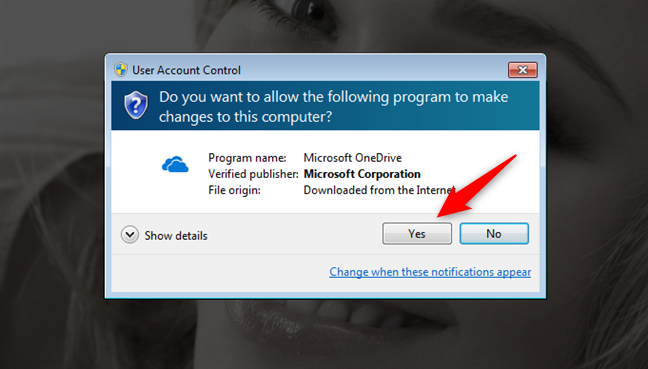
Windows 7 might launch a UAC prompt to ask you to confirm that you want to run the executable file. Choose Yes to continue.
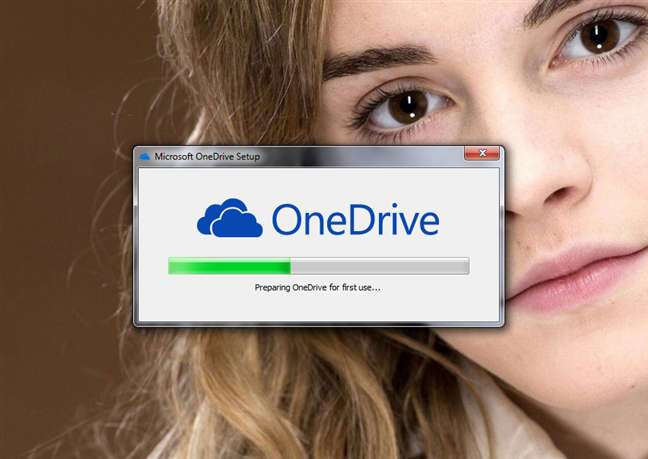
Now, wait for OneDrive for Windows 7 to install on your PC. It should not take long.
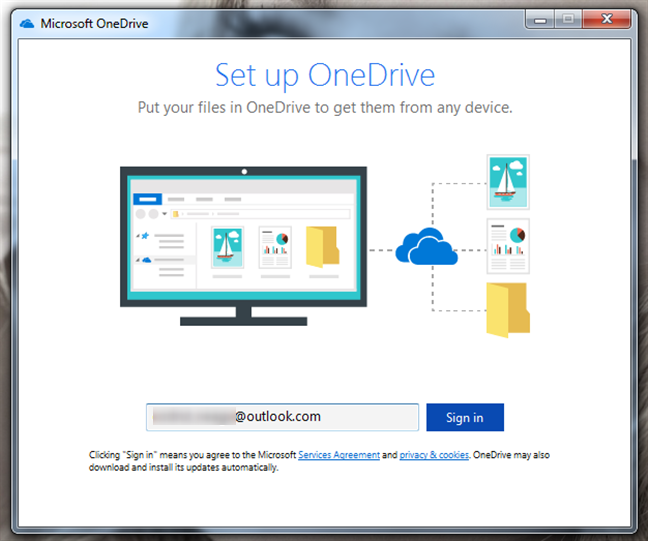
Once the installation is done, the OneDrive app asks you to enter the Microsoft account that you intend to use with it. Type yours and then click Sign in.
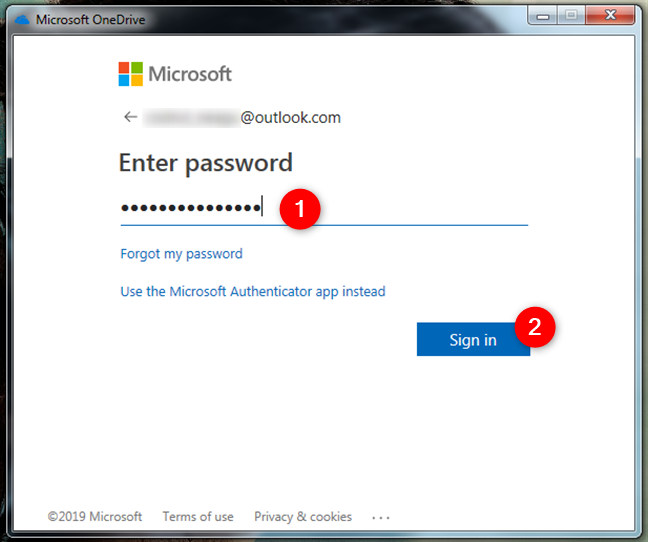
Enter your password and press Sign in once more. If you have set up other ways of authentication, such as using the Microsoft Authenticator app on your smartphone, you can also use them to sign in.
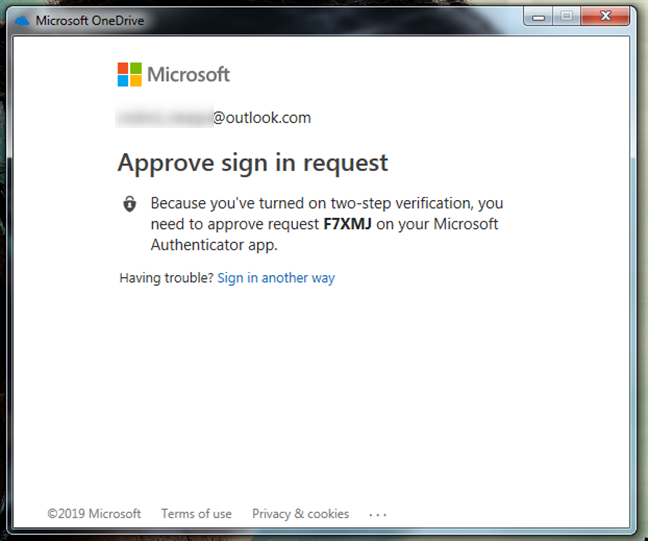
Note that if you have configured two-step authentication, you are now requested to confirm your identity.
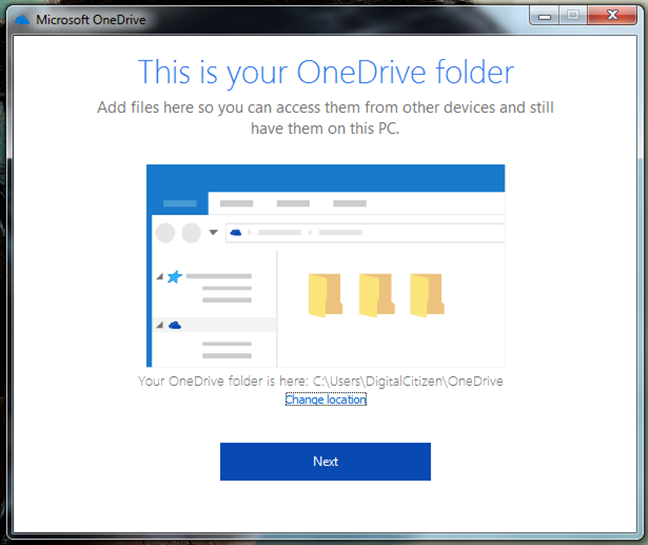
By default, the OneDrive folder is installed in your user folder, at the following path: "C:UsersUsernameOneDrive." For most users, this is an acceptable arrangement.
However, if you have a better place in mind, click Change location and choose where you want your OneDrive folder to be placed.
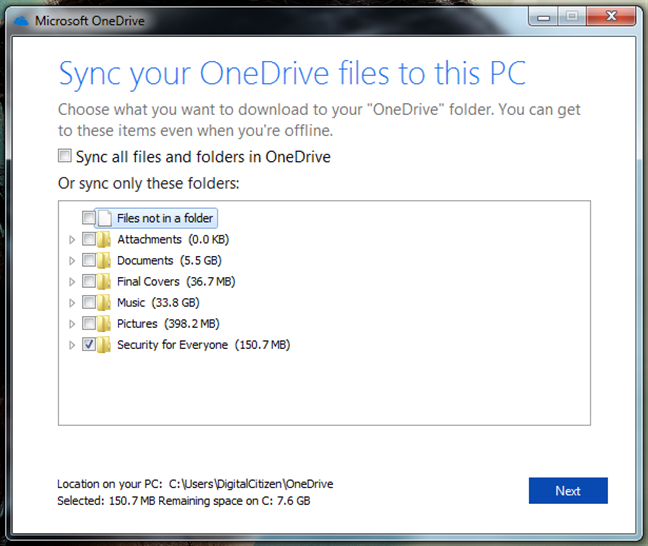
You now get the option to choose which folders from your OneDrive you want to sync to your computer automatically. If you want everything synced, select "Sync all files and folders in OneDrive." Otherwise, select each folder you want to sync. Then, click Next to move on.
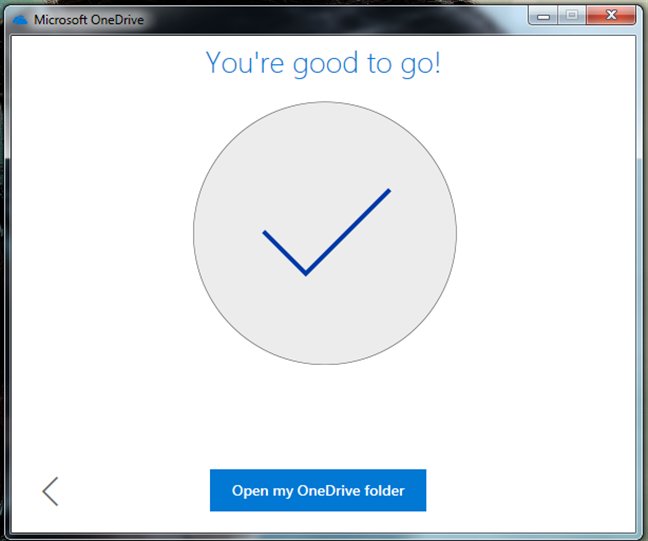
OneDrive then shows you a few slides in which it tells you a few things about it: how to copy files and folders to it, how to share and edit them, and how to get OneDrive on your smartphone or tablet. After you go through the slides, it tells you that you are good to go. To end the installation, click the "Open my OneDrive folder" button.
How to open OneDrive in Windows Explorer
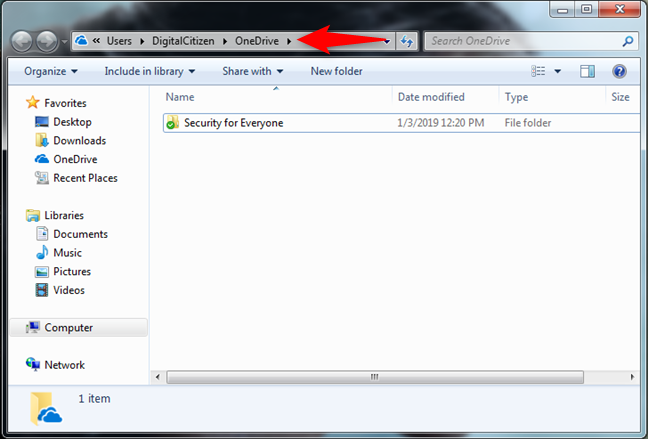
Using your OneDrive requires that you open the folder you configured during the initial set up. Like any other folder on your computer, you can browse to it through Windows Explorer.
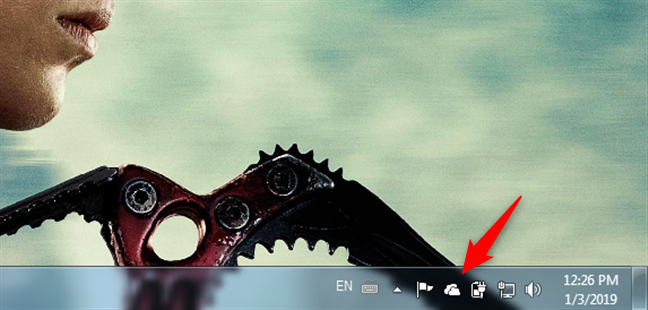
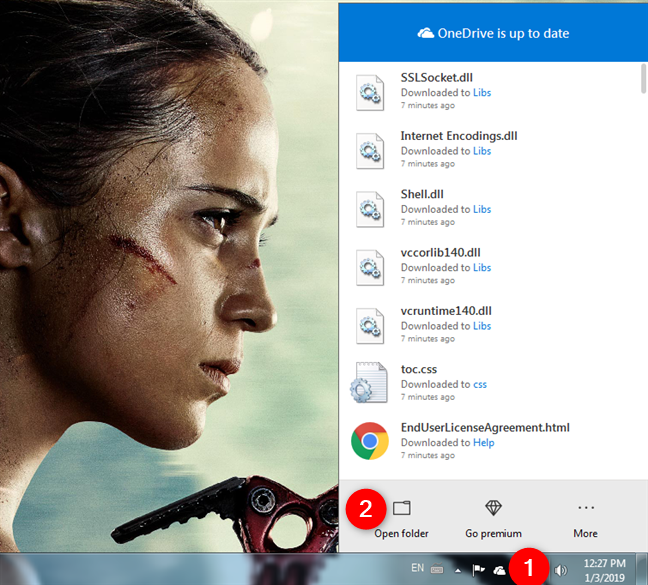
However, there are faster ways to get there: one of the fastest ways to access your OneDrive folder is to double-click on the cloud icon in the notification area of the taskbar.
Another way is to click on the OneDrive icon from the system tray and then click on "Open folder."
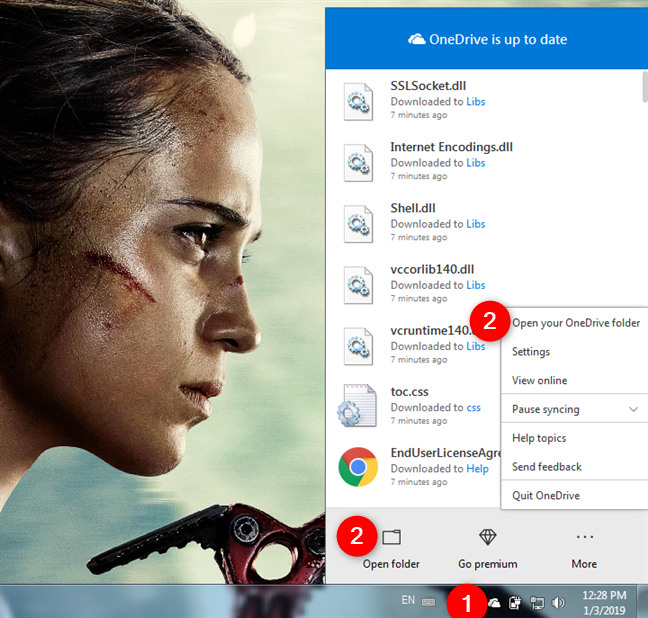
Right-clicking the cloud icon gets you there just as quickly. Select "Open your OneDrive folder" or "Open folder."
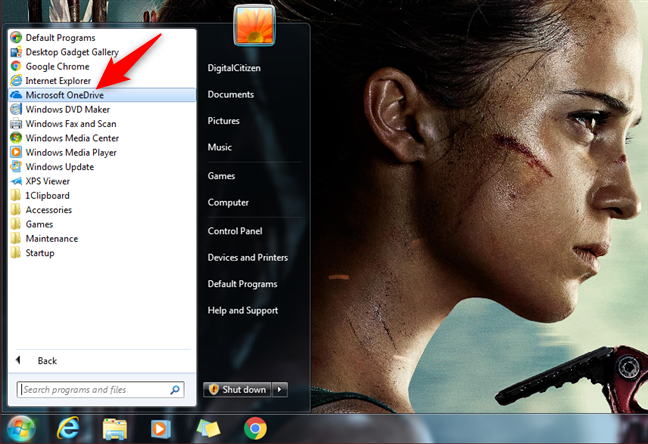
From the Start Menu, you can click the Microsoft OneDrive shortcut.
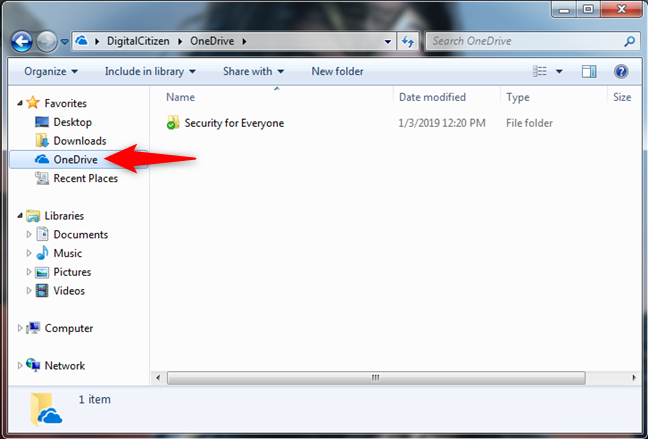
Last but not least, the OneDrive folder is also listed in the Favorites section of Windows Explorer. Click on it, and your OneDrive folder opens.
How to add files and folders in OneDrive for Windows 7
The most important purpose of OneDrive is to store your files in the cloud so you can access them from any device with internet access. To take advantage of this, you have to open the OneDrive folder. Adding files is a simple process: in fact, it is just the same as adding a file to any other folder on your hard drives:
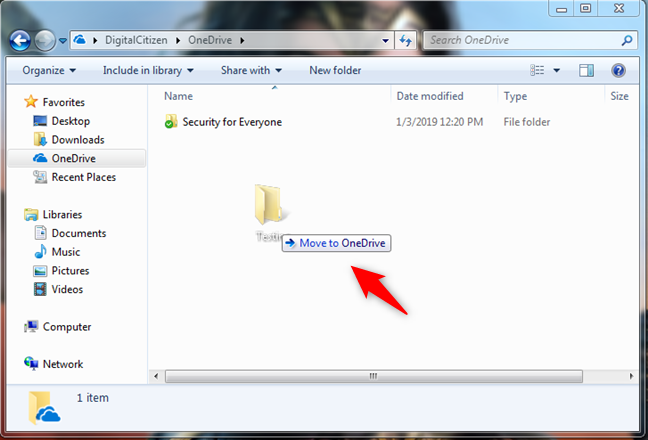
You can add files by clicking and dragging them into the OneDrive folder.
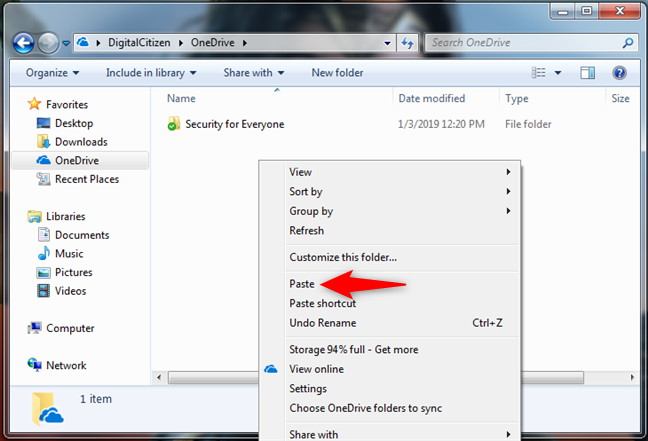
You can also copy and paste files into your OneDrive folders.
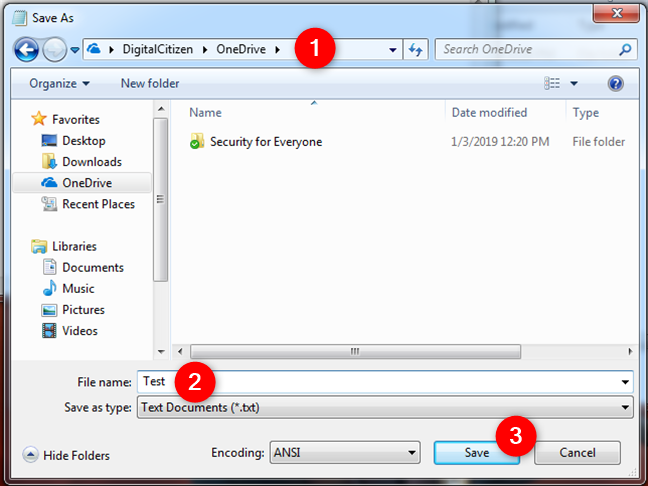
You can even save files directly to the OneDrive by selecting it from the Save As dialog in any program.
Creating folders works the same as in Windows. There is nothing special or new you need to learn about working with files and folders.
How to configure OneDrive for Windows 7
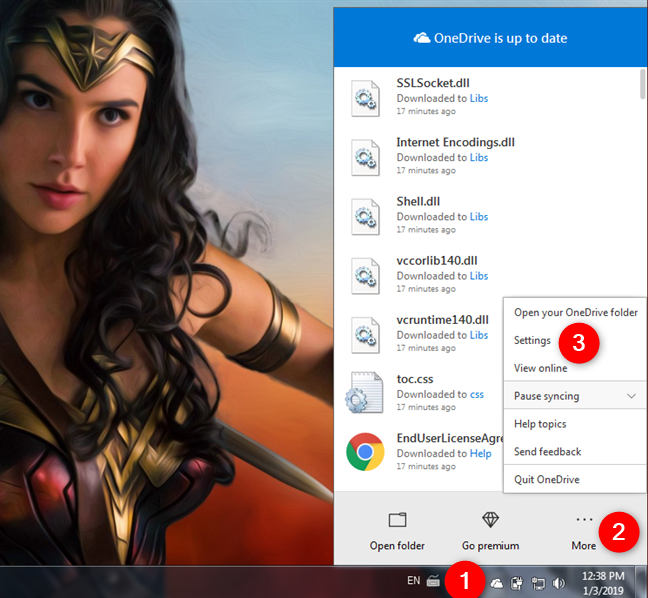
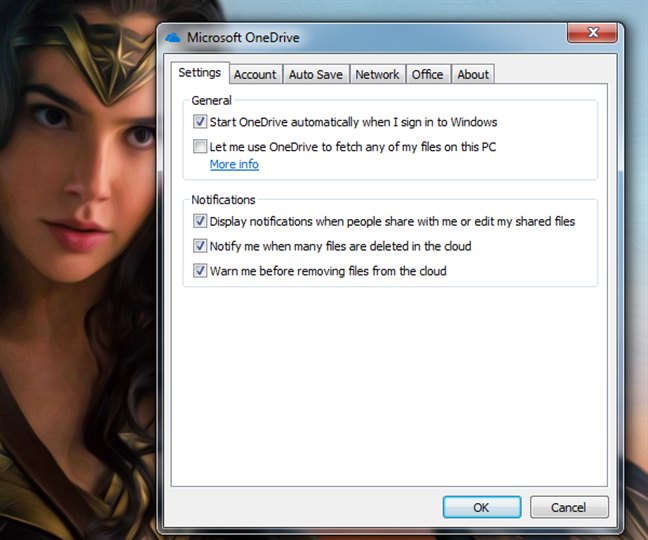
Once you get going with OneDrive, you may find that you want to change the way the application works on your computer. To change settings, click the OneDrive icon from the system tray, then click on More and then click on Settings.
The Settings tab allows you to choose whether or not to run OneDrive when Windows starts. While disabling this feature may increase your start-up speed, it also prevents your computer from syncing new files in your OneDrive until you launch the application. You can also toggle the Fetch feature and choose whether or not to get notifications from the app.
The Account tab lets you add new Microsoft accounts, unlink OneDrive and "Choose [the] folders" that you want to sync. It also gives you a link to the paid plans offered by Microsoft for OneDrive.
Be careful about the "Unlink OneDrive" option because if you use it, your files are no longer kept up-to-date with your OneDrive. Furthermore, another thing you should keep in mind is that to resume using OneDrive on your PC you have to reconfigure it.
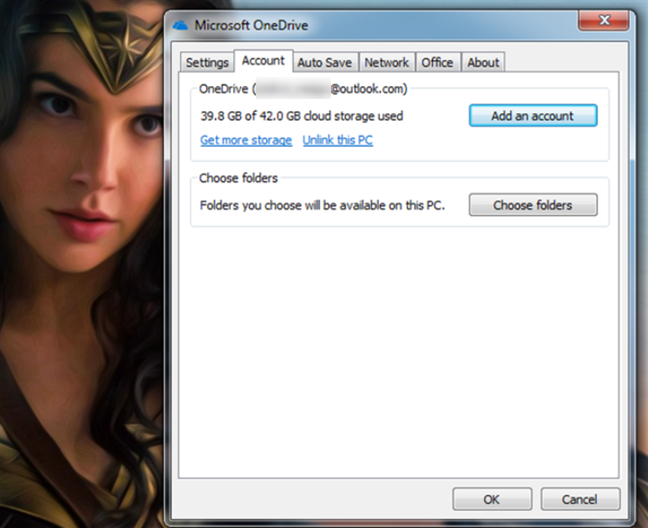
The Choose folders button lets you select which folders you want to sync to your computer. The options displayed are the same as those from the initial configuration, so there is no reason to go into details again.
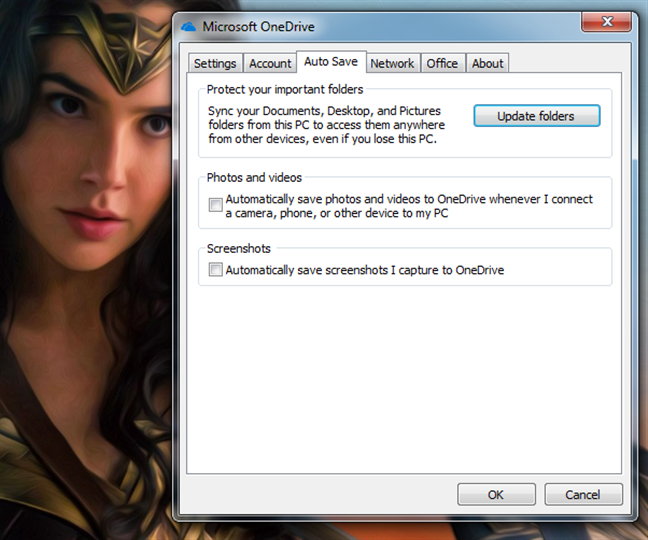
OneDrive is set by default to backup your personal files such as documents and photos. If you do not want that, or if you want to leave this feature on only for some of your folders, you can configure everything in the Auto Save tab. Also, if you want, you can also enable OneDrive to automatically backup your screenshots and the photos from the cameras, smartphones and other similar devices that you connect to your Windows 7 PC.
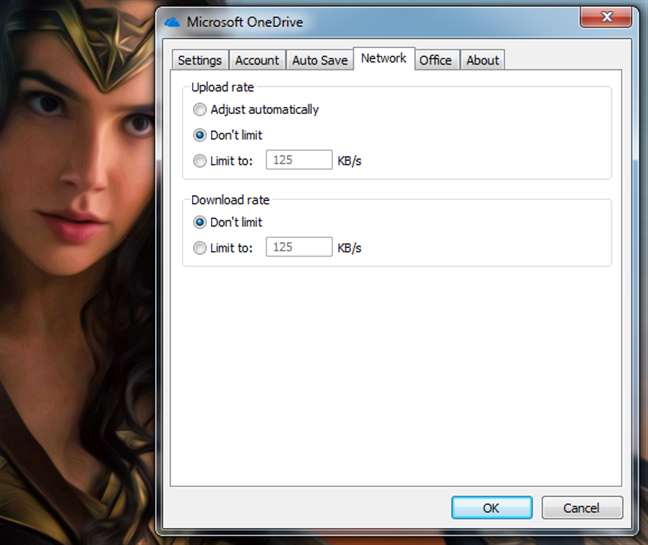
In the Network tab, OneDrive lets you choose bandwidth limits for the download and upload. By default, neither is limited, but if you want you can set limits.
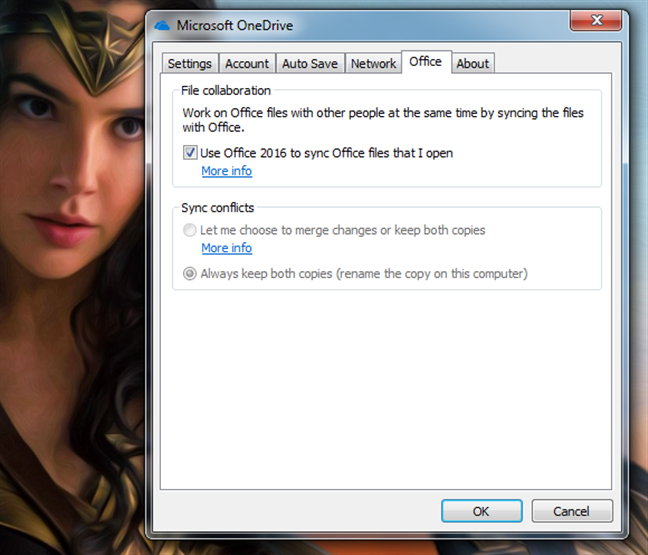
Microsoft integrated OneDrive with its Office apps and collaboration with other people is possible if you let Office sync files with OneDrive. By default, this feature is on, but if you do not need or want it, you can disable it in the Office tab.
The last tab from the OneDrive settings is called About and gives you information about the app and links to several resources related to it.
How to share files using OneDrive for Windows 7
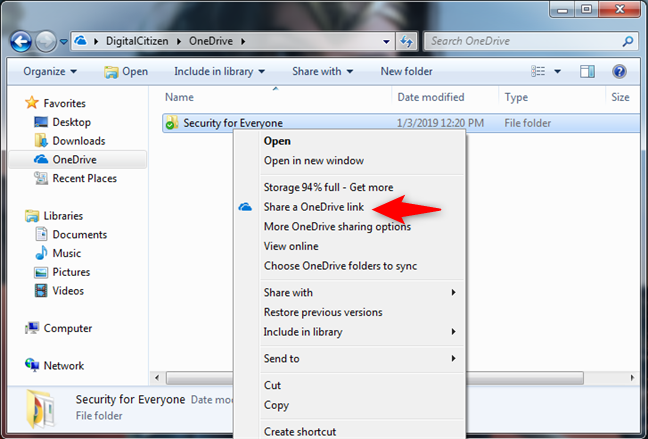
The OneDrive desktop application also provides an easy way to share your files with others. This feature is useful for collaborating on documents or just giving family members access to photos or other media. From the OneDrive folder, right-click on a file or folder that you want to share, select OneDrive and click "Share a OneDrive link."
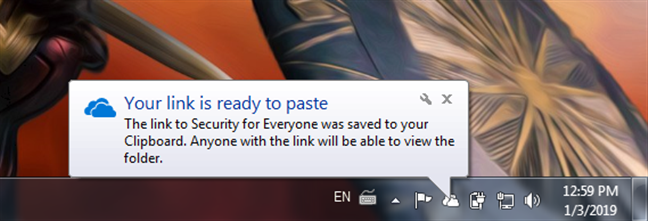
OneDrive immediately creates a share link for that file or folder, which you can then paste in any app or message, to send it to the people you want.
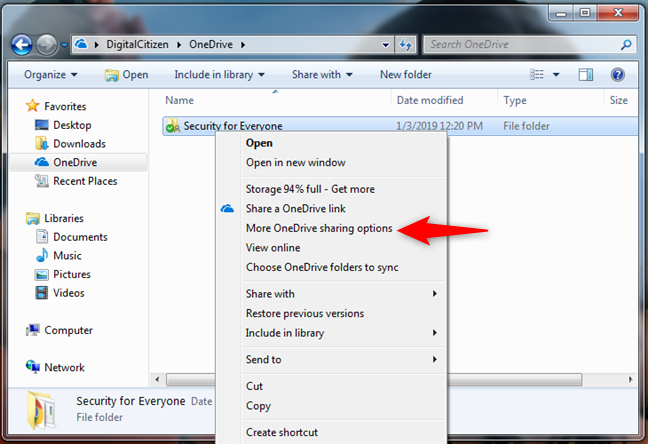
OneDrive also offers more sharing options. To access them, click on "More OneDrive sharing options." When you do so, your default web browser launches and opens the OneDrive website, where you can use all the sharing features available. To see all of them, read this article: How to share (or unshare) files, folders, and documents, using the OneDrive website.
Do you use OneDrive for Windows 7?
As you can see from this guide, using the OneDrive for Windows 7 app is easy. Once you set it up, it automatically synchronizes your files and folders, depending on your settings. Working with it is the same as any folder from your computer. So there is nothing new to learn. Before you close this article, do not hesitate to share with us your experience with OneDrive for Windows 7. How well does it work for you? How do you think it stands up against other cloud storage options like Dropbox or Google Drive? Comment below and let's discuss.