Paint is a nifty little tool that is available for free in Windows 10. Whether you want to make simple adjustments to your holiday pictures or your screen captures, Paint is surprisingly capable for a tool that made its debut in Windows in 1985. Let see how you can use Paint to edit and improve images, in Windows 10:
How to work with Paint: understanding the user interface
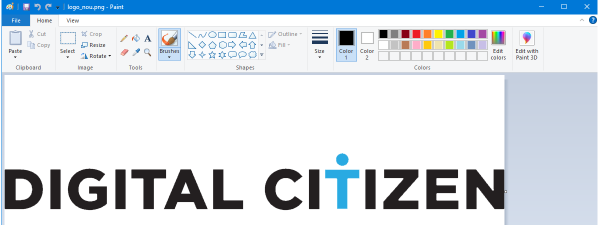
Before showing what you can do with Paint, first, we must understand the basics of using it. Paint has a ribbon with toolbars similar to the ones in Microsoft Office. My suggestion is to keep the ribbon open, but you may decide to close it to create more room for your image. You can open and close the ribbon using the arrow point that sits on top of the toolbar, all the way to the right. You can also double-click on any of its tabs for the same result.

Paint has two tabs. The Home tab includes the image editing tools that you can use to modify the image.

The second tab is View. The buttons found here change the way the image is displayed to assist you in making changes.

The File menu button is put on the same line with the buttons for the Home and View tab. You can use the File menu to save your changes, using the Save options.
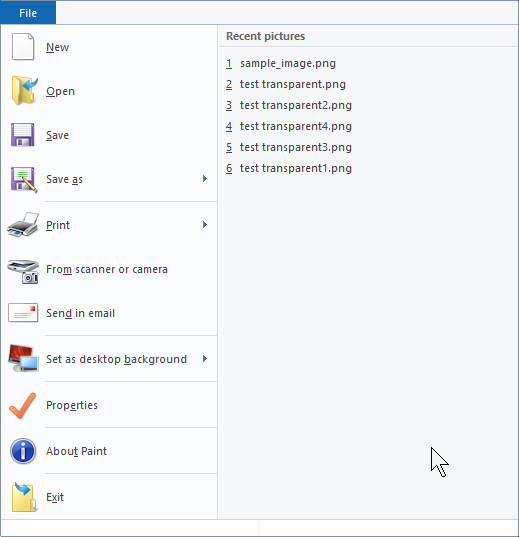
You can also use it to print images, get pictures from a scanner or digital camera, or view the properties of the image that you are working on.
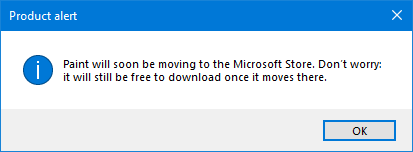
When you open Paint in Windows 10 October 2018 Update or newer, you see a Product alert. It says that Paint, in the future, the app will not be installed together with Windows 10, and you will need to find it and install it from the Microsoft Store.
1. Open images in Paint from various sources
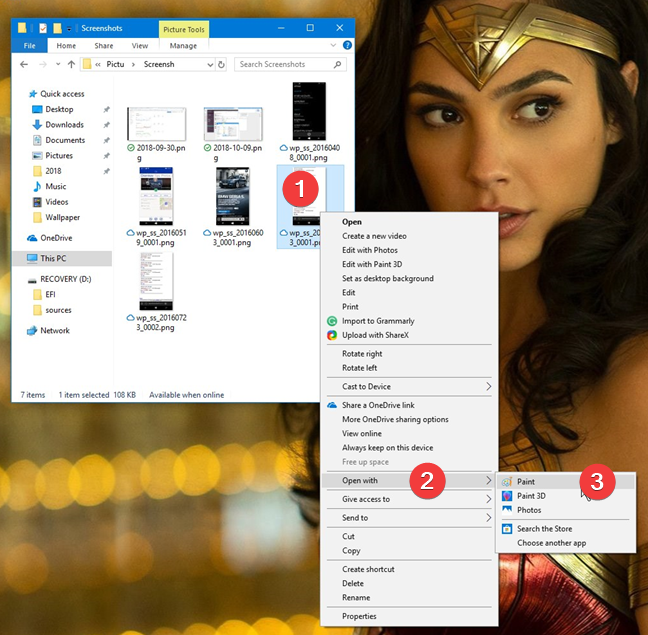
If you want to modify an image file you have on your computer, the easiest way is to open the file with Paint from inside File Explorer. Right-click or long tap the file in File Explorer, choose Open with and select Paint.
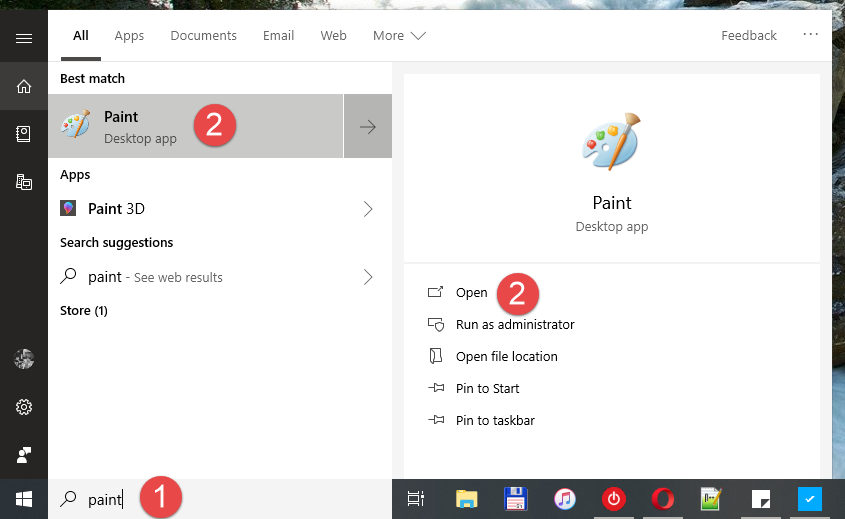
Another method is to start Paint, and then open the file from inside the app. A quick way to start Paint is to use the search box found near the Start button and, inside it, write the word "paint." Once the search results are shown, click or tap the Paint result, or click or tap on Open on the right side of the search window.
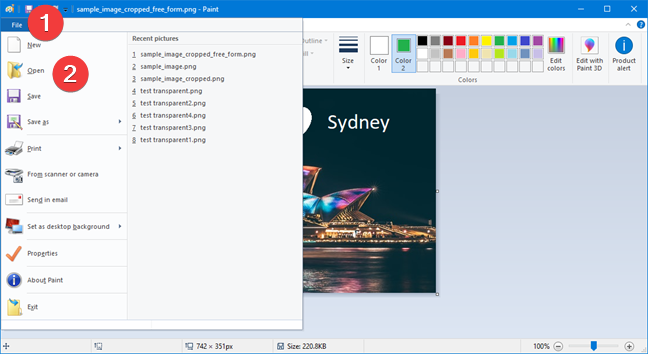
On the top-left corner click or tap File, and then Open. Alternatively, you can press CTRL+O on your keyboard, for the same result.
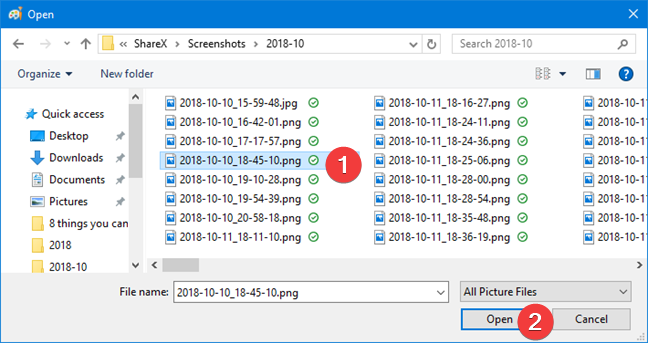
The standard Open window for opening a file appears. You need to select the file and then click Open.
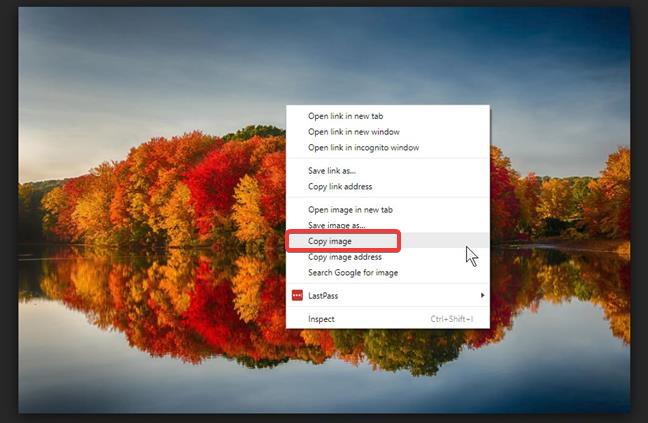
If you want to modify an image in Paint that you have already opened in another app, it is easier to use the clipboard. In this example, we use an image from a web browser that we first copy to the clipboard. Right-click the picture, and choose Copy image.
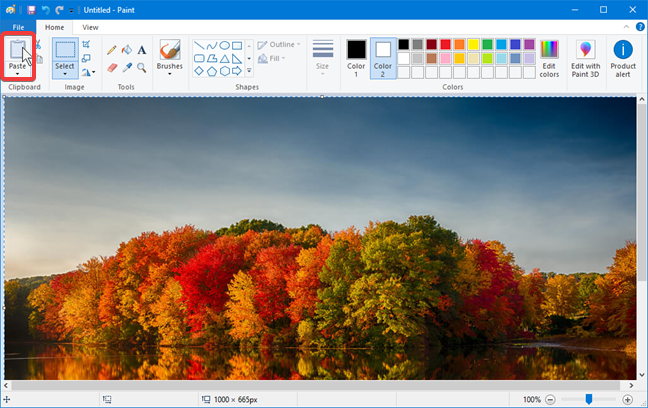
Paste it in Paint by clicking the Paste button on the ribbon or by pressing CTRL+V on the keyboard.
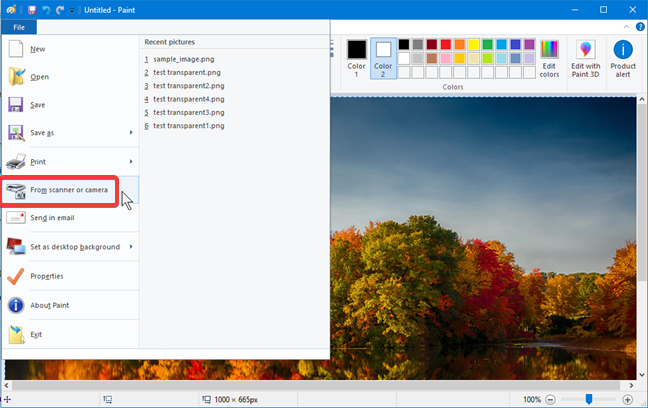
Paint can also get images directly from a scanner or camera connected to your computer. Open the File menu in Paint, and select "From scanner or camera."
Paint launches the app associated with your scanner and camera, which you can use to get an image directly in Paint, ready for editing.
2. Crop images in Paint
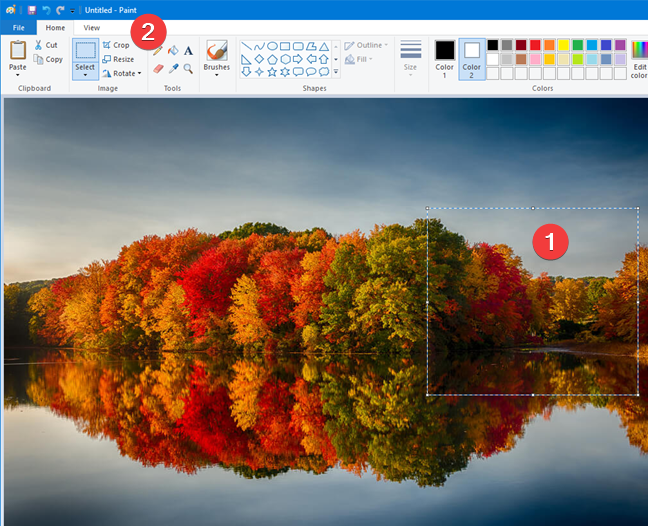
Select the part of the image that you want to keep. Click or tap the Select tool from the Home toolbar, and then click and drag on the image to select an area. Once you are happy with your selection, click or tap Crop, and the image is modified to keep your selection.
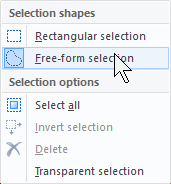
Keep in mind that besides the default rectangular selection, there is a second option "Free-form." After you select "Free-form," click and drag the mouse cursor to draw any form you want. The shape of the selection is unrestricted, but the final crop is a rectangle that fits the selection. When you have made the selection, follow the same steps to crop the image.
3. Resize images in Paint
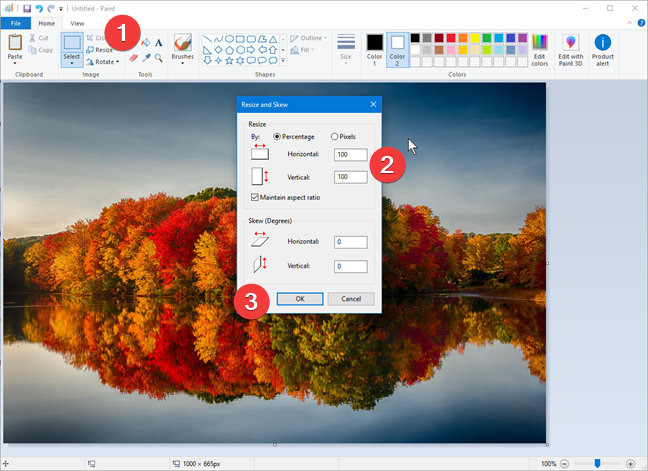
Click or tap the button "Resize" from the Home tab, and a pop-up box appears with the options to resize your image. The default selection for changes is Percentage. The image is reduced if the numbers are below 100 and enlarged if they go above. If you have an exact number of pixels in mind, select Pixels and type the new values over the old ones. When you are done, click or tap OK.
4. Type text or draw over an image in Paint
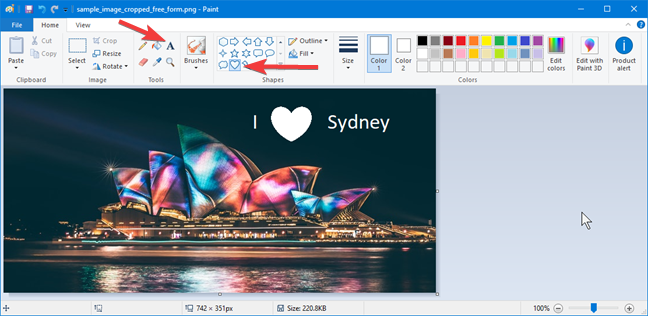
Paint offers a text typing tool in the Tools section of the Home toolbar. Click on it and then type the text over the image. The second change to our image is a shape picked from the gallery offered by Paint. For the shapes, you need to click or tap and then drag immediately to define the size of the shape. For these tools, the Colors section in the Home tab defines the colors used for the outline and the fill.
Keep in mind that once you click or tap away from the changes, they remain embedded in the image and you cannot select them any longer. You can only undo the changes by pressing CTRL+Z.
5. Invert the colors of an image, in Paint
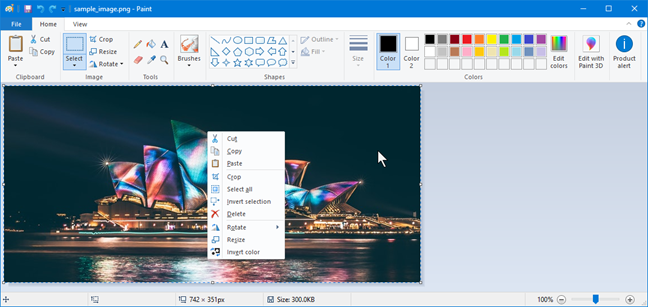
The only tool that Paint does not make available in the Home toolbar is the Invert color one. You need to right-click or long tap on the image to open the context menu. Invert color is the last option.
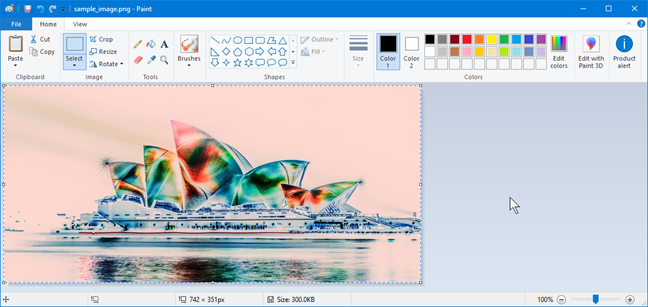
Once you click or tap on it, Paint produces the exact photographic negative of your image. See our example below. It doesn't look bad, does it?
6. Erase part of an image in Paint
If you want to get rid of part of your image, the Eraser tool is available. You can find it in the Tools section of the Home toolbar. Click or tap on it to select it. To change the size of the eraser, use the Size section in the toolbar. The color used by eraser is Color 2.
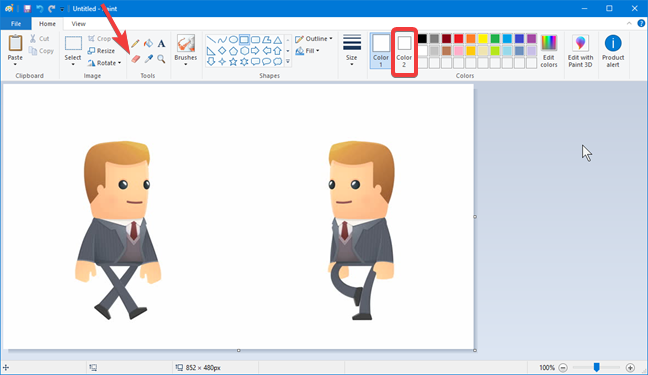
In the example below, I am halfway through in deleting one of the characters, so you can see how it works.

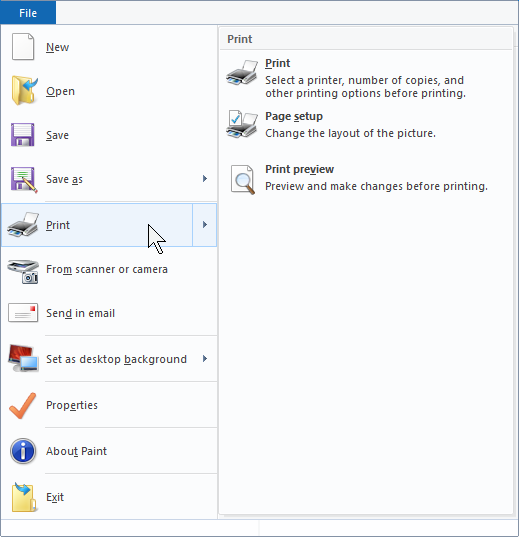
7. Print an image with Paint
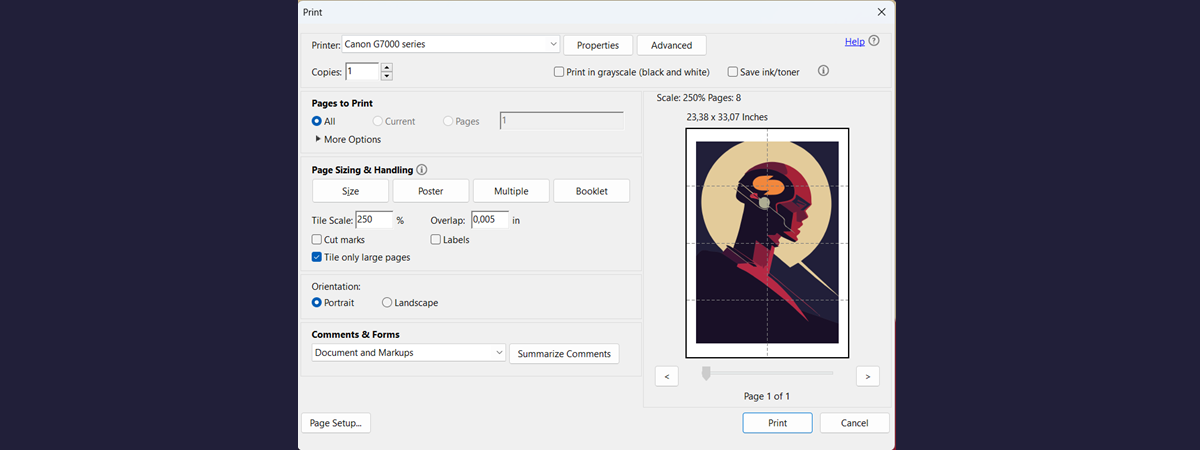
In the File menu, you find the Print option. It gives you access to set up the page, preview the output and print the image.
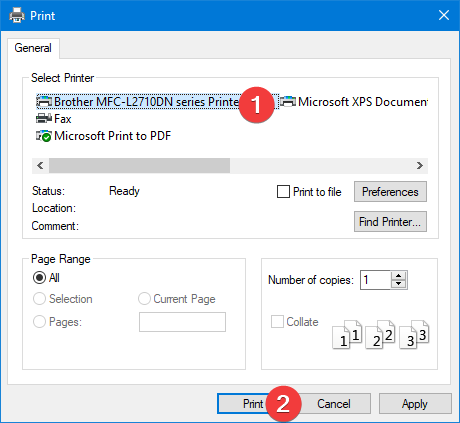
After you click or tap Print, the print dialogue appears where you select the printer. Press the button Print to send the picture to the printer.
Do you like using Paint?
Paint can be used to draw, color and edit images, including imported pictures from a smartphone or a digital camera. Paint has withstood the test of time, and it is still used today because it is a free and simple app that serves you well for basic image editing. If you upgrade to the sophisticated image editing apps of today, you find that they base their tools and interfaces on the ones developed by Paint. Your learning of basic image editing skills in Paint gives you a good head start in using them. Before closing this tutorial, tell us whether you like using Paint, and what is your experience with this app. Comment below and let's discuss.