Organization is the key to productivity. Having important stuff you pinned on the Start screen scattered all over the place is not very efficient. Your favourite apps will be hard to find, especially if there's a large number of apps pinned on the Start screen. The best option for Windows 8.1 users is to group the items and label them properly. Besides the utility of this feature, you will notice that your Start screen will also look more attractive. In this article we will show how to easily group the items on the Start screen and how the name the groups you created.
How To Create App Groups in Windows 8.1
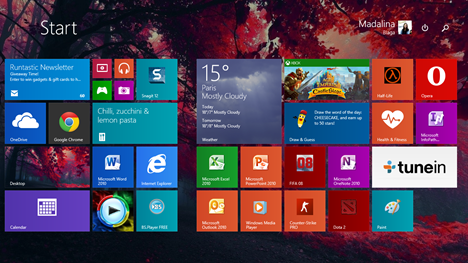
You can use the Start screen in an efficient manner by organizing your shortcuts in different groups, so you can find all your favourite apps quickly in one place. Before creating groups your Start screen might look like this:
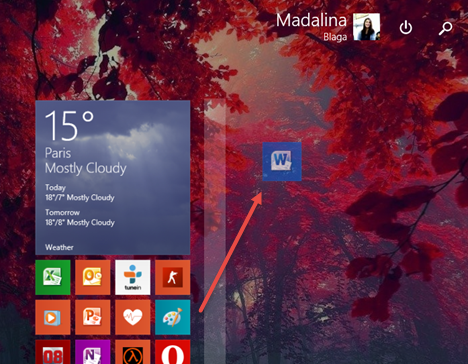
To create a new group, all you have to do is drag & drop your chosen shortcuts to the right of the screen, just until a gray vertical bar appears. Let's assume that we want to create a group containing the most used Microsoft Office applications.
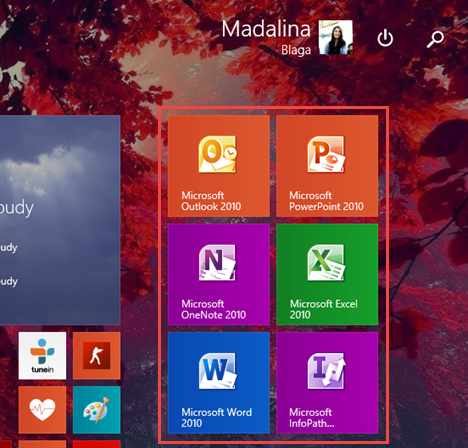
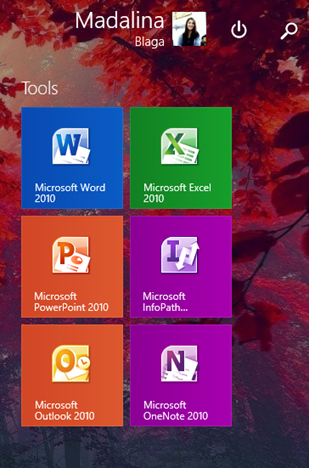
After you finish moving your shortcuts, you should have a new group, looking like this:
How To Name Your App Groups in Windows 8.1
To make it even easier to organize and view your groups, you can also name them. In the end, all the groups will display their name at the top just like the screenshot below.
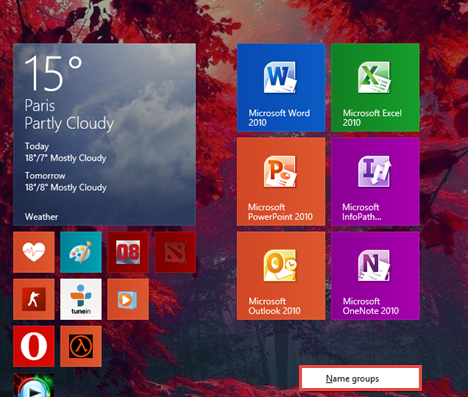
Naming a group is a really simple task. Right-click or press and hold anywhere on the Start Screen. Now, the Name groups button will appear. Press the button to continue.
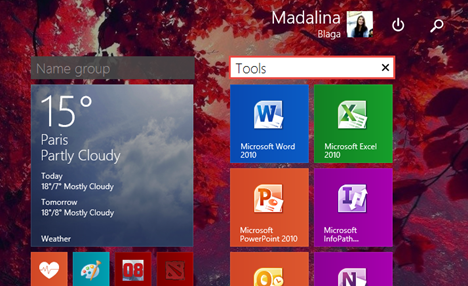
At the top of each group you will see a text box. Click or tap inside the textbox of the group that you want to label and type the new name.
Press Enter or click or tap somewhere else when you are done. Your new group will now look like this:

That's it! Easy, isn't it?
Conclusion
As you can see from this guide, creating groups on the Start screen and labeling them is really easy. This feature improves the way you use the Windows 8.1. Start screen. As the number of the items pinned will grow you will appreciate the usefulness of this feature. If you have any ideas regarding the efficient use of the Start screen, don't hesitate to share them with us in the comments below.