If you’ve used the Backup and Restore feature to create a backup of your operating system’s files and settings on Windows 11 or Windows 10, you might wonder how to restore them in case of a system failure or data loss. In this tutorial, I’ll show you how to restore a Windows backup image with System Image Recovery. Hopefully, by the end of it, you’ll have a functional Windows computer again. Let’s start:
Windows’ Backup and Restore and System Image Recovery
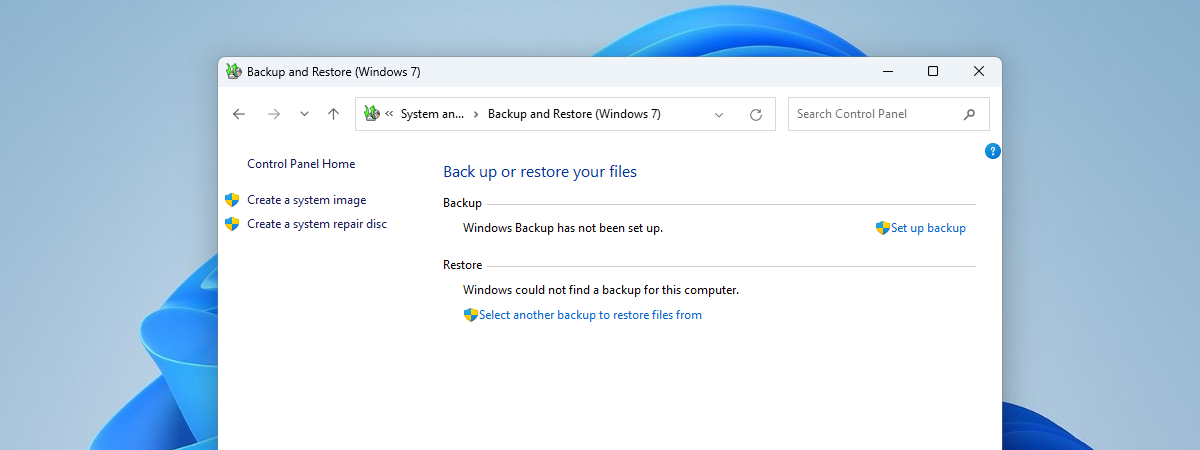
To recover your operating system and/or files, you must first use the Backup and Restore feature to create a backup system image. If you don’t know how to do that, read this guide first: How to use Backup and Restore in Windows 11 and Windows 10. Also, keep in mind that although it’s called “Backup and Restore (Windows 7),” it still works in Windows 10 and Windows 11. Its name ends in Windows 7 because it’s a feature created for Windows 7, and during the last decade or so, Microsoft didn’t update it. Moreover, the Backup and Restore feature includes the System Image Recovery tool that you need in order to restore your computer, regardless of whether you’re using Windows 11 or Windows 10.

Creating a system image with Backup and Restore
Furthermore, in the near future, Microsoft intends to release a new Windows Backup app for Windows 11 and Windows 10 that might replace the Backup and Restore feature. When that happens, I’ll update this guide or create a new one if both tools are available in the operating systems.
How to restore Windows from a backup system image
If your computer stops working properly or even if it completely fails to boot, you can use a system image you previously created to restore all the drives required by Windows to start and run correctly. Here’s what you need to do in order to restore from a backup image in Windows 11 or Windows 10:
Step 1. Connect the device or location where the system image is saved
In order to restore your computer from a system image backup, you must first make sure that the backup location is available on your computer. Depending on how you created the backup, you need to do one of the following actions:
- If you saved the system image on an external drive, connect that drive to your Windows computer.
- If you used DVDs to store the backup, you must insert the first DVD.
- If you stored the system image on a network location, make sure that your computer can access it.
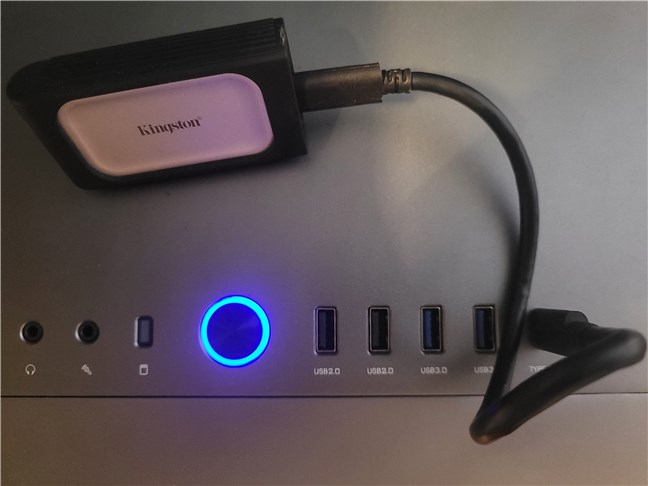
Connecting a USB SSD with a backup system image to the PC
Step 2. Boot your PC from a system repair disc or a USB recovery drive
Then, boot your computer from a system repair disc or from a USB recovery drive. When you do that, the first thing you see is the “Choose your keyboard layout” screen. Select the layout you prefer and click on it. If you can’t see the one you want to use, press the “See more keyboard layouts” link at the bottom to get the full list of layouts.
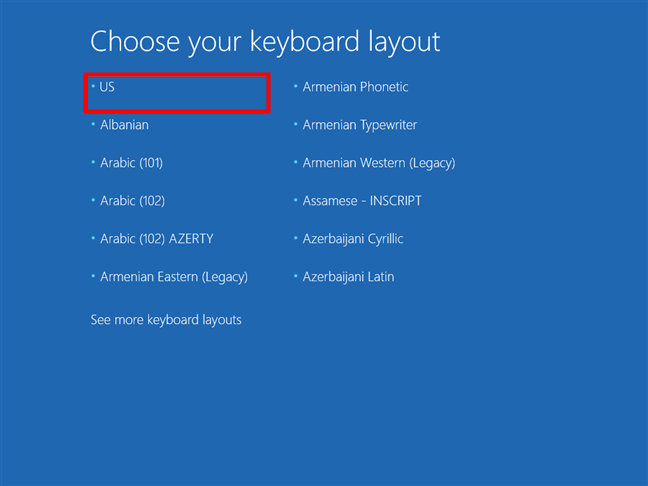
The system repair disc starts with choosing a keyboard layout
After choosing the keyboard layout, click Troubleshoot on the “Choose an option” screen.
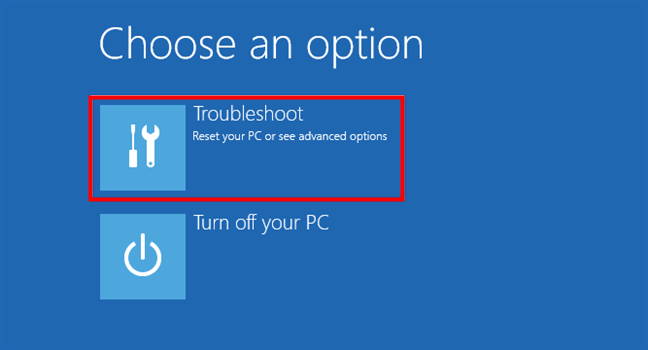
Select Troubleshoot
Next, let’s start the System Image Recovery tool.
Step 3. Launch the System Image Recovery tool
This brings you to the Advanced options for repairing and restoring Windows. On it, click the System Image Recovery tool. It should be the last one on the list.

Click or tap System Image Recovery
Step 4. Select the Windows backup image to use
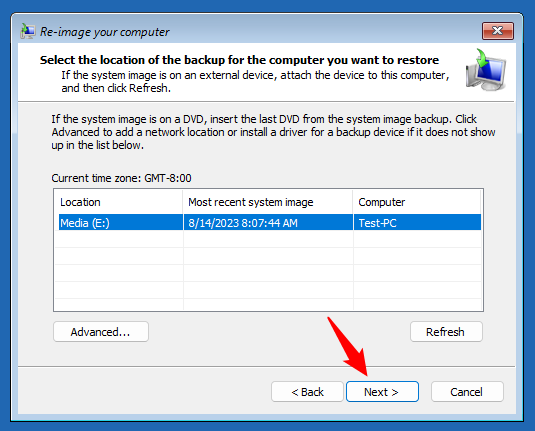
System Image Recovery then launches and automatically checks all the drives connected to your Windows computer for any available backups. If it finds one, it displays the latest system image, recommending you to use it. If you’re OK with that, click the Next button to initiate the restore from that backup image of Windows. In this case, you should also skip to the fifth step in this tutorial.
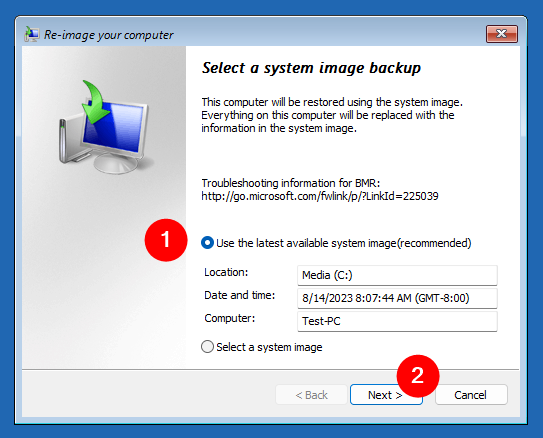
Select the latest available system image
If you want to use a different system image, check the “Select a system image” option. Then, press Next.
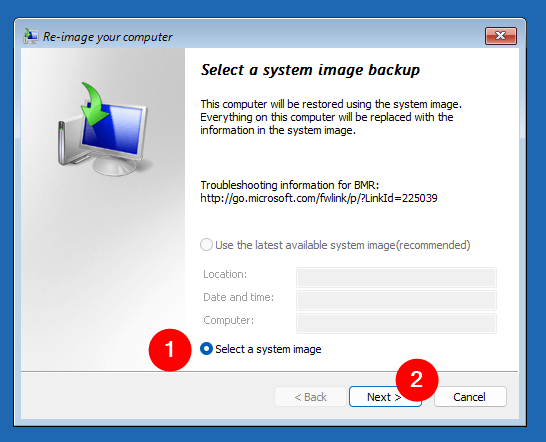
Manually select a system image
Next, you get all the options available for selecting a different system image or checking other backup locations. The alternatives you have are:
- Connect another external drive (HDD or SSD) with backups to your computer. Then, click the Refresh button to update the list of system images available (marked with 1 in the next screenshot).
- Insert the first DVD containing the backup system image. Then wait for a second or two until your computer reads it, and click Refresh to see the list of available backups (marked with 1 in the following screenshot).
- Click the Advanced button (2 in the screenshot below) if the system image you want to restore is found on a network location or if you need to install a driver for the drive that holds your backup.
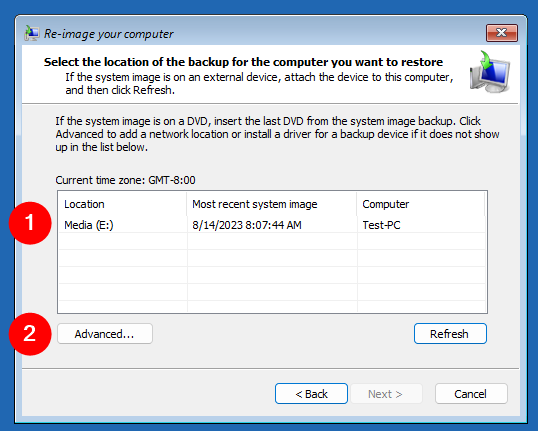
Options for choosing the backup system image
Regardless of what path you choose, once you decide on what system image you want to restore, click the Next button.
After selecting the system image, press Next
Then, you’ll be able to configure a few advanced settings related to the system image recovery process.
Step 5. Configure the Windows restore
Now that you’ve selected the system image to use for recovering your Windows 11 or Windows 10 computer, you can “Choose [some] additional restore options.” The “Re-image your computer” wizard of the System Image Recovery tool lets you:
- Format and repartition disks and Exclude disks from the recovery process. The first option is mandatory, as the system image can’t be restored otherwise. However, if the backup you selected earlier also contains other drives besides the ones required for Windows to start, you can exclude them from the recovery, as long as you don’t need them.
- Install drivers and configure two Advanced options. Use the Install drivers button if the drive on which you want to recover Windows is not available and it needs special drivers to work (usually, these are provided by the manufacturer of the drive or computer). The Advanced button opens a new window where you can choose if you want your computer to “automatically restart after the restore is complete” and the System Image Recovery tool to “automatically check and update disk error information.” Both settings are enabled by default, and it’s best to leave them like that.
If everything’s okay, when you’re done, click the Next button to carry on with the recovery process.
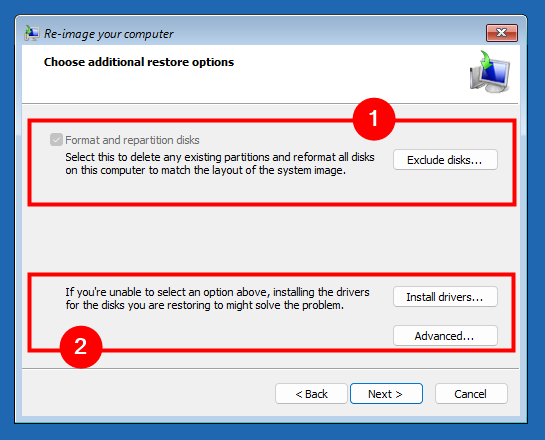
Additional restore options
Next, the System Image Recovery shows you the summary of the restore actions to be performed. Click on Finish to continue.
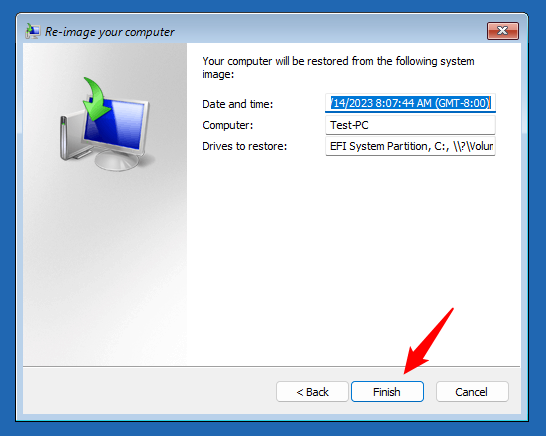
Finishing the configuration of the restore task
Now everything is configured, and System Image Recovery is ready to restore your Windows 11 or Windows 10 computer. Here’s the final step:
Step 6. Restore your Windows backup
Restoring a system image on a Windows computer means that all the disks and partitions from the backup are copied over to the main drive(s) in your computer. This requires the drive(s) in your PC to be formatted and their data to be replaced with what’s in the backup system image. Once you go through with that, any files, folders, apps, or settings found on your computer’s drive(s) will be lost. Thus, in the next step, System Image Recovery asks you to confirm that you want to continue the restore process. Click Yes to proceed or No if you’ve changed your mind.
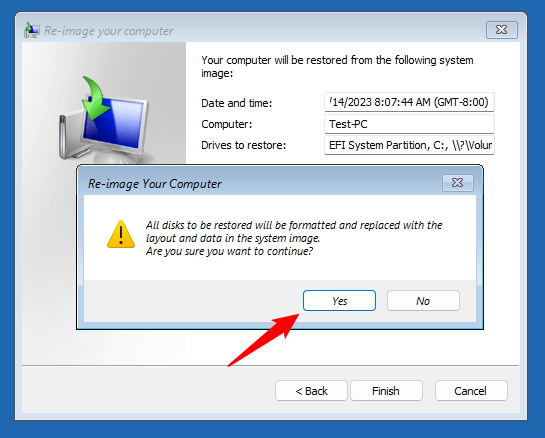
Confirm that you want to restore the backup
Then, the system image recovery process starts, and it may take a while, depending on the size of your backup. During this time, you can monitor the Windows recovery process.
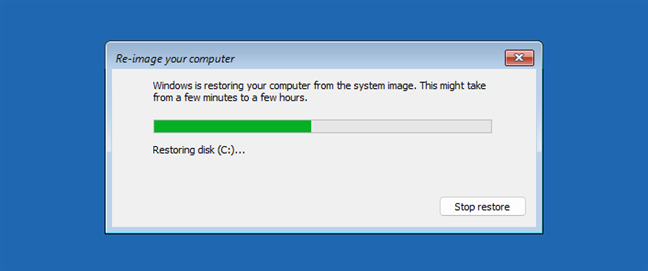
System Image Recovery restores the computer
When it’s all done, your computer should reboot and start Windows 11 or Windows 10 exactly as it was when you created the backup system image.
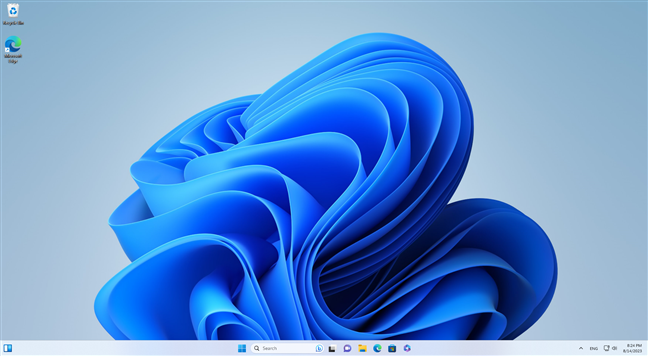
A Windows 11 PC restored with System Image Recovery
That’s it! Now you can enjoy your old but new Windows computer, which you’ve brought back from the other side. 🙂
Did you manage to restore your backup image of Windows?
System Image Recovery is a powerful tool that offers a reliable way to restore your Windows system to a previous state. Although it didn’t change a bit from when I used to rely on it for recovering my Windows 7 computers, it still works great to this day. As you’ve seen, it has no issues whatsoever in restoring Windows 10 or Windows 11 backups. Did you use it on your PC? Let me know how it all worked out for you, in the comments section below. Also, if you’d like to stay tuned to our next tutorials, don’t hesitate to subscribe to our newsletter.