Many people like to publish images on Flickr, a justifiably popular image-sharing site. While there are several ways to do this, if you use Windows Photo Gallery, you've got one of the easiest publishing methods right at your fingertips. With just a few clicks you can publish as many photos as you want. In this tutorial I'll show you how this is done.
NOTE: You will have to link your Microsoft account with your Flickr/Yahoo account to do this. If you have privacy concerns (even though linking your accounts is considered safe) and don't want to allow the link, then you won't be able to publish to Flickr from Photo Gallery.
Flickr is a sophisticated service, and instructions on its use are outside the scope of this tutorial, but you can find plenty of help here.
How to Connect Windows Photo Gallery with Flickr
From the Home tab in Photo Gallery, look in the upper right corner to see the services you can use to publish and share your photos. They are found in the Share section.
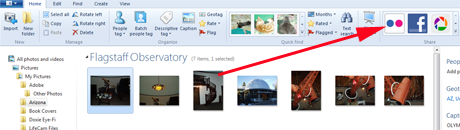
We've already seen how to do this with Picasa in a previous tutorial: How to Publish Photos to Picasa & Google+ with Windows Photo Gallery. If you haven't selected any images yet, the icons will be greyed out.
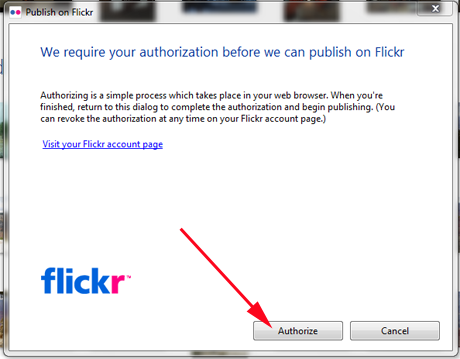
To begin, select the photos you want to share and click the Flickr icon. You'll then be asked to authorize the connection between Photo Gallery and Flickr. Click Authorize to get started.
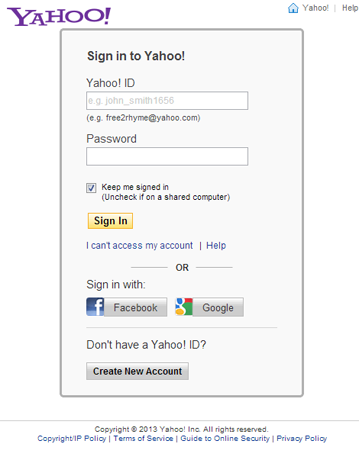
You'll be taken to a window where you can fill in your Yahoo! account information, or use Facebook or Google to connect. You can also create a new Yahoo! account from this window.
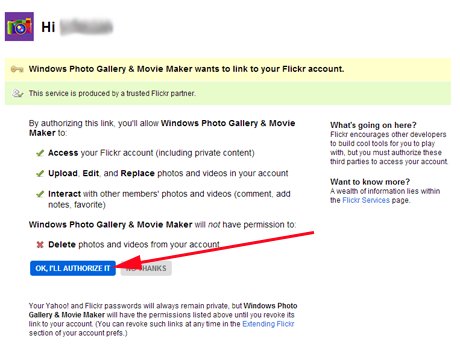
You'll then be taken to a page where you are asked to authorize the connection between Photo Gallery and Flickr. Click on "OK, I'll authorize it". As you can see, you can revoke the authorization from within Flickr at any time.
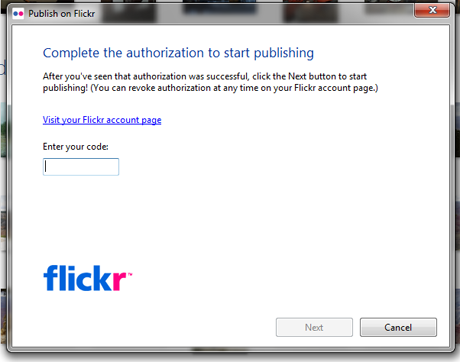
Next you'll see a code that you will need to copy-paste into Photo Gallery to allow the connection with Flickr. This is a one-time thing that you won't have to bother with again.
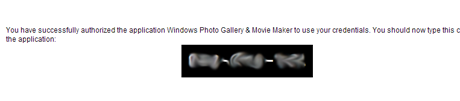
Photo Gallery will display a window where you can paste the code. Do this, and then click Next. And then you are ready to publish the photos you've selected.
How to Publish Pictures On Flickr with Windows Photo Gallery
The publishing process finally starts. As you can see, your options here are self explanatory.
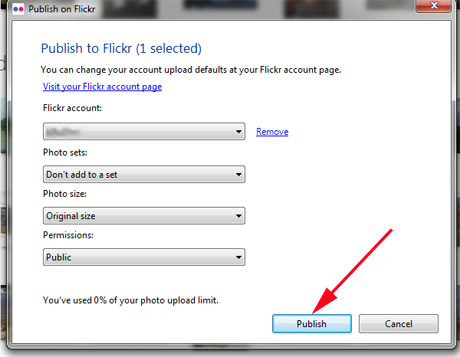
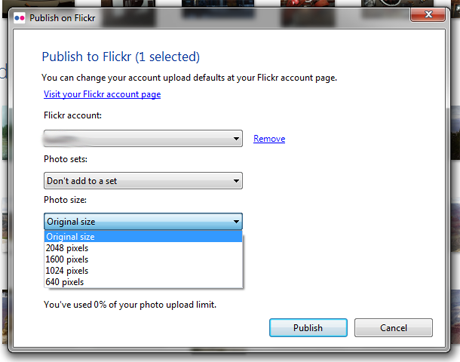
You can publish your photos at their original size, or choose one of several other sizes if you like.
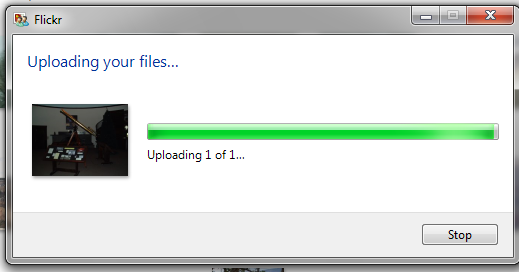
When done setting things up, click Publish, and you'll see a progress bar as your images are uploaded.
Another message is shown when the transfer is complete.
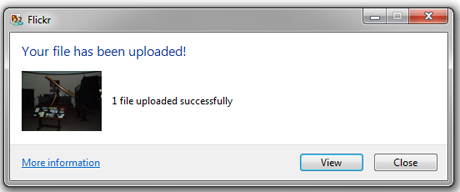
It's really as simple as that. From then on, all you have to do is select the photos you want to publish, click the Flickr icon, and watch the transfer. If you want to see your photos as they appear on Flickr, just click the View button and you'll be taken right there.
Conclusion
While authorizing the connection between Photo Gallery and Flickr takes a little time, once you have done that, publishing to your Flickr account is amazingly easy. The two work perfectly together. It's a great collaboration that should have your Flickr albums fully loaded in no time. Have you been publishing to Flickr with Photo Gallery? If you've got any helpful hints and tips, please let us know in the comments.