After you have finished editing your project in Windows Movie Maker, maybe you may want to share it. However, when you export the project, it will be saved as a Movie Maker Project file with .wlmp extension. These .wlmp can be opened ONLY in Windows Movie Maker so, in order to share your video with friends and family or upload it to YouTube, Facebook or another website, you'll have to export it as a .wmv file or any other recognized video format. In this tutorial, we'll show how to save your movie in a shareable format using the recommended settings and for advanced users, we'll also go through the steps for creating your own custom settings for exporting video.
How To Save Movies Using The Recommended Settings
The easiest way to save your movie into a format that can be uploaded, shared and burned is to simply use the recommended settings. When you choose recommended settings, Windows Movie Maker will take a look at the size and bitrate of your source videos and choose settings according to what it thinks will produce the best balance between file size and video quality.
If you want to use the recommended settings, go to the ribbon and click or tap the Save Movie button found in the Share section on the Home tab.
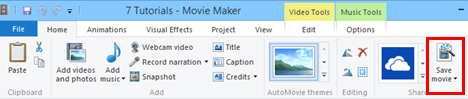
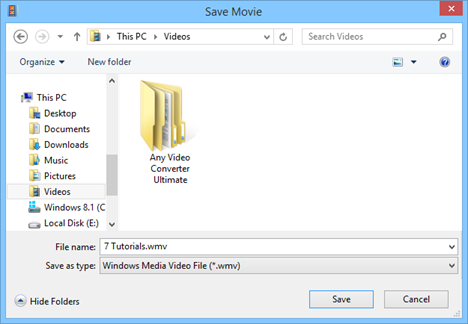
This bypasses all the complicated video settings that you might not understand and brings you right to the Save Movie dialog.
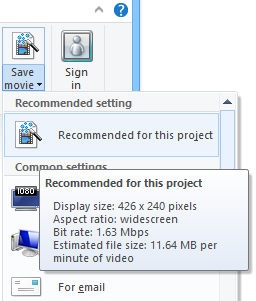
NOTE: If you're curious as to what video settings Windows Movie Maker deemed optimal for your project, click the arrow next to Save movie and mouse-over Recommend for this project.
For the vast majority of users, the recommended settings will be sufficient for most purposes. But if you plan on sharing your video via a specific means, such as email or a DVD, you may want to check out some of Windows Movie Maker's presets. If not, feel free stop here - you've already saved your movie as a .wmv and you can now share it, upload it or burn it as you see fit.
How To Save Movies Using Windows Movie Maker Preset Video Settings
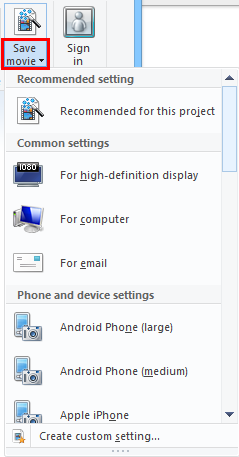
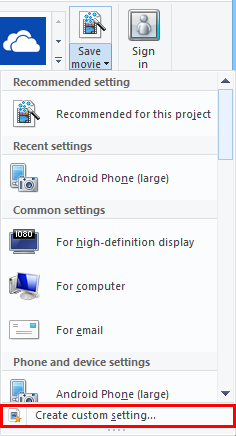
Windows Movie Maker has a few presets for video settings that are optimized based on what you plan on doing with the file once it's saved. It calls them "Common settings", and you can find them in the drop-down menu that appears when you click or tap the arrow on the Save movie button.
Under common settings, you'll find presets that are optimized for a number of devices. Most of these are self-explanatory: for high-definition displays, for computer, for email, Windows phone, Android phone, Apple iPhone, etc.
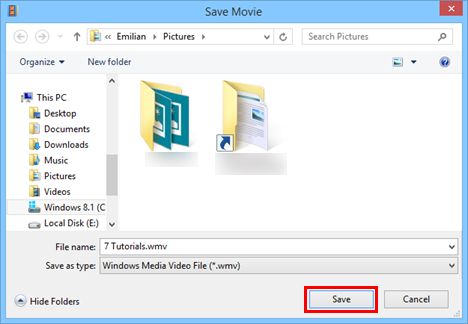
Again, you can mouse-over an option in order to see the details. After you choose a setting, pick a location to save the file and click or tap Save.
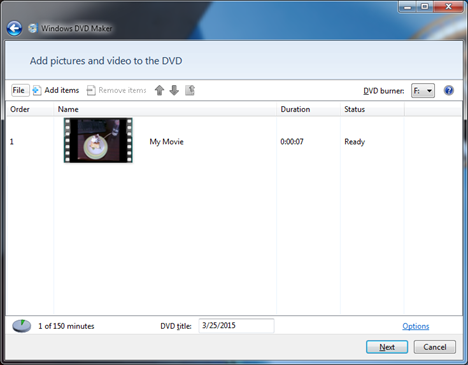
If you choose Burn a DVD, the file will be saved to the location of your choosing and then loaded into a new Windows DVD Maker project. Unfortunately, this option is available only in Windows 7.
How To Save Movies Creating New Custom Settings
If you feel comfortable tweaking the video settings, click or tap Create custom setting in the Save movie menu.
This will open the dialog to create a new custom setting.
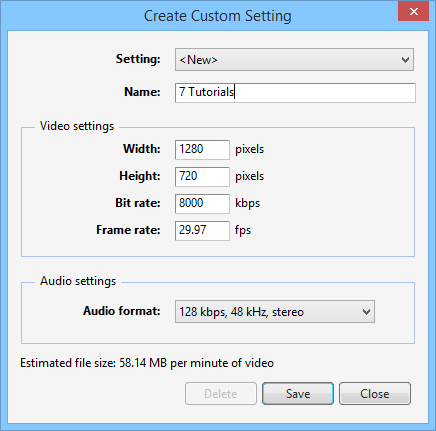
Here, you can choose the following options:
- Name: The name of your preset as it'll appear in the Save movie menu.
- Width & height: The width and height in pixels.
- Bit rate: Affects the level of detail in your video. Set this higher for improved quality.
- Frame rate: Affects the smoothness of motion and animations in your video. For photos, this doesn't have to be particularly high. 24 fps is sufficient for basic slideshows. For full motion video, it's not usually necessary to go above 30 fps.
- Audio format: Affects the quality of the audio. 192 kbps , 48 kHz, stereo is considered CD quality, but 128kbps is passable for video.
NOTE: Even if the dimensions you choose here do not maintain the aspect ratio that you chose, the outputted video file will not be stretched or skewed. Instead, Windows Movie Maker will take the largest dimension you choose and automatically generate the other dimension in order to maintain the aspect ratio.
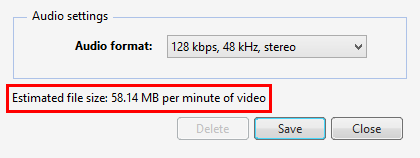
With all of the above settings, the higher you set them, the quality will be better and the file size will be larger. Though, of course, the quality won't exceed the source material. For example, if your video is only 24fps when you shot it, it won't magically become 30fps here. You can tweak the settings based on the estimated file size at the bottom.
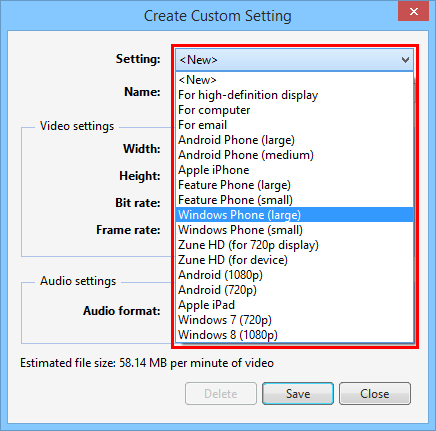
TIP: You can use another common setting as a starting point for your custom setting. Choose an option from the drop-down menu to pull it up and then give it a new name before saving it.
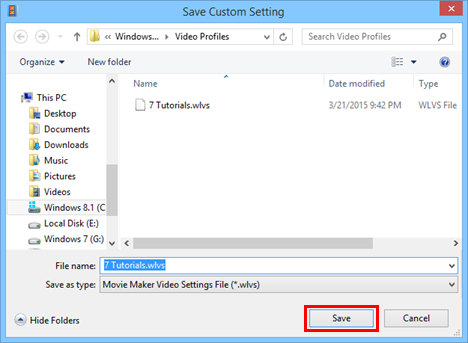
Click or tap Save when you are done. Windows Movie Maker will save your video settings as a Windows Movie Maker Video Settings File (.wlvs). In order for your custom settings to show up in the Windows Movie Maker menu, the.wlvs file must be placed in the Video Profiles directory: "C:\Users\[yourusername]\AppDataLocal\Microsoft\WindowsLive\Video Profiles".
If you'd like to share your video settings preset with friends or colleagues or export it to another machine, you can send them the .wlvs - just make sure they put it in the Video Profiles directory.
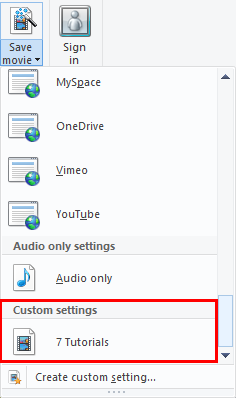
This will add it to your list of video settings in the Save movie menu.
Conclusion
Saving your Windows Movie Maker files is as easy as clicking the Save movie button on the Home tab of the ribbon. But in order to achieve optimal file size and video quality, you may wish to use some of the common settings detailed above or create your own custom setting. For more information on Windows Movie Maker, check out some of our related articles and if you have any questions or problems about this tool, do not hesitate to use the comments form below.