Regardless of your operating system, using the Recycle Bin in Windows 10 or Windows 11 is unavoidable. If you remove something either on purpose or by accident from your Windows computer or device, you can easily get it back from the Recycle Bin. This tutorial illustrates all you need to know about the Windows 11 and Windows 10 Recycle Bin, answering questions like “What is the Recycle Bin?” or “Where is the Recycle Bin in Windows 10 or Windows 11?”. We also show you how to hide the Recycle Bin, how to remove the Recycle Bin from the desktop, how to empty the Recycle Bin, and more:
What is the Recycle Bin?
The easiest way to define the Windows Recycle Bin is this: a special folder with a fancy icon that stores deleted files and folders. When you delete items from your Windows computer or device, they are not permanently removed; they are first moved to this folder. Windows does this as a precaution in case you deleted something by mistake or if you discover you still need a certain discarded file or folder.
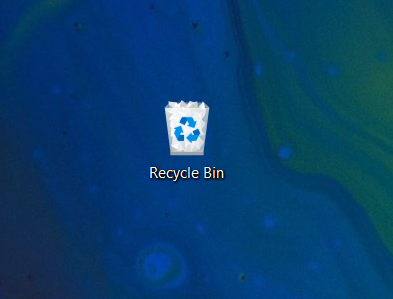
The Recycle Bin icon shows that the folder stores deleted items
Physically, deleted files occupy the same space on your hard drive(s). However, once an item is deleted, you can't see it in the same location on your system anymore, as Windows now displays it inside the Recycle Bin folder. To put it simply: the Recycle Bin is the place where the references towards your deleted files and folders are kept, until the items are permanently removed from your system. To learn more about deleting files, here are 5 ways to delete files (temporarily or permanently).
Where is the Recycle Bin in Windows 10 and Windows 11?
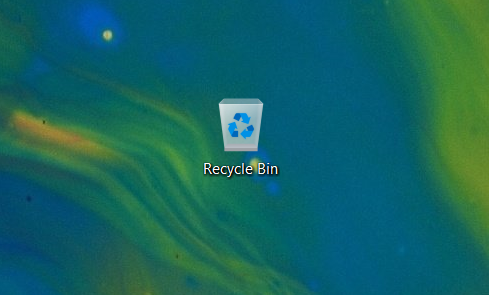
By default, you should find both the Windows 11 and the Windows 10 Recycle Bin in the top-left corner of your desktop. All the files you delete appear in this folder. The Recycle Bin icon changes to reflect whether there are files stored in it or if it's currently empty.
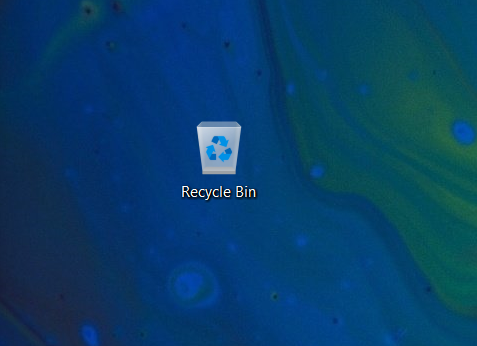
The Recycle Bin icon when the folder is empty
Each hard drive has a Recycle Bin, but all the files you delete are displayed in this one folder on your desktop. If the folder is missing, we explain further down how to restore it, but there are a total of 9 ways to reach the Recycle Bin location in Windows 10 and Windows 11.
How to hide Recycle Bin in Windows 10 and Windows 11
But what if you want to hide the Recycle Bin in Windows 10 and Windows 11 to fully enjoy your new wallpaper? Well, if you just want to briefly get rid of it, the easiest way is to hide all the desktop icons. Right-click or press-and-hold on an empty area of your desktop and access View, the first option in the contextual menu. Uncheck the “Show desktop icons” option by clicking or tapping it.
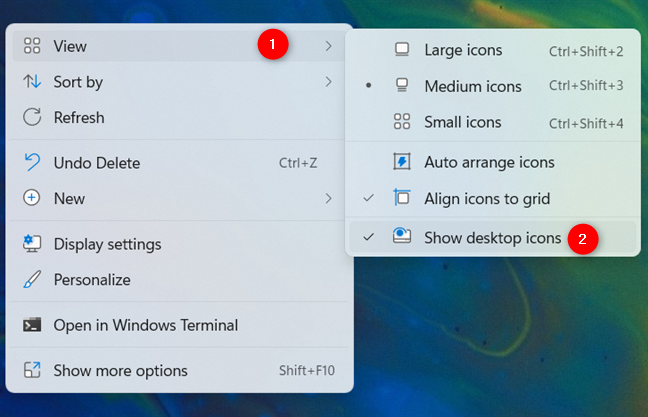
Hide all desktop icons by unchecking the option
How to remove the Recycle Bin from the desktop in Windows 10 or Windows 11
If your deleted files are not a major concern, or you have some other way to access the folder, you can also get rid of the Recycle Bin icon in Windows 10 or Windows 11. The Windows Recycle Bin icon on your desktop is one of the predefined standard desktop icons. While you can’t delete it as you would any other file, you can find out how to remove it in both operating systems by reading How to add or remove desktop icons (shortcuts) in Windows.
Remove Recycle Bin from Desktop
How to restore the Recycle Bin in Windows 11 and Windows 10
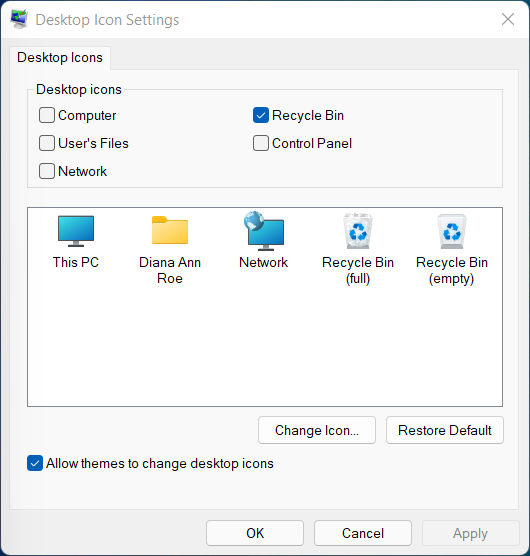
If the Recycle Bin is missing from your Windows 10 or Windows 11 desktop, it's easy to bring it back. You can restore the Recycle Bin and revert it to its original look just like you would any other standard icon. To see the exact steps, read our guide on restoring desktop icons in Windows 10 and Windows 11.
Restore the Recycle Bin on your Desktop
NOTE: If you’re using Windows 10 and still can’t get the Recycle Bin icon back, you should make sure that your device is not in Tablet Mode. Remember that desktop icons are not displayed when your Windows 10 device uses this mode. For more details, read our guide on the Windows 10 Tablet mode.
How to recover deleted files from Recycle Bin in Windows 10 and Windows 11
There are several ways to recover deleted files from the Recycle Bin and restore them to their original location in Windows 10 and Windows 11. You can learn all about it from our guide on 5 ways to recover deleted files from the Recycle Bin in Windows 10, which you can also use for Windows 11.
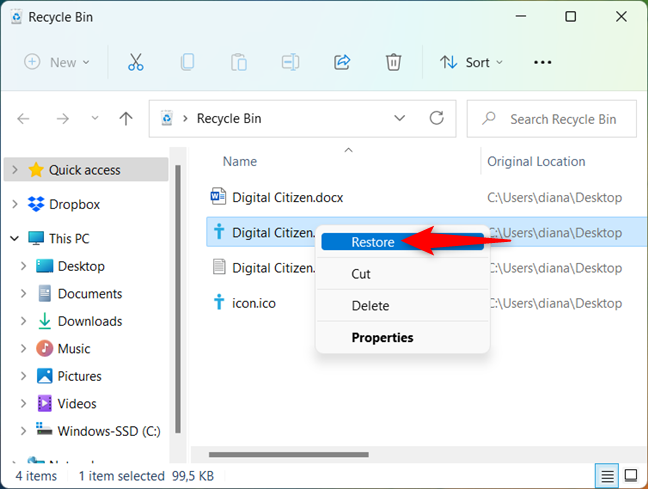
Restore a deleted file from the Recycle Bin
How to empty Recycle Bin in Windows 10 and Windows 11
Before we see how to empty the Recycle Bin in Windows, note that if you wish, you can delete only some of the files, while keeping others in case you need them later. In both the Windows 11 and the Windows 10 Recycle Bin, you can select the items that you want to delete permanently and press Delete or use the shortcut Ctrl + D on your keyboard. Alternatively, you can also right-click or press-and-hold on your selection to open a contextual menu, and then click or tap on Delete.
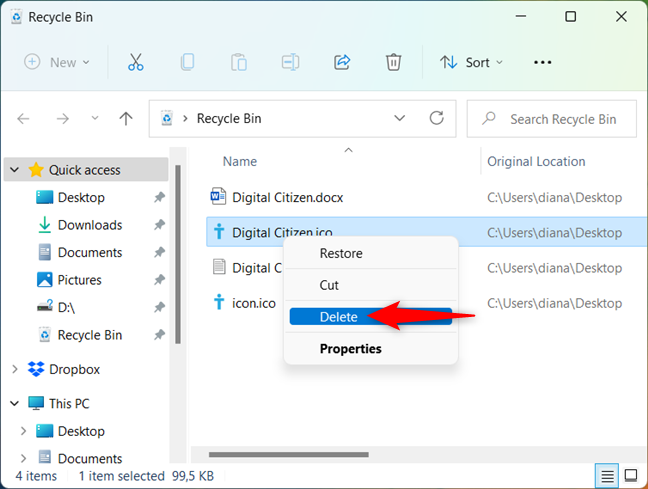
Press Delete from the contextual menu
In Windows 10, you have the option to access the Home tab in the top ribbon and press the Delete button to get rid of the selected file(s) for good.
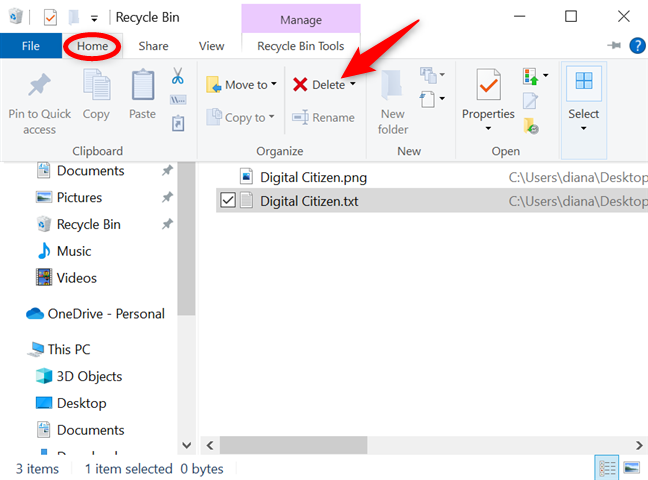
Press Delete on the ribbon to permanently remove items from the Recycle Bin
In Windows 11, we have a simpler Delete button at the top of the Recycle Bin window.
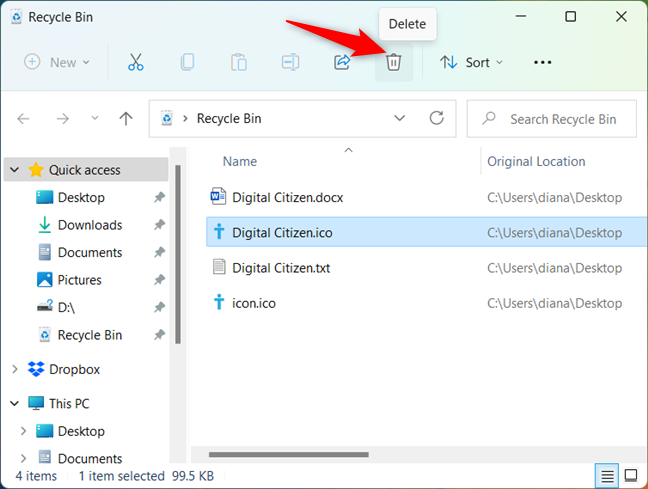
Use the Delete button found in the Windows 11 Recycle Bin folder
If you are sure you want to get rid of all your deleted items permanently, you can choose to empty the Recycle Bin. In both Windows 10 and Windows 11, right-click or press-and-hold on any Recycle Bin folder or shortcut, and then click or tap on “Empty Recycle Bin” from the contextual menu.
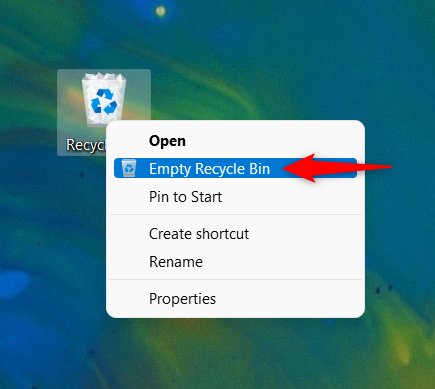
Empty Recycle Bin in Windows 11 and Windows 10 using its contextual menu
In Windows 10, you can also open the Recycle Bin and press the “Empty Recycle Bin” button from the “Recycle Bin Tools” tab.
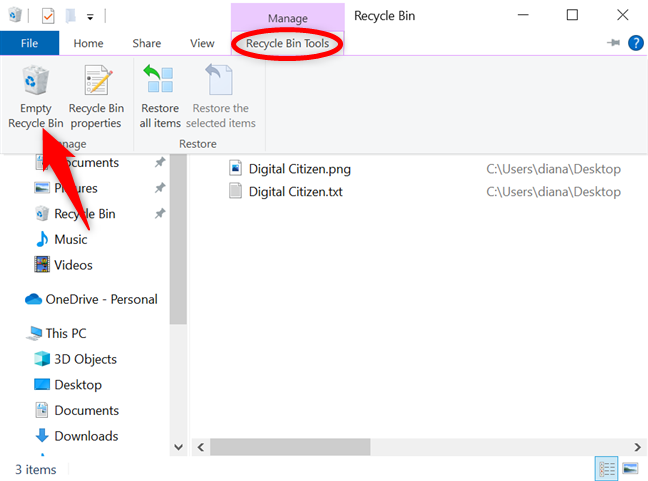
Empty Recycle Bin in Windows 10
In Windows 11, you can find the “Empty Recycle Bin” button at the top of the window.
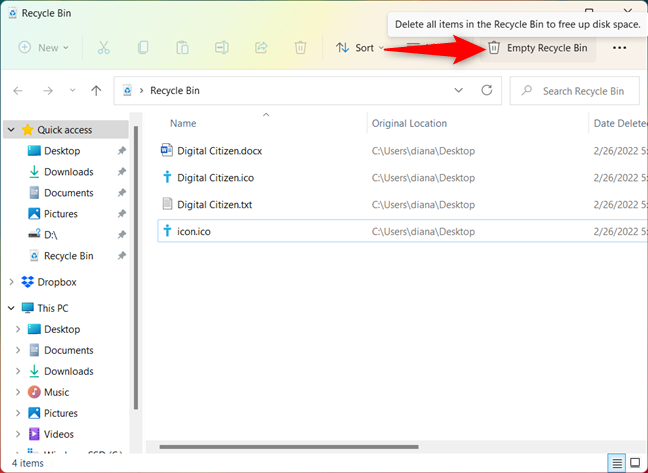
Empty Recycle Bin in Windows 11
Regardless of how you choose to permanently delete files from the Recycle Bin, you are required to confirm your choice. Click or tap on Yes, and the items are permanently deleted.
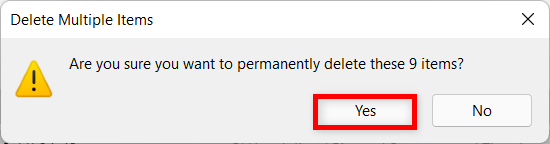
Press Yes to confirm your choice
TIP: If the space on your hard drive is running low or you reach Recycle Bin's storage limit, deleted files and folders might be permanently removed from your device. We recommend that you empty the Windows 10 or Windows 11 Recycle Bin regularly and that you don't use it as storage.
How to recover files deleted from the Windows Recycle Bin
If you realize that you permanently deleted files or folders from the Recycle Bin, and you still need them, there are steps you can take to recover them. First, it might be a good idea to read What happens to deleted files? Why can you recover some of them?. If enabled, you can then use File History to get deleted files from backups. Otherwise, try a free third-party recovery tool, like Recuva.
How often do you use the Windows Recycle Bin?
You can think of the Recycle Bin as an intermediary step before permanent deletion. We use it to store the images you see in our tutorials while our articles get revised and published, so some pictures do get restored sometimes to clarify certain details. What about you? How often do you delete files only to find out you need them again? Let us know in a comment below.