Switching to another operating system or importing data sometimes means you can't access your files and folders after the switch. This is result of the fact that your user account has lost ownership of those files and folders or it no longer has the required permissions. Also, accessing certain system protected files or folders involves sometimes modifying the permissions for those resources. When you cannot read or change files or folders from your disk, it means that either you need to take ownership of them or you need to change your user's permissions. In this article you will learn how to change ownership of a file or folder and how to manage permissions for accessing and modifying files and folders.
NOTE:This guide applies to both Windows 7 and Windows 8.1.
How To View The Existing User Permissions For A File Or Folder
Before changing permission of files and folder, you should first learn how to view the current permission for a file or a folder.
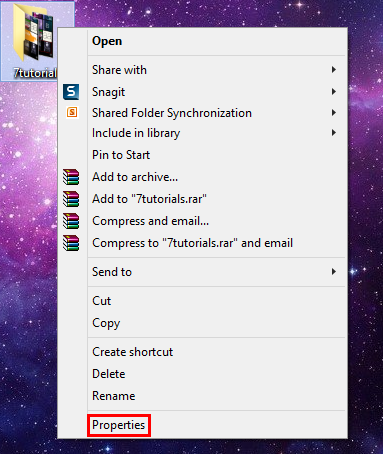
First, choose a certain file or a folder and right click or press and hold on it. When the contextual menu will open, press Properties.
In Windows 8.1, in File Explorer, you can also use the ribbon. First, select the folder you are interested in, expand the Home tab on the ribbon and click or tap the Properties button found in the Open section.

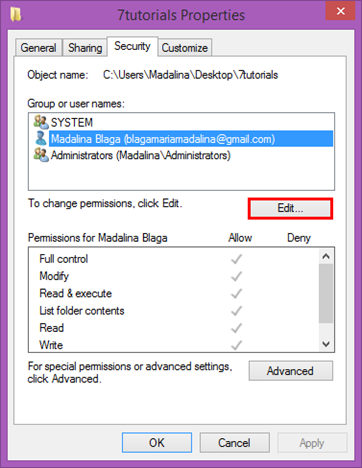
A window with that file's or folder's properties will open. Go to the Security tab and you can view the permissions assigned to each user or group. For example, if you select the user "Madalina Blaga" you can view the list of permissions below.

Each user is assigned one or more of the following permissions:
-
Full control - allows reading, writing, changing and deleting of the selected file or folder;
-
Modify - allows reading, writing, changing but not deleting of the selected file or folder;
-
Read & execute - permits viewing and listing of files and subfolders as well as execution of files;
-
List folder contents - enables viewing and listing of files and subfolders;
-
Read - allows the user to see the contents of a folder and open files and subfolders;
-
Write - enables you to create new files and folders and make changes to existing files and subfolders;
-
Special permission - contains a set of configurable actions that allow for configuring advanced permissions.
NOTE:To learn more about Special permission check out this article on File and Folder Permissions.
How To Change Permissions For A File Or Folder
Now, that you know how to view the existing permissions for a file or folder, you are ready to learn how to change them.
First, open the Properties window, as shown earlier and press the Edit button found in the Security tab.
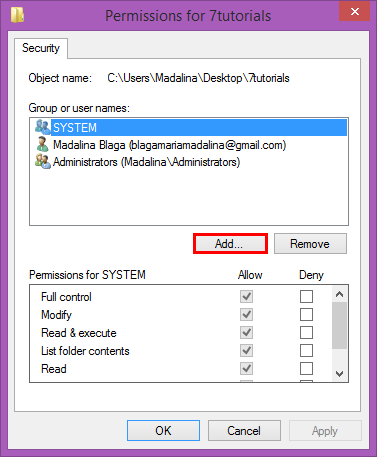
You will now see a list with all the user groups and user accounts that exist on your computer, together with a list of permissions for each. If you can't find a certain user account or user group in the list, press Add.
The Remove button allows you to delete a user account or a user group from the permissions list.
For this part of the guide let's assume that you want to give permissions to a new user. Press Add to proceed.
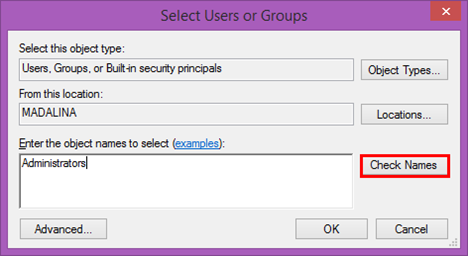
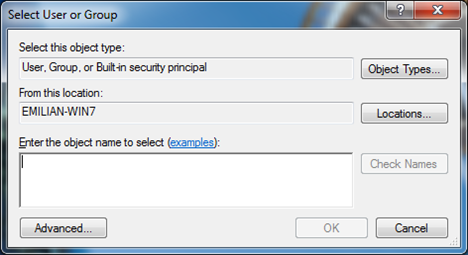
The Select Users or Groups window opens. Type the user name or the user group that will be added in order to have permissions for the selected folder. For example, if you want to add the Administrators group, type "Administrators" in the "Enter the object names to select" field and then press the Check Names button.
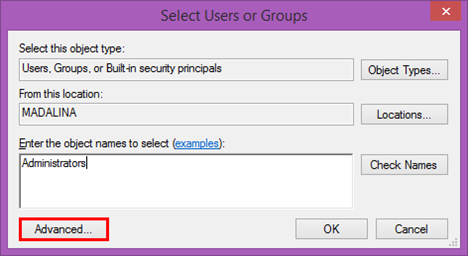
We recommend, however, another method to select users or groups. Press the Advanced button to continue.
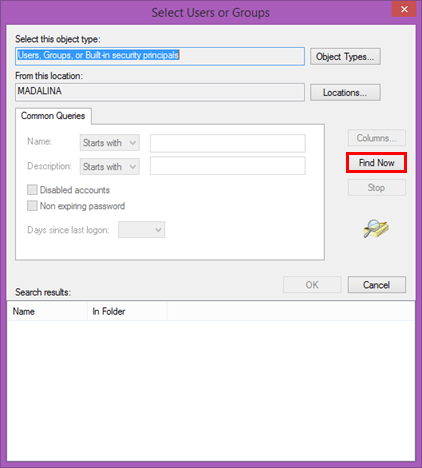
Here you have two fields where you can change selections. However, this is not required as the defaults are just fine and include all possible options.
The Select this object type field shows what kind of objects will be searched for. If you click on Object Types you will be able to select between user, group or built-in security principals. By default, all are selected, so there is no need to modify anything.
The From this location field shows where the objects will be searched for. By default, they will be searched on your computer. That's why you won't need to change anything here either. If you are part of a network domain, if you click or tap Locations you will be able to select other locations.
Since there is no change you need to make, press the Find Now button to display a list of all the users and groups. This will search and return all users and groups defined on your computer.
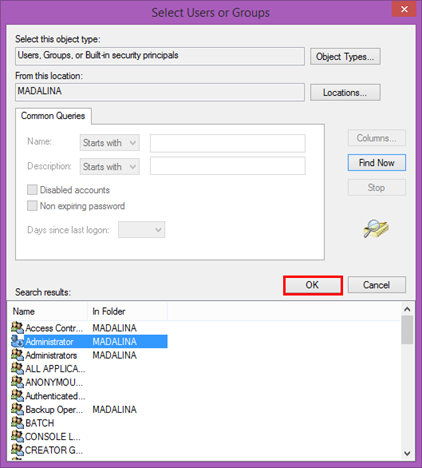
Select from the list the desired user account or user group and click or tap OK.
Press OK again to complete the action.

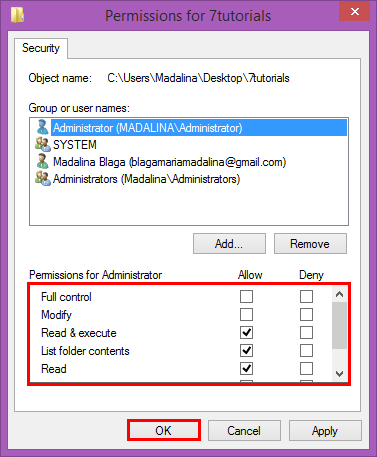
The new user has been added to the list. Select it and, in the Permission section, check the rights that you want to grant. Click or tap OK to complete the action.
How To Take Ownership Of A File Or Folder In Windows 8.1
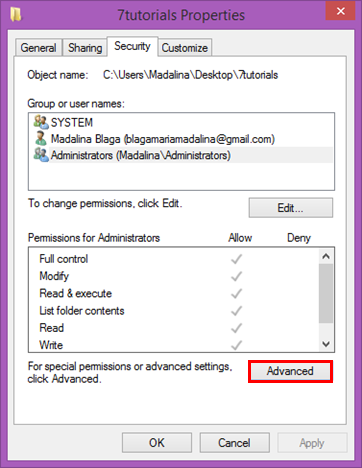
If you want to change the owner of a file or folder, again, open the Properties window and press the Advanced button found in the Security tab.
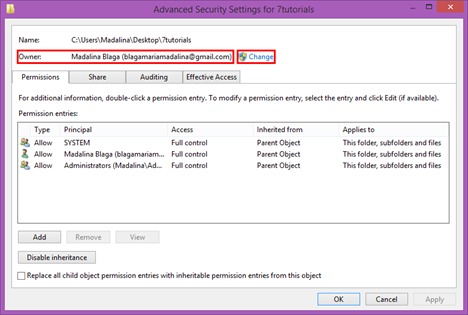
The Advanced Security Settings window will open, where you can view the current owner of the selected file or folder.
In Windows 8.1, the owner is shown at the top of the window. Press Change to change the user account that is set as the owner.
Now, the Select User of Group window will open. Select a user as shown in the previous section and press OK to complete the action.

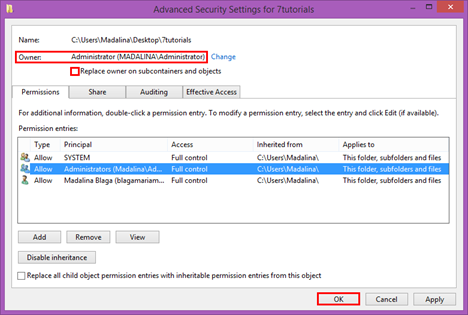
Now, the owner has changed. Lastly, check "Replace owner on subcontainers and objects" option and press OK to complete the action.
How To Take Ownership Of A File Or Folder In Windows 7
First, open the Properties window and press the Advanced button found in the Security tab.
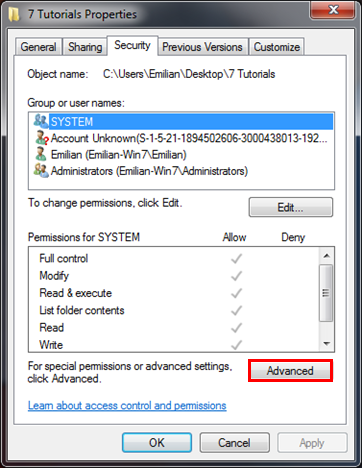
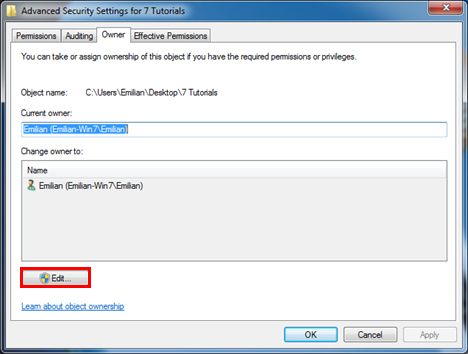
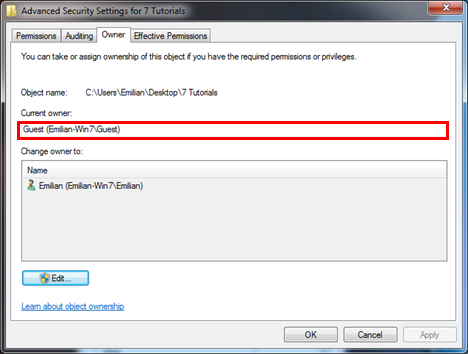
After the Advanced Security Settings window opens, go to the Owner tab and you will see the current owner of the selected folder. Click the Edit button to change the owner.
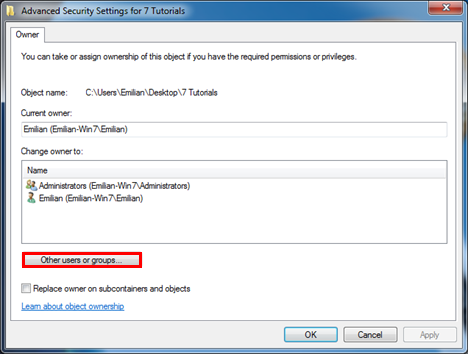
Next, press Other users or groups.
Now, you need to select the user name or the user group that will take ownership of the selected file or folder. Add the desired user or group as shown in previous sections.
Then, the Owner window will open. Select the added user, check the "Replace owner on subcontainers and objects" option and press OK.

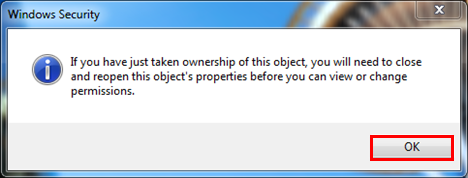
A confirmation message is displayed. Click OK and you are done.
Go back to the Advanced Security Settings window where you will notice the owner was changed. In our example, the new owner of the folder is the Guest user. Click OK one more time.
Conclusion
As you can see from this guide, changing permission and ownership of the files is not that hard. The procedures shared in this article can be really helpful in situations when your files cannot be accessed. If encounter problems following our guide or if you have additional questions, don't hesitate to share them with us in the comments below.